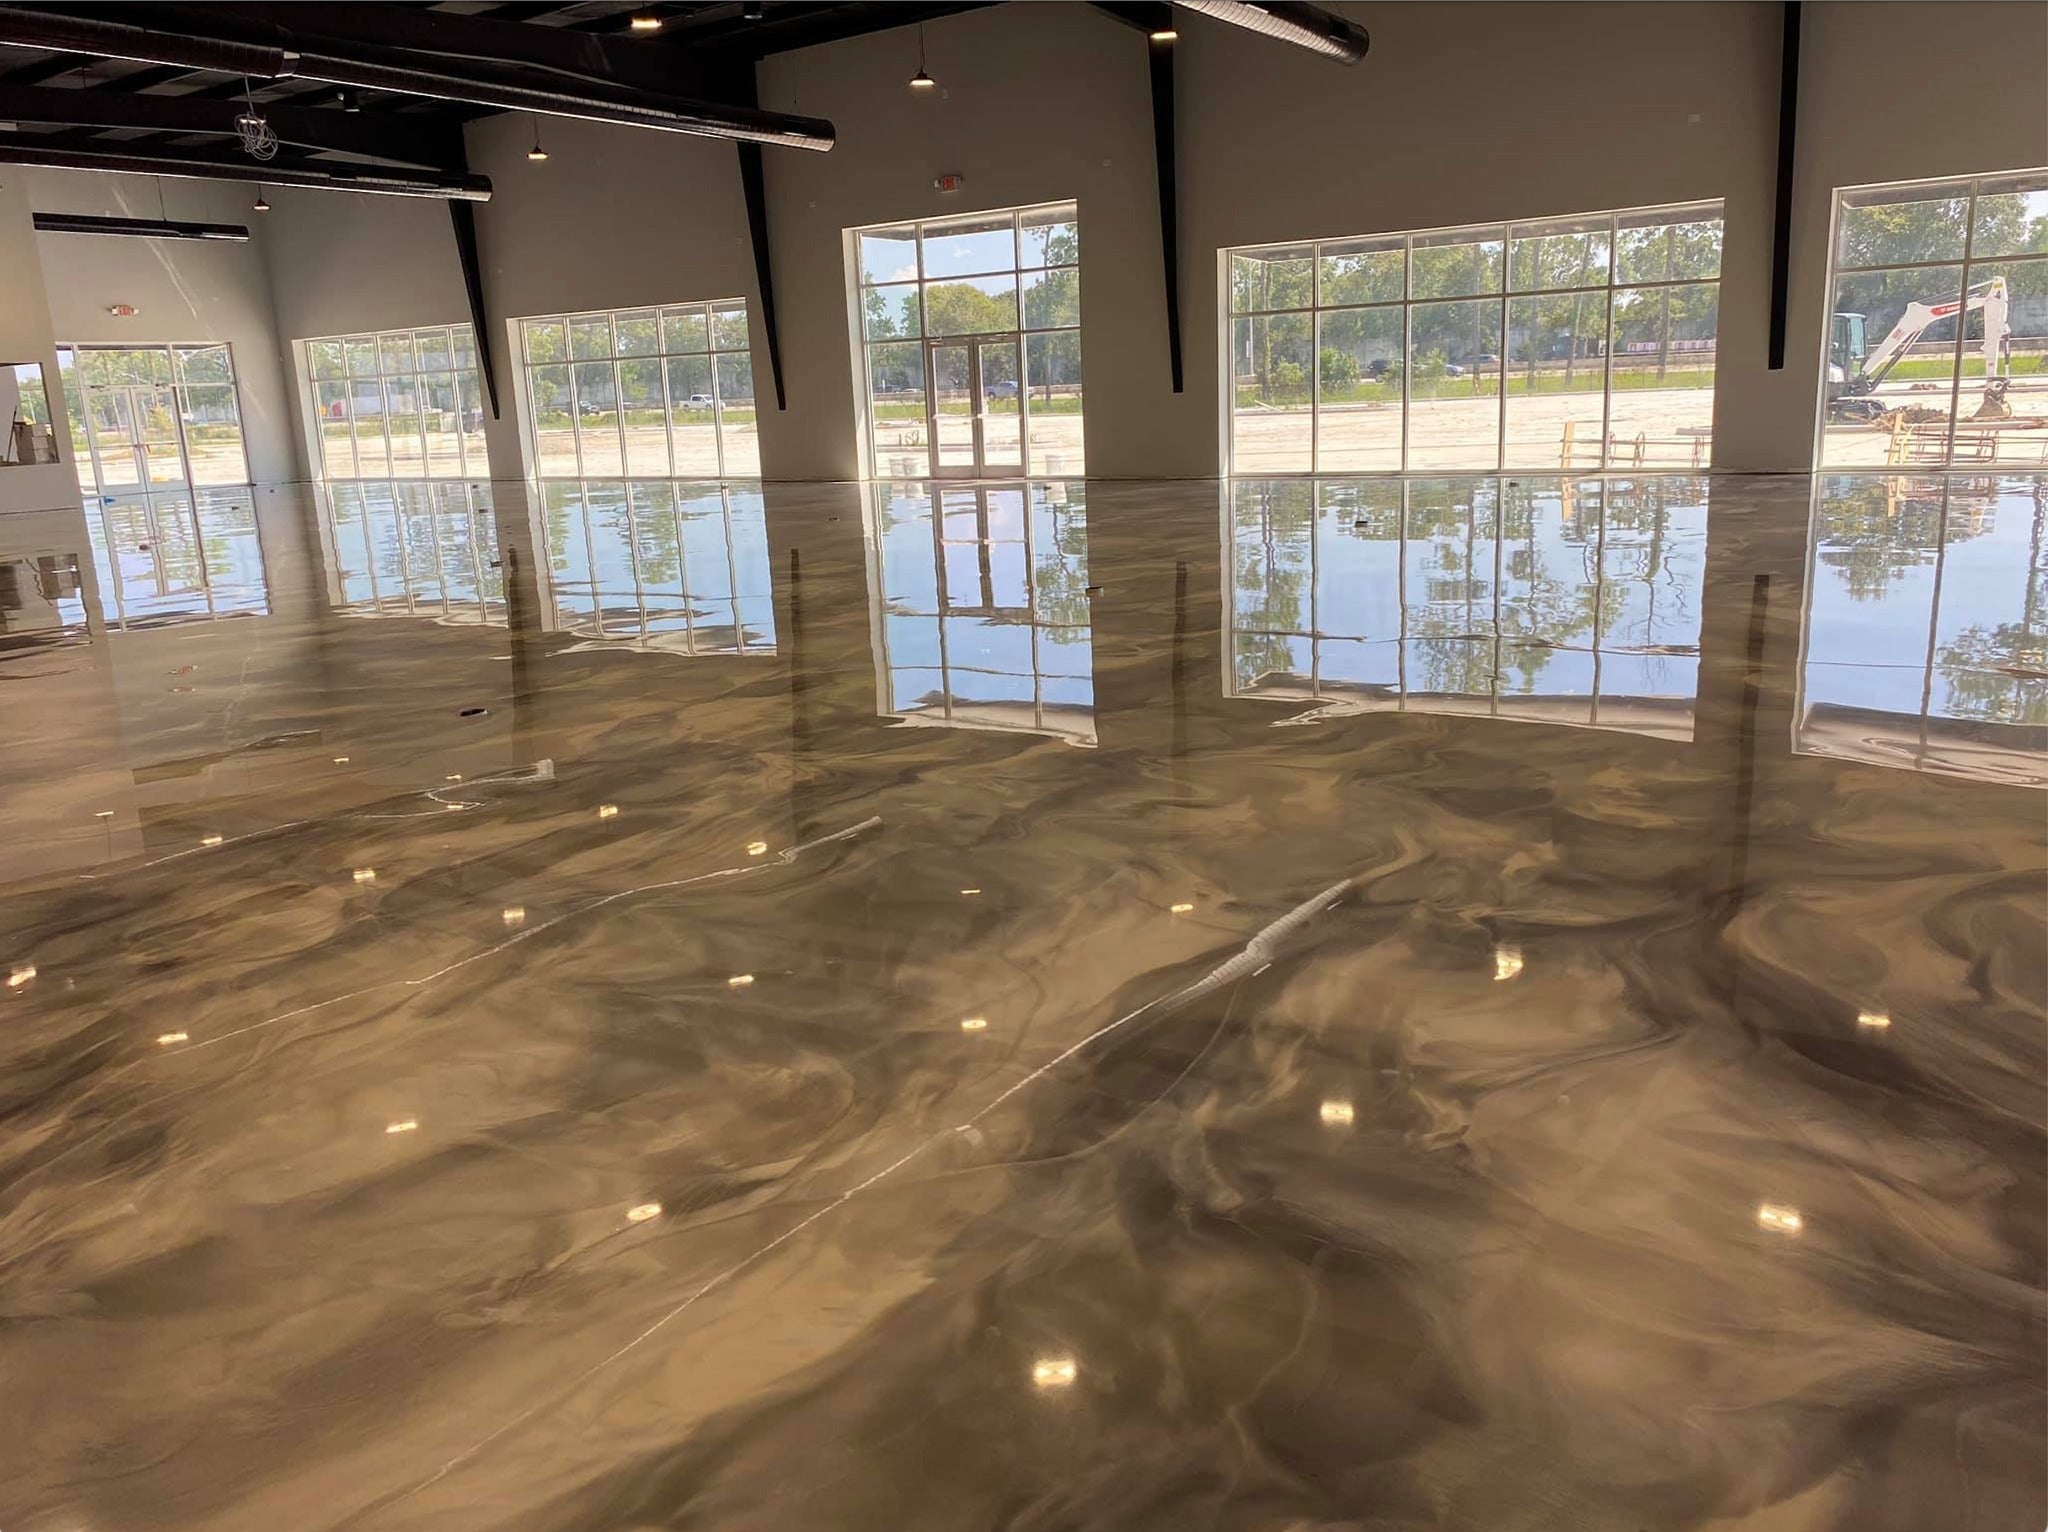
When a better-looking material was either impossible or simply not affordable, people resorted to concrete as a strictly practical material. Nowadays, homeowners are choosing concrete floors for their indoor and outdoor spaces.
This is mainly because they are very durable and stylish, and can reduce the cost of the improvement by doing it themselves. Stained concrete floors also make your surfaces look fantastic from exterior walkways to interior living areas.
Staining Benefits

Concrete floors can already be found in some spaces. You just need to remove whatever is covering it. In addition to not collecting dust, pet dander, or harboring mold, decorative concrete floors are hypoallergenic.
The durability and easy maintenance of concrete flooring also makes it a preferred flooring choice for people of all ages. Concrete surfaces do not scratch quickly, they cannot be easily damaged, and high levels of foot traffic do not have a serious effect on them. When properly sealed and maintained, these resilient and attractive surfaces can last for an extended time.
With a simple-to-follow process, you can stain your plain surfaces without the need for fancy equipment or heavy-duty tooling.
Concrete Stains Overview

Applying concrete stains is a fun and simple process that gives any DIYer the ability to decorate their industrial-looking grey surfaces. Plus, you can achieve these beautiful finishes without the use of fancy equipment or heavy-duty tooling. Enhance practically any residential and commercial space that has existing concrete surfaces, whether it be flooring or countertops. This includes garages, sunrooms, patios, basements, lobbies, and porches.
Concrete Product Essentials
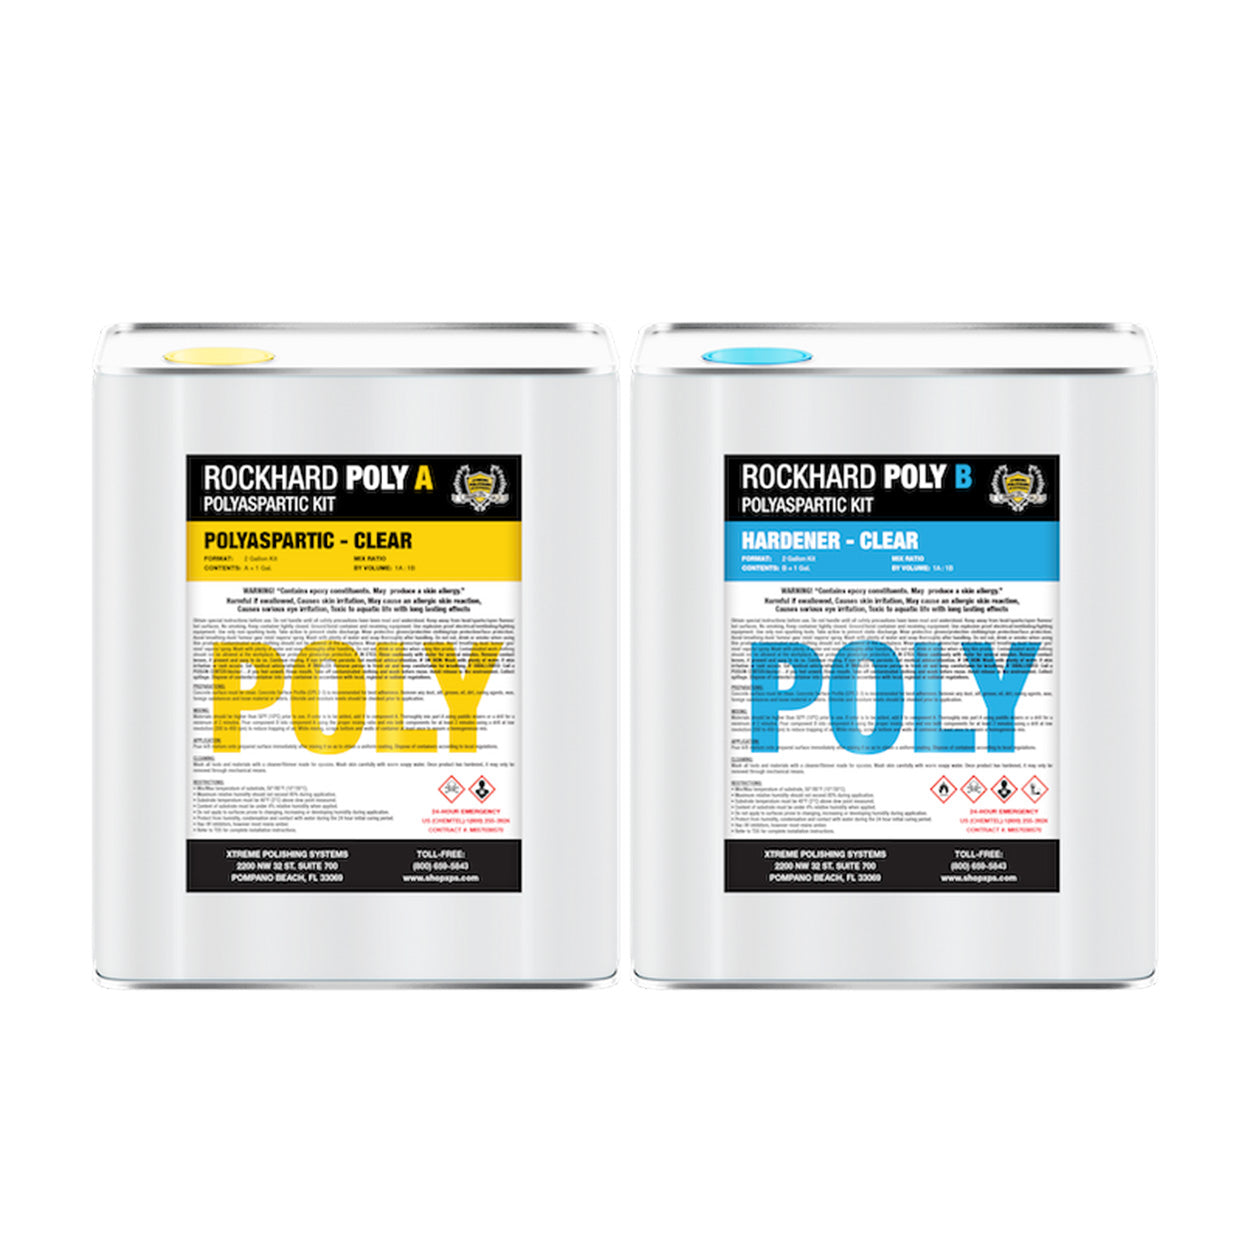
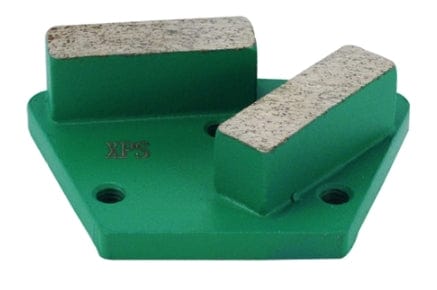
The most impressive decorative concrete stain finishes always begin with instilling the proper surface preparation methods. Our high-performance and quality selection of materials, equipment, tools, and supplies offered here at Xtreme Polishing Systems will greatly assist you with preparing and maintaining your applications correctly.
Application Tools and Staining Materials

From start to finish, our premium collection of decorative concrete products is essential for achieving the most successful refinishing applications.
You will need the following items for this type of application:
Tools:
- Safety Gloves
- Painter's Tape
- Applicator Brushes
- Microfiber Floor Care Kit
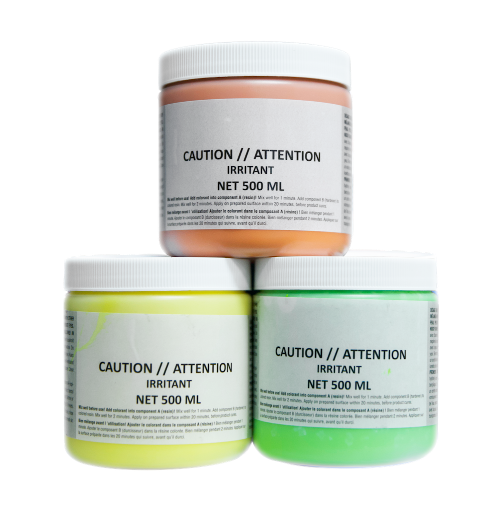
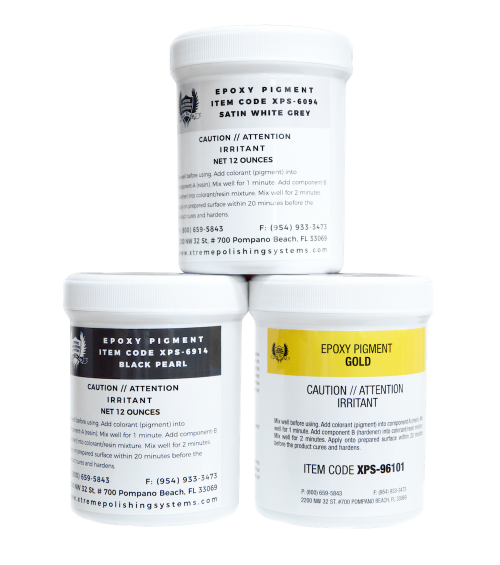
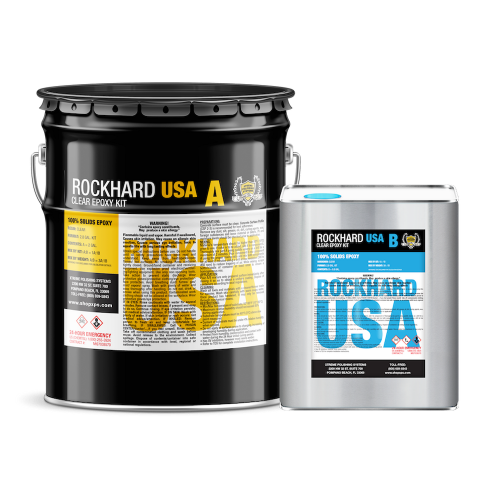
Materials:
Add-ons (only if needed):
- Concrete Repair / Crack Filler
- Acetone Pump Sprayer
- Stain Remover / Degreaser
- Temporary Floor Protection Cover
- Floor Buffer Machine
- HEPA Wet+Dry Vacuum
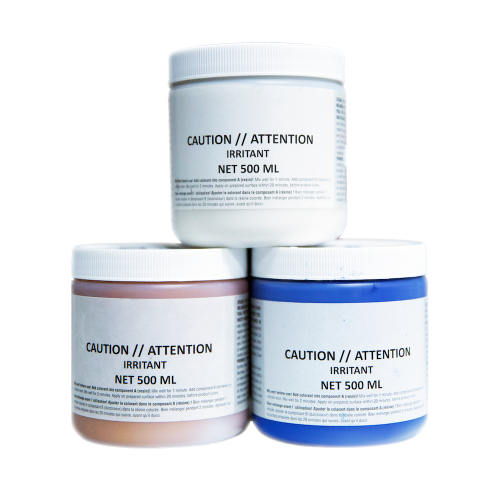
We provide additional options for decorative concrete stains to see anytime on our website. For those of you who are looking for a specific product, or particular brand name, or are just interested in browsing a wider variety of color options, click here to view our full collection of decorative concrete stains >>
In the following sections, we will be examining the step-by-step process for installing decorative concrete stain applications.
Step 1: Surface Preparation

Preparation is first and foremost when achieving optimal decorative concrete finishes. You must first ensure you are working with a clean and fresh slate. Make sure the surface is thoroughly cleaned before applying the stain by removing oil stains and any other surface contaminants. This includes existing coatings, glue adhesives, flaking paint, mastic, and other debris that could obstruct the decorative stain application.
We recommend combining water with a concrete cleaning solution to efficiently scrub the substrate. If you encounter stubborn surface adhesives, a chemical paint stripper or concrete degreaser may be used. These products are specially formulated to help remove and eliminate these aggressive types of surface adhesives. Prepare your concrete surfaces further by following these additional tips: A freshly poured concrete surface should be at least four weeks old before being treated. Old concrete surfaces can be cleaned using a pressure washer. Avoid using muriatic acid for cleaning; it removes minerals and creates darker colors and splotches. Concrete surfaces must be porous enough to absorb water. Sand uneven concrete slabs to ensure evenly stained concrete floors. It's imperative that stains can penetrate deep into the concrete pores before staining can begin.
Step 2: Mark Off Specific Areas

Marking off the sections of the concrete surface you do not want to be stained is extremely helpful before starting the initial application. This is generally recommended because decorative stains can easily drip somewhere you did not intend. If this does occur, those drip marks are practically impossible to remove. Our experts suggest using masking tape or multi-surface painter's tape for this step. Depending on your project type, you may want added protection to fully prevent stain drips. A water-resistant floor covering product can be utilized to help further protect these areas. To perform cleaner-looking edges and for perfecting a more intricate design, lay duct tape over the masking tape to help prevent stain bleeding.
Step 3: Test Colors Before Application

This is highly recommended simply because nothing is more deceiving than digital color cards and printed color charts. Thanks to major advancements in our technology today, high-quality printers and computers tend to embellish the actual look of these colors.
For the most accurate results, be sure you test the color you have selected. Perform a small sample application along a distant edge or in an inconspicuous corner to see how the finish will look. If the color is not what you expected, you can dilute or intensify the color according to your desired preference. You may also just simply choose a different color option.
Step 4: Apply the Concrete Stain

Now that you have fully prepared your concrete surface, you can begin applying your concrete stain. Even coverage is the ultimate goal here. This is why many installers opt to use hand-held pump sprayers, which are made of durable materials so they won't corrode after coming into contact with certain kinds of acid that may be in concrete stains.
While staining concrete, keep the following tips in mind:
- Consider applying concrete acid stains with a specialized sprayer for the most optimal results.
- For smaller areas, apply the stain with a concrete stain applicator brush, paint roller, or regular paintbrush.
- By overlapping your spray patterns, you can maintain a wet edge.
- If necessary, use a wet+dry HEPA vacuum to remove excess liquid and debris.
- If you choose to incorporate a sprayer to apply the stain, be sure you follow that step with a shop broom to ensure the sprayed areas do not appear significantly darker or lighter than the others.
- You may need to spray again over any areas that left broom marks.
Step 5: Allow Full Drying Time
Depending on the decorative stain you decide to use, the overall time length will vary for the application to set properly. Consult the product label located on the stain bottle or container for detail about the material and additional application instructions.
Additionally, decorative stains continue to set while their chemical reactions are occurring. If you are concerned about there being an odor emitted from the stain application, the smell will soon cease after you finish applying it and have allowed the application to fully dry.
If you would like to take further efforts to eliminate lingering odors, we recommend performing a final rinse to wash away any chemical smells that may still be existing around you. Apply a mixture of water and a mild detergent to clean the finished surface (baking soda is also sometimes used).
Step 6: Apply a Concrete Stain Sealer

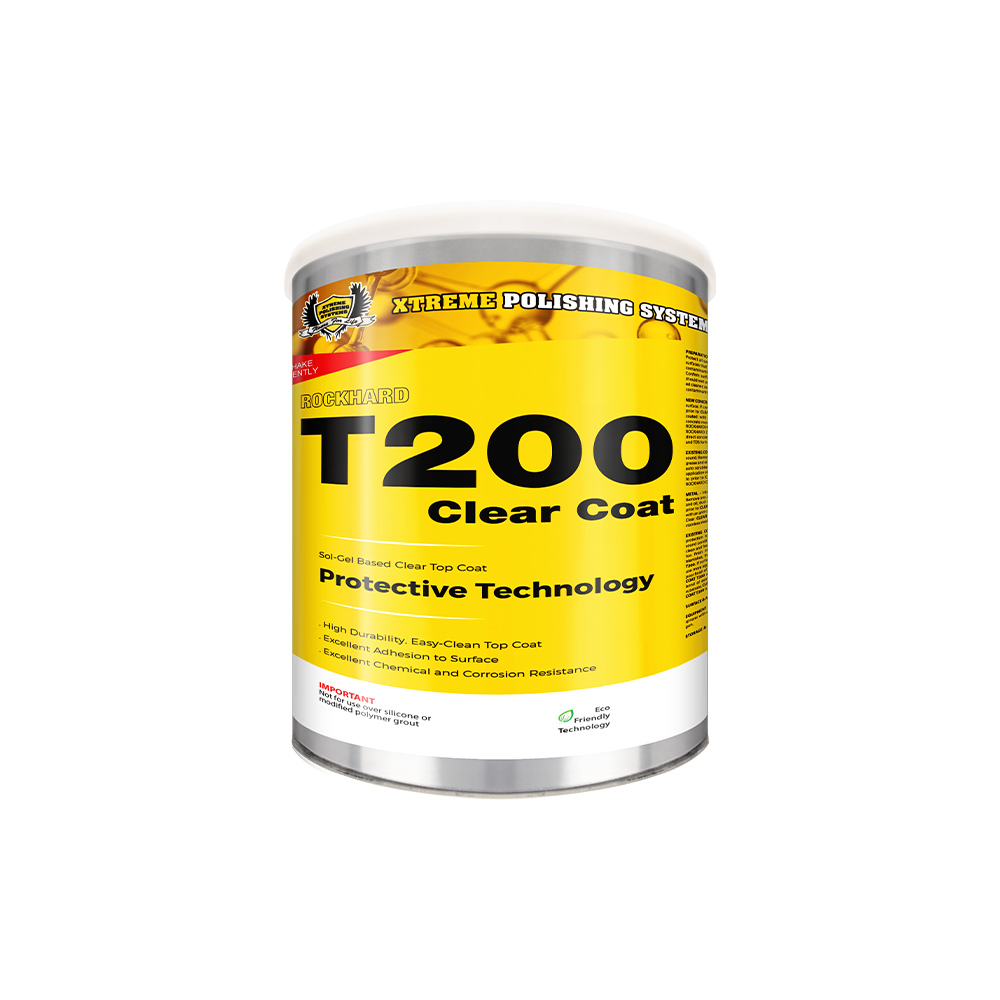
The stained concrete should then be sealed to protect it. If possible, use the manufacturer-recommended sealer; please consult the product label. For interior concrete surfaces, you can use a floor buffing machine to facilitate sealing.
Frequently Asked Questions (FAQs)

Q: What is the benefit of staining my concrete floors?
A: The application of stains to concrete can enhance its beauty, depth, and ease of maintenance.
Q: Is acid staining the best way to go?
A: In terms of application expertise, our professionals recommend acid-staining acrylic over water-based stains; however, acid-based concrete stains are less predictable since they are chemically based.
Q: If I stain a concrete floor myself, how much will it cost?
A: Costs of DIY concrete staining range from $0.30 to $0.40 per square foot.
Q: Do I need to hire a professional to stain a concrete floor?
A: It is always best to hire a professional to perform custom concrete work, even though DIY projects have become very popular in recent years. A flooring contractor will not only help you install your flooring properly but he or she will also help you decide which flooring is best for your particular space.
Conclusion
The process of staining concrete can revitalize the outdoor and indoor areas of your home and business. Follow these step-by-step instructions when staining old and new concrete floors to ensure that you achieve the look and feel of the stained concrete floors you're aiming for!
Here at Xtreme Polishing Systems, our industry experts understand that every concrete surface can variate in properties, therefore each slab must be treated differently. We’re here to guide you in the proper direction, so call us at (877) 958-5732 with any questions you may have.
Our team of professionals has been trained accordingly with our products and will deliver the fundamental guidance and customer service needed when accurately preparing and executing concrete finishes, from start to finish.


