Why Are Vinyl Flake Epoxy Resin Floors So Popular?
Epoxy resin is a durable polymer that, when mixed with a hardener, creates the strongest floors on the market. Epoxy is renowned for its chemical resistance, heat tolerance, and impact strength. It's used in industrial settings just as much as its used in garages, and it fits both perfectly!
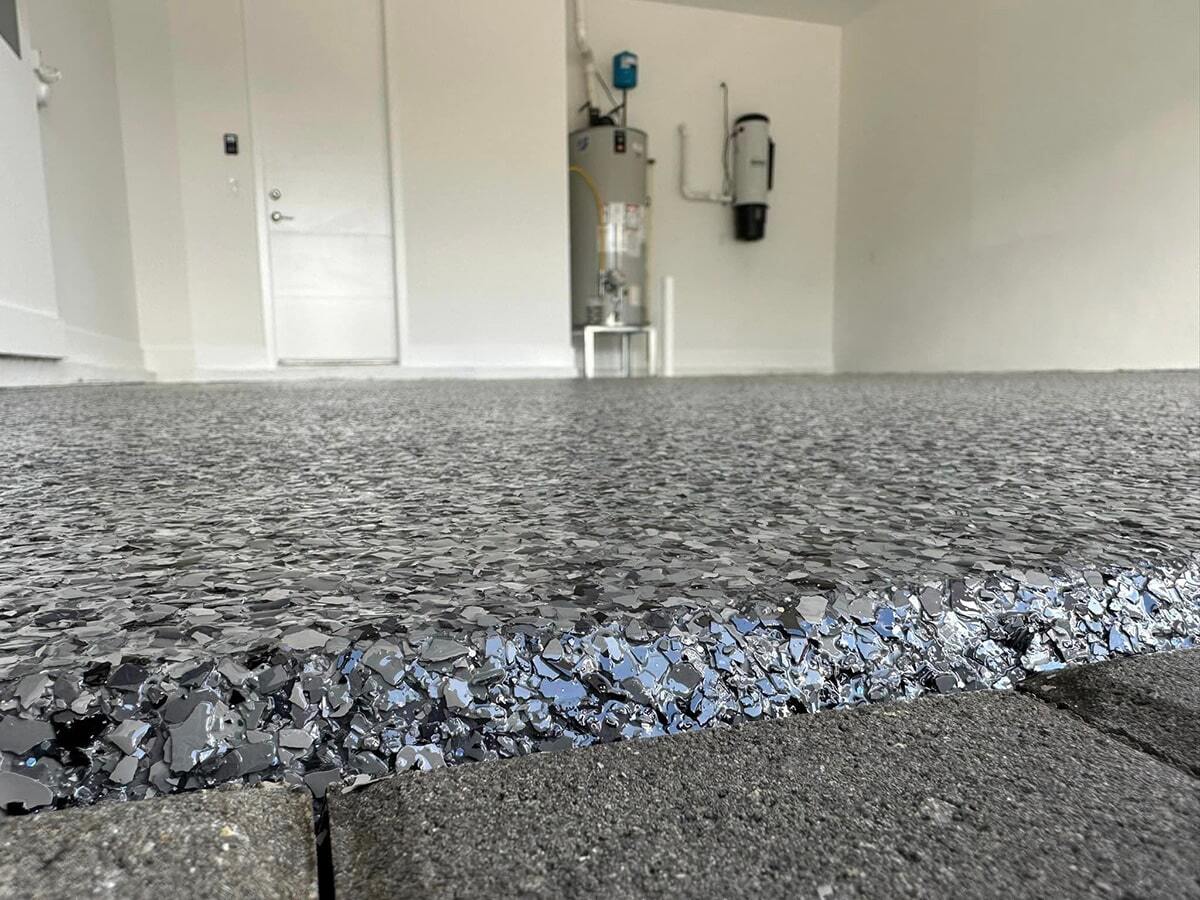
Your garage should be seamless, easy to clean, and strong. Epoxy's got it all - and its available in a myriad of colors and finishes! While vinyl flake is the gold standard for garage flooring, you are far from limited to only that. Go for gold with glitter or a clean, simple solid color, or even an intricate metallic epoxy flooring design!
Essential Tools and Resources
Before embarking on the installation process, ensure you have the following tools and resources:
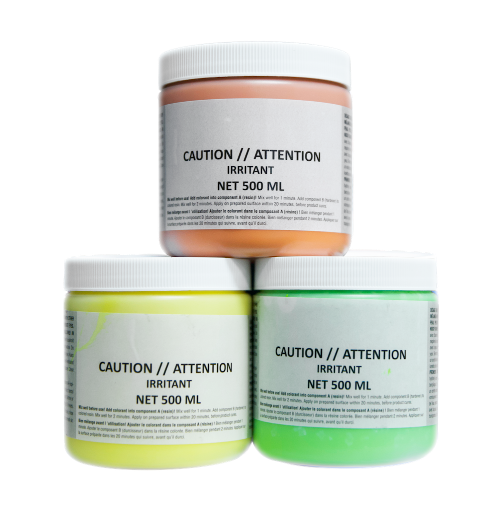
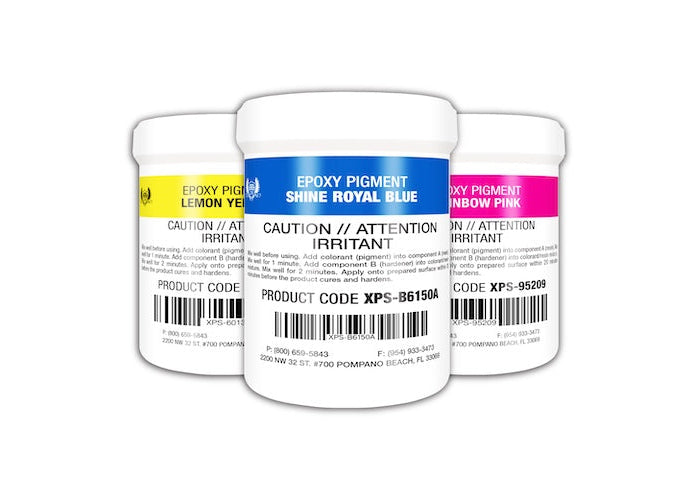
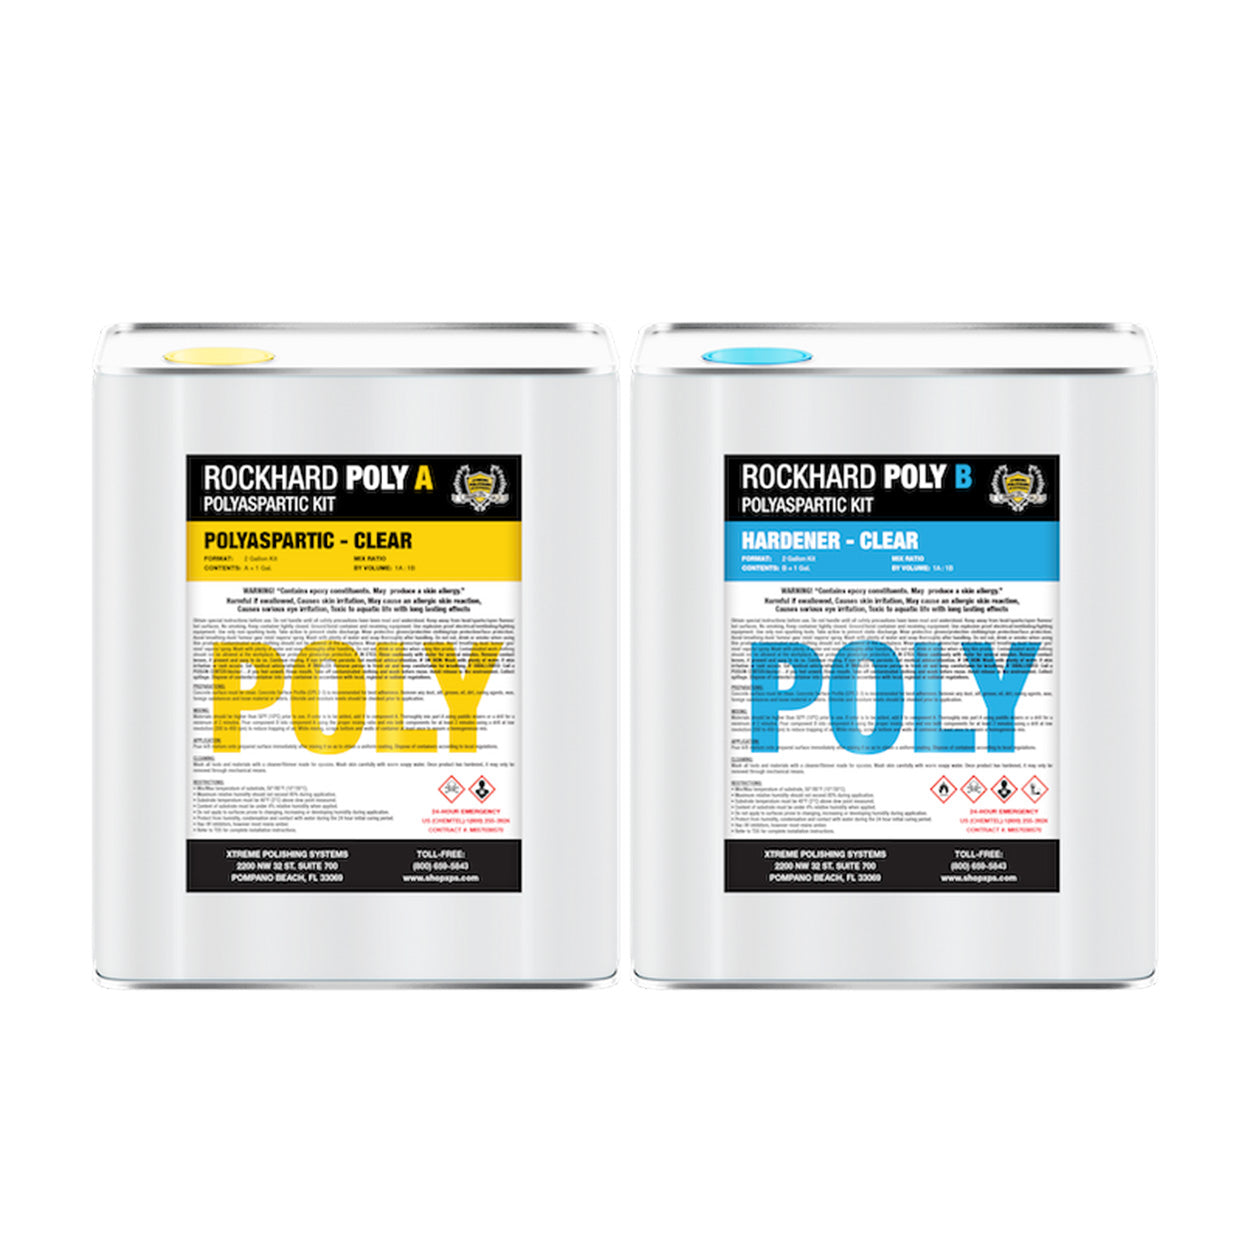
- Epoxy resin
- Primer
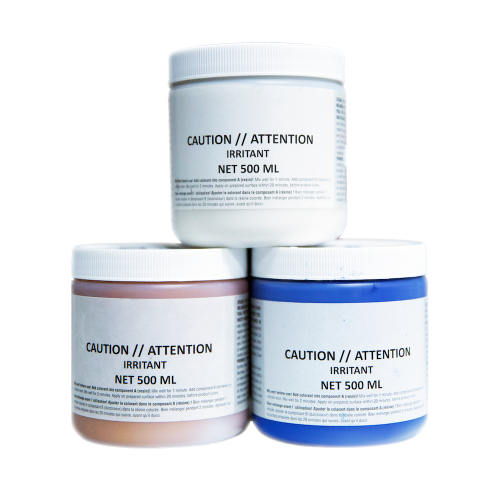
- Vinyl flakes
- Squeegee or roller
- Paintbrush
- Protective gear (gloves, goggles, mask)
- Concrete cleaner and degreaser

Step-by-Step Installation Guide
Vinyl flake epoxy resin floors have become the gold standard in garage flooring not just because of their strength. They're known for just how easy & affordable they are to install, too! Our guide here will provide a basic overview of the steps you need to go through to get that strong garage flooring you want.
For the best results, we recommend contacting a local flooring contractor still. But, if you are DIY-minded, epoxy resin floors are some of the easiest to install on the market!
Step 1: Surface Preparation
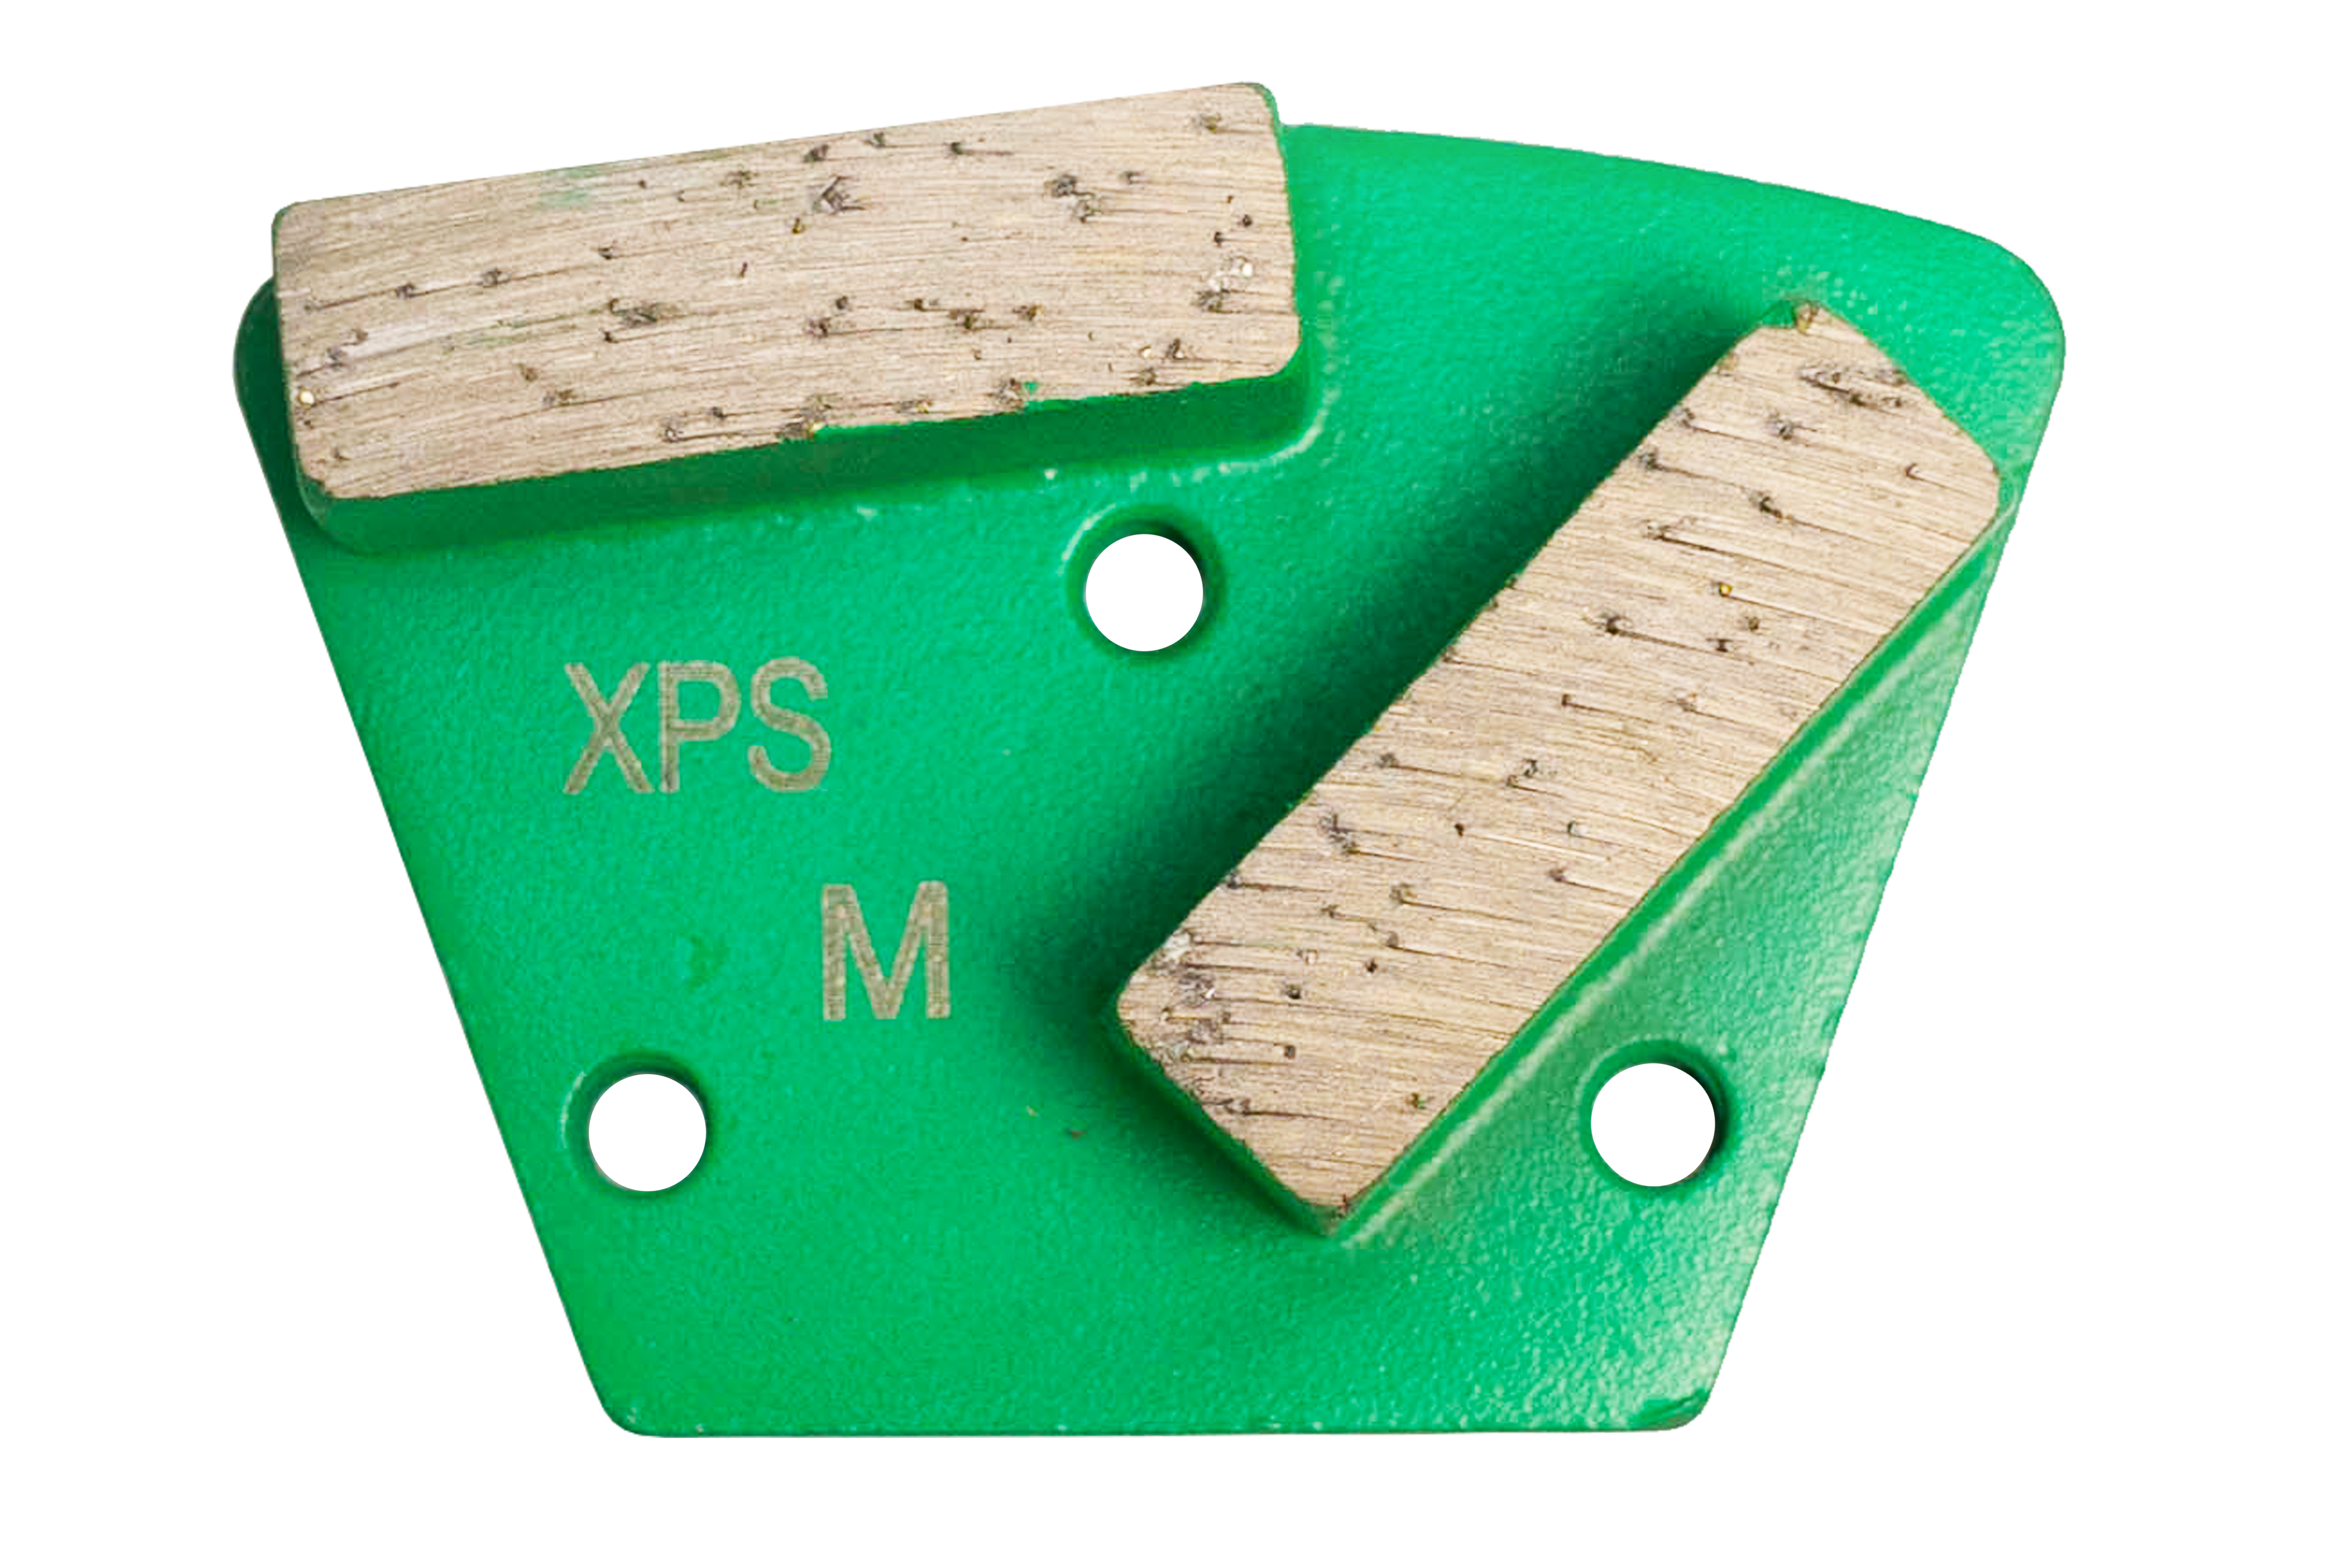
Surface preparation is one of the most important steps in the whole process, and yet it's too often neglected or even ignored during installation. And it's so simple, too, depending on the condition of your concrete foundation.
Every floor will need to be thoroughly cleaned with a mild cleanser and degreaser. But, if your floor is too smooth or too uneven, you may need to break out the grinder to fully prepare your floor for epoxy resin. Don't forget to check for moisture content, too!
Step 2: Apply a Primer Layer
Once the floor is prepared and clean, you should apply a base primer layer on top of the foundation. This will help you get the most adhesion & strength out of your finished epoxy floor, and it can begin its curing process as your prepare the rest of the resin system.
Step 3: Mix the Epoxy Resin & Hardener Solutions
Your preferred epoxy resin flooring kit should have manufacturer's instructions on the recommended mixing proportions. For most epoxy resin solutions, the ratio is either 2 parts resin to 1 part hardener, or 1:1 resin:hardener.
Be sure to check specifically with your solution! Messing this up can mean you've wasted an entire epoxy resin kit with no floor to show for it.
Step 4: Apply the Epoxy Resin Solution
Don't wait too long between last step and this step! Once you finish mixing your epoxy resin, it's already begun its curing process. With a polyaspartic solution, this means you'll have anywhere from 4-8 hours to finish installing and applying the resin. With a traditional resin solution, that's extended to about 24-48 hours.
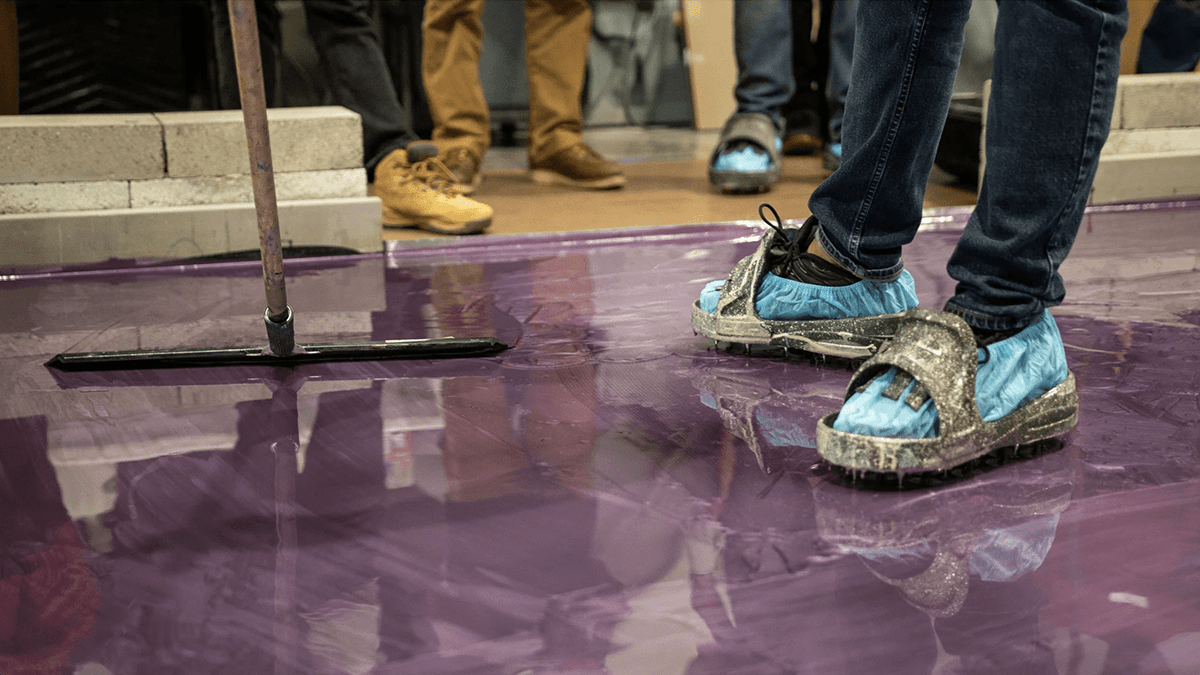
Use a squeegee or a spiked roller & evenly spread the resin solution across the floor. If you're working with a large floor, work in sections.
Step 5: Broadcast the Vinyl Flake/Traction Additive
Once you've gotten the epoxy resin solution on the ground & beginning to cure, you must broadcast your preferred traction additive. If you're going for vinyl flake epoxy resin floors, broadcast the vinyl flakes onto the surface for desired aesthetics. Broadcast a little or a lot, different color combinations, it's truly up to you.
Your technique should be a scoop-and-sweep out from a bucket. This will help with ensuring an even coverage, but it truly is up to you how you want to broadcast.
Step 8: Apply the Final Epoxy Resin Layer
Much like the layer of resin before this, you'll need to wait until the previously layer has cured. Break out the squeegee or other application tool & spread your final layer of epoxy resin evenly over the floor area.
This is the layer that's going to be most visible, so make sure to approach it patiently and carefully!
Step 7: Let the Epoxy Resin Cure
Once you've applied your final topcoat layer, all that's left to do is leave it alone. For how long will depend on your resin solution. As mentioned before, polyaspartic resins will only take an afternoon - 4 to 8 hours - to fully cure. But traditional resins may take several times longer - 24 to 48 hours.
Conclusion
A new & revived garage floor doesn't have to be so far away - it may be only a few days work and a little bit of investment away! Whether you're a DIY enthusiast making home renovations or a professional contractor expanding their business, this guide will help you get the fundamentals of vinyl flake epoxy floors for garages down. Install stronger, cleaner & better looking floors today!
Xtreme Polishing Systems (XPS) is here to get you the tools you need to get the job done today. Whether you need on the job advice from our team of technicians at (877) 958-5264, or the best resources on the market at competitive rates from our online store, we have it.