
Substrate preparation accounts for most epoxy floor failures, so a rigorous pre-installation workflow is essential for long-term bond strength and surface integrity. If you skip critical steps in your epoxy floor preparation, you are gambling with your professional reputation and profitability.
Follow these steps from Xtreme Polishing Systems to execute a flawless workflow from environmental testing to final staging, so you can install with total confidence and eliminate costly callbacks.
Site Condition Checks for Epoxy Floor Preparation
Environmental Factors to Consider in Resinous Coating Installations
Before you open a single bucket of resin, you must evaluate the environmental conditions where your floor will cure. Epoxy is an advanced chemical reaction, and chemical cure dynamics require tight atmospheric control.
-
Dew Point & Temperature Monitoring: Measure ambient temperature, concrete slab temperature, and relative humidity using a digital meter. You'll want to ensure concrete temperature remains at least 5°F above the dew point to prevent micro-condensation during application.
-
Ambient Parameter Control: Verify that air temperature remains consistently within 50°F–85°F and relative humidity stays strictly under 85% to avoid amine blush or extended cure cycles.
- HVAC & Air Movement Optimization: Verify operational ventilation or deploy negative air scrubbers. Avoid directed, heavy airflow across wet resin, as turbulent drafts cause surface rippling and debris entrapment.
Ignoring ambient parameters leads to catastrophic epoxy floor failures. High humidity causes your resin to develop a waxy surface film that ruins inter-coat adhesion; cold concrete can stall or completely stop resin curing.
Concrete Substrate Evaluation for Epoxy Floor Preparation
Not all concrete slabs are created equal, and understanding your substrate's physical properties is paramount. Industry data confirms that structural readiness directly correlates with coating longevity.
-
Cure Time Verification: Confirm that newly poured concrete has cured for at least 28 full days before applying any resinous coating system.
-
Moisture Vapor Testing: Perform an ASTM F2170 in-situ relative humidity test (target under 75%–80% RH) or an ASTM F1869 calcium chloride test (target under 3 lbs/1,000 sq ft/24 hrs). If moisture levels exceed thresholds in your concrete slab, invest in a moisture vapor barrier system before installing any resinous coating.
-
Contaminant & Sealer Detection: Perform a systematic water drop test across multiple zones of the slab. If water beads rather than absorbing within 3 to 5 minutes, active surface sealers, densifiers, or oil contaminants are present and require aggressive mechanical removal or specialized chemical degreasing.
- Hardness & Soundness Testing: Test concrete compressive strength and surface hardness using a Mohs hardness pick set to specify the correct diamond segment bond. Conduct a chain drag or hammer tap test to identify hollow or delaminated zones that require full structural repair.
Coating over a sealed or contaminated slab guarantees complete adhesion failure. To reduce guesswork, invest in accurate, reliable testing equipment (such as moisture meters and a Mohs hardness tester).

Surface Mechanical Profiling, Repairs and Epoxy Floor Preparation
Mechanical profiling creates the anchor pattern epoxy needs to lock into the concrete matrix. Investment in mechanical preparation correlates directly with long-term bond strength.
-
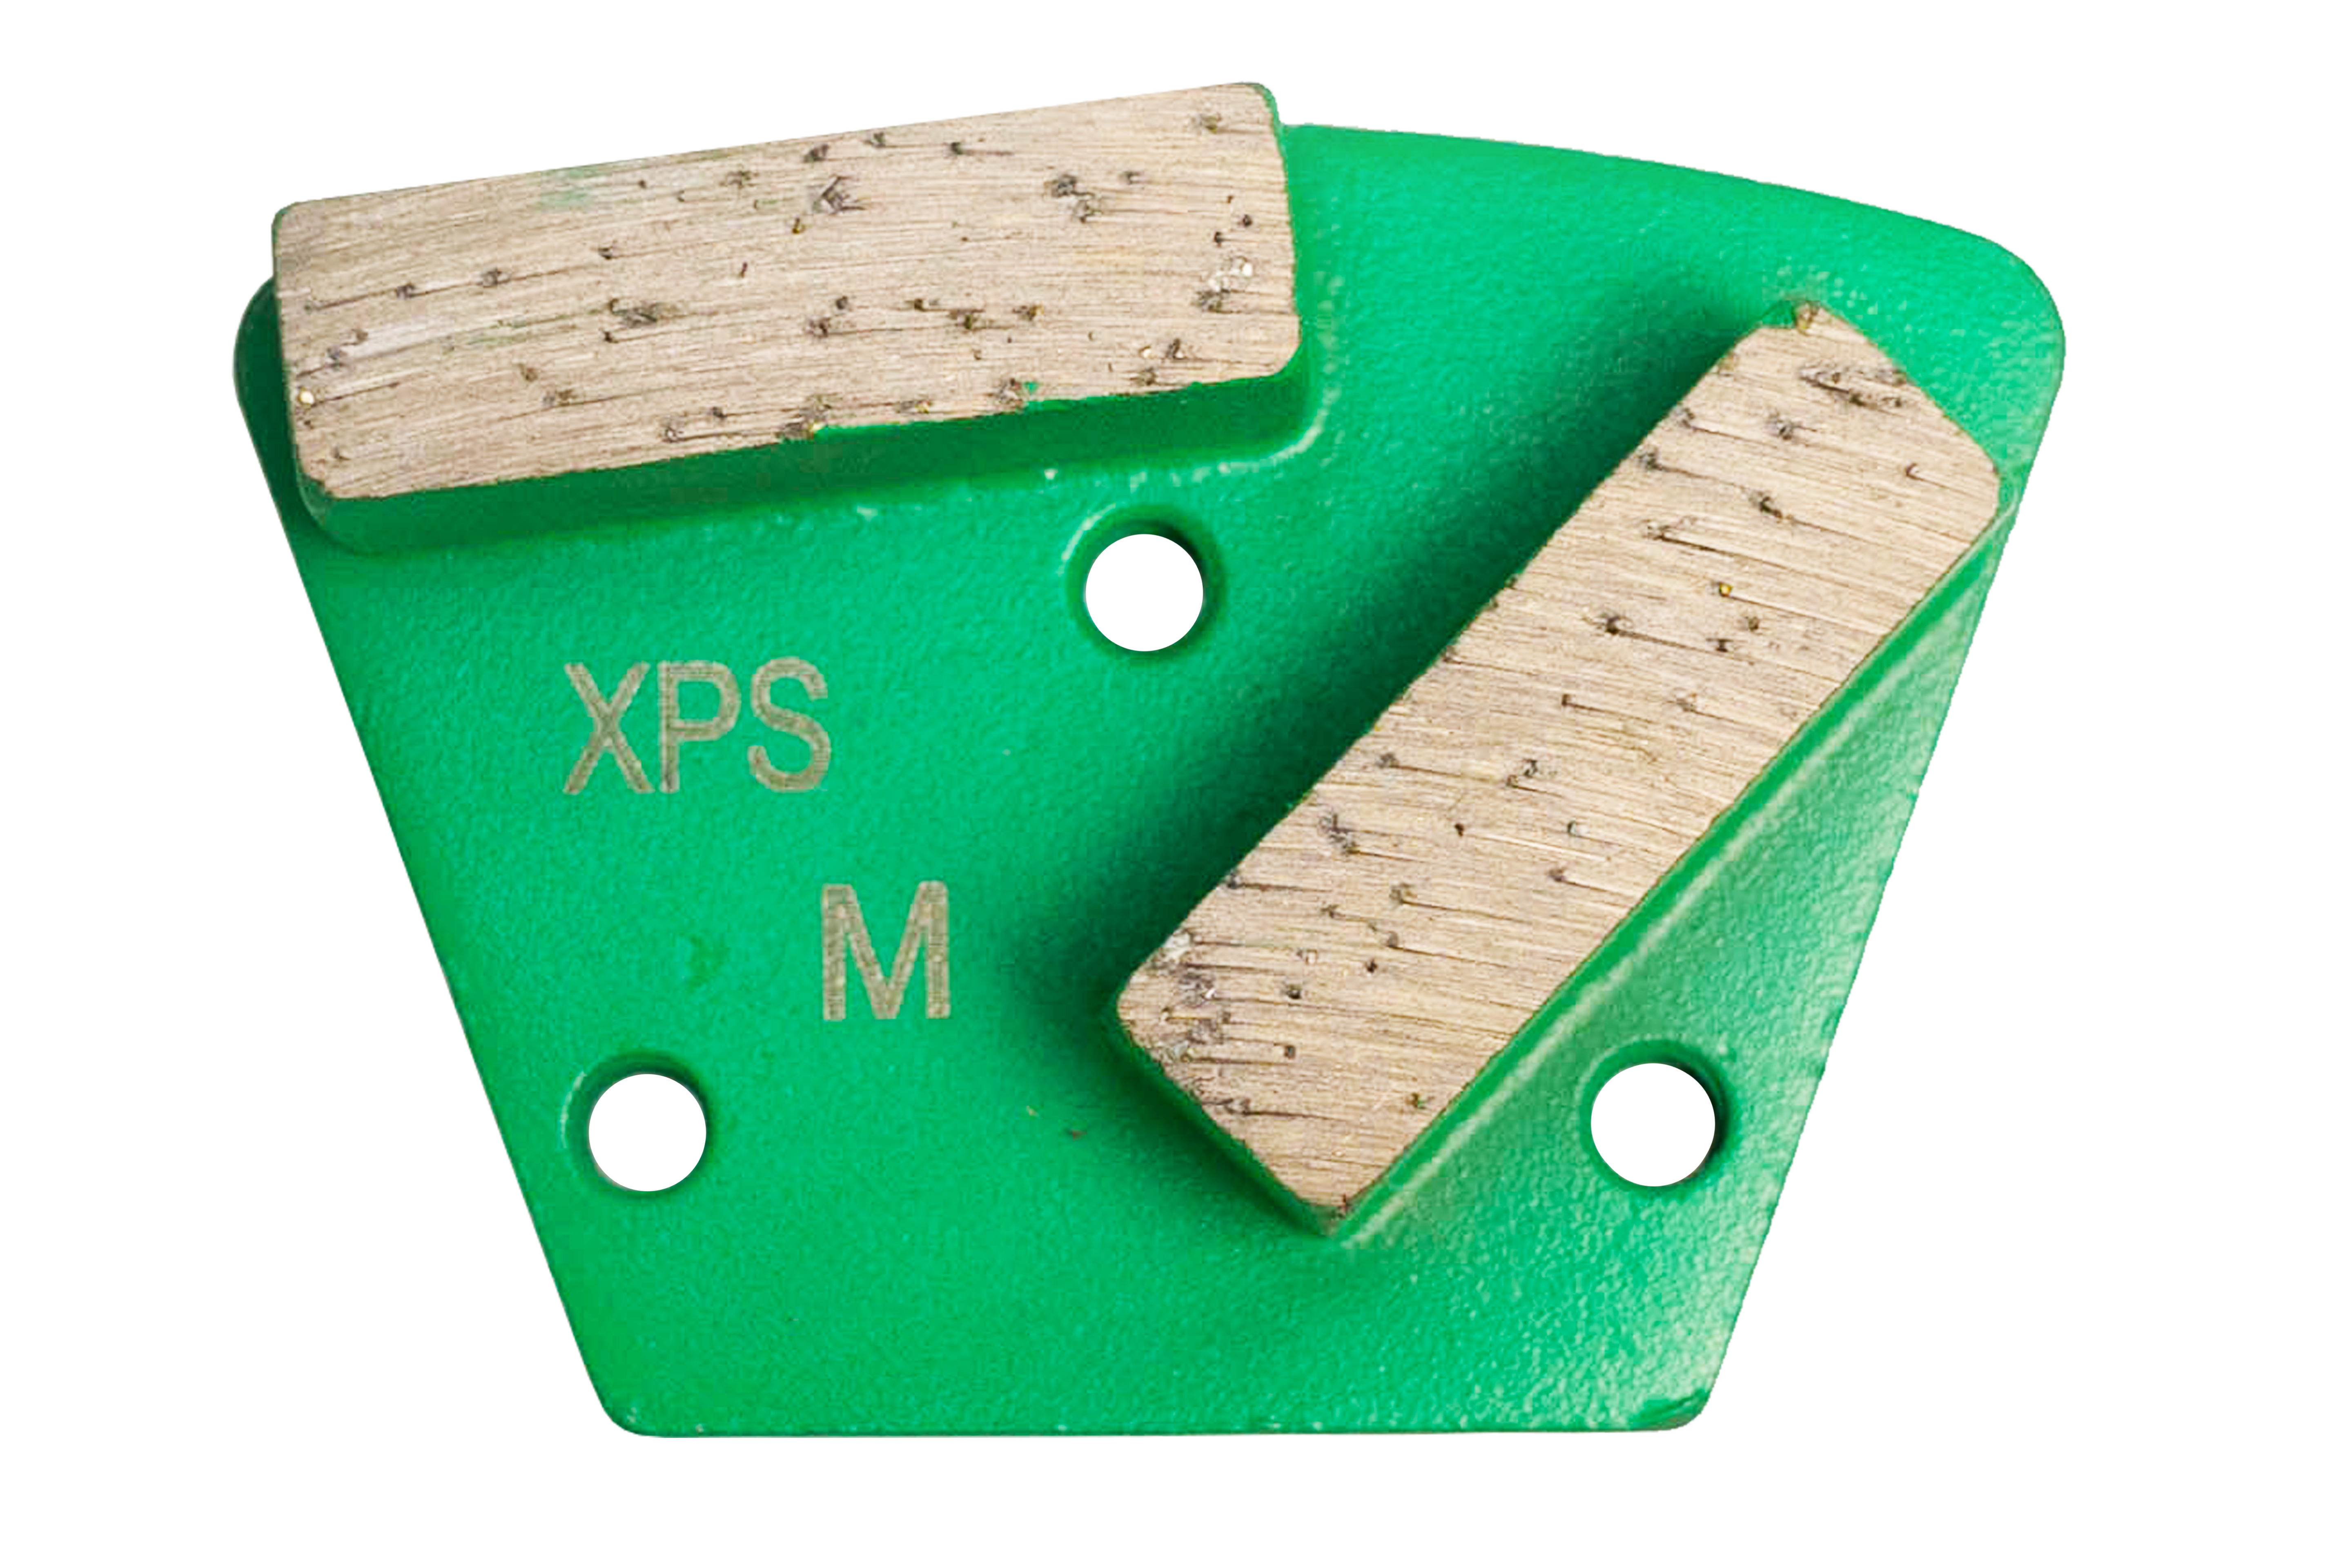
Mechanical Grinding & Profiling: Profile the slab to achieve a Concrete Surface Profile of CSP 2 to CSP 3 for thin-film coatings, or CSP 3 to CSP 5 for high-build broadcast systems. While some guides mention acid etching, modern professionals prefer diamond grinding because acid etching can be inconsistent and poses safety risks.
- The Concrete Genie from Xtreme Polishing Systems is a robust planetary grinder engineered specifically for this demanding operational task. As a powerful, durable polisher that grinds close to walls, it keeps the jobsite clean and prepared efficiently when paired with the Tromb 400L dust extractor.
- The Concrete Genie from Xtreme Polishing Systems is a robust planetary grinder engineered specifically for this demanding operational task. As a powerful, durable polisher that grinds close to walls, it keeps the jobsite clean and prepared efficiently when paired with the Tromb 400L dust extractor.
-
Precision Perimeter Edging: Hand-grind all perimeters, corners, door jambs, and equipment bases using an angle grinder fitted with an integrated dust shroud and diamond cup wheel.
The Teenie Genie Edge Grinder reaches as close as 1/8-inch from vertical walls. It is perfect for edging around garage walls and posts. Its patented anti-suction lock technology lets it glide smoothly like a puck on ice, and it weighs only 35 lbs.
- Alternatively, use an epoxy cove base system to finish any trims and corners seamlessly.
- Alternatively, use an epoxy cove base system to finish any trims and corners seamlessly.
- Termination Keyway Cutting: Where appropriate, cut a termination groove into the concrete at exposed coating edges, such as doorways, drains, cleanouts, and open transitions. The coating is worked into the groove to create a mechanical lock and help reduce the risk of edge lifting or peeling under traffic.
Insufficient profiling remains the leading root cause of delamination. Without a rough anchor profile resembling 60-grit sandpaper (or a CSP of 2-3, depending on your resin), resinous coatings cannot establish their highest level of adhesion. High-stress impact at transition edges will cause untreated coatings to peel back like a sticker in the short to medium term.
Crack, Joint & Patch Repair
A flawless high-performance coating requires a structurally sound substrate. Address all surface fractures and joint configurations before applying coating.
-
Crack Chasing: V-groove or chase all static cracks and spalls with a diamond crack-chasing blade to establish clean, solid sidewalls for repair compounds.
-
Spall & Patch Mitigation: Fill chased cracks, divots, and pop-outs with a 100% solids epoxy repair material or rapid-cure rigid polyurea, then grind flat once fully cured.
- Control & Expansion Joint Staging: Chase and clean control joints thoroughly. Honor true expansion joints by installing an elastomeric joint sealant post-epoxy application; never bridge functional expansion joints with rigid epoxy materials.
Unfilled structural fractures will show up in the cured resin, often as stress risers where moisture or heavy wheel loads trigger catastrophic failure. Xtreme Polishing Systems offers a variety of tools and resources made specifically for concrete and joint repair.
Cleaning & Perimeter Prep
Microscopic silica dust silently kills epoxy adhesion. Thorough decontamination is non-negotiable for professional contractors.
-
HEPA Dust Extraction: Meticulously vacuum the entire substrate using an industrial HEPA vacuum equipped with a floor squeegee head. Avoid standard shop vacuums that redistribute fine particulate matter back onto the slab.
- The Surface Prep Starter Package (Genie) includes the Tromb 400L dust extractor, which you should use to capture silica dust during grinding. This powerful dust extractor keeps your workspace clean and safe, protecting both you and the client's property.
- The Surface Prep Starter Package (Genie) includes the Tromb 400L dust extractor, which you should use to capture silica dust during grinding. This powerful dust extractor keeps your workspace clean and safe, protecting both you and the client's property.
-
Dust Tape Verification: Press a strip of clear packing tape firmly onto the prepped concrete surface, then peel it off cleanly. If visible silica dust coats the adhesive backing, re-vacuum the slab.
-
Spot Degreasing Treatment: Treat residual oil or grease deposits with an industrial degreaser or bio-enzymatic emulsifier, then fully dry before applying primer.
- Masking & Facility Protection: Mask off walls, door frames, support columns, drains, and adjacent non-coated zones using heavy-duty painter's tape and protective plastic sheeting.
Invisible dust films create a barrier layer that prevents polymer penetration. A slab that appears clean but fails the tape test will exhibit pinholes, fisheyes, and localized delamination within weeks of handoff.
Staging, Equipment & PPE Setup
The final phase of epoxy floor preparation centers on operational readiness and team safety for application day.
-
Material Temperature Conditioning: Store epoxy resins, hardeners, aggregates, and decorative flakes in a climate-controlled space (65°F–75°F) for at least 24 hours before mixing to ensure optimal fluid viscosity and pot life.
-
Mixing Station Assembly: Establish a dedicated mixing station lined with heavy plastic sheeting adjacent to the application area. Prepare variable-speed heavy-duty mixing drills equipped with clean Jiffy-style blades.
-
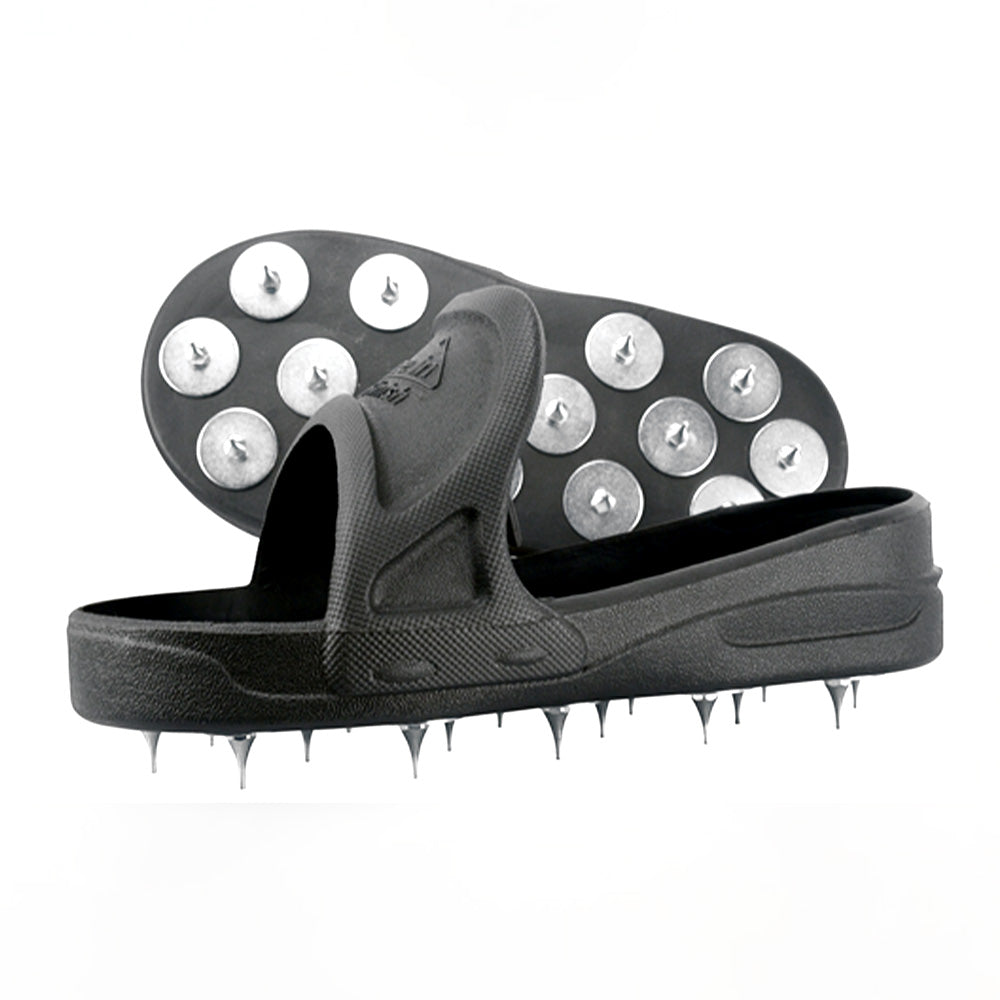
Application Tool Inspection: Inspect notch squeegees, gauge rakes, dip-and-roll trays, microfiber roller covers (pre-lint-rolled to remove loose fibers), spiked shoes, and spiked rollers.
PPE & Safety Compliance: Ensure all crew members wear NIOSH-approved respirators rated for organic vapors and silica dust, chemical-resistant nitrile gloves, eye protection, and protective suits.
Rushing setup operations invites costly errors during fluid placement. Controlled material staging supports optimal chemical reactions, letting your team focus on precise placement instead of scrambling for tools.
Coating Options
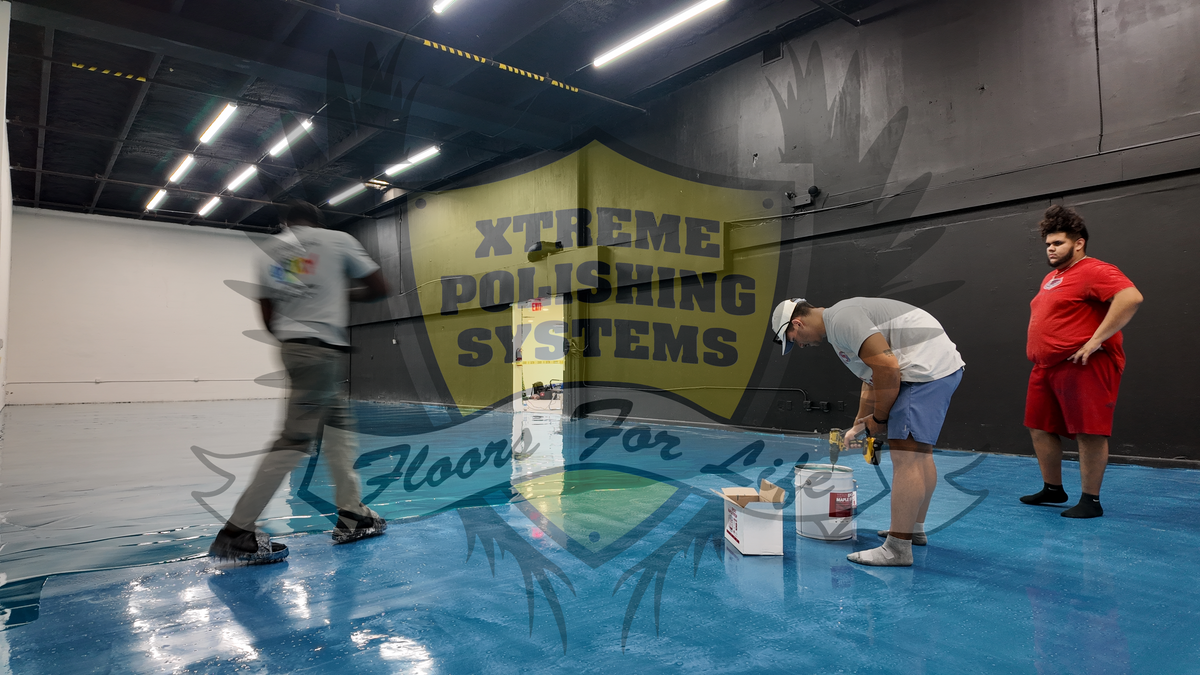
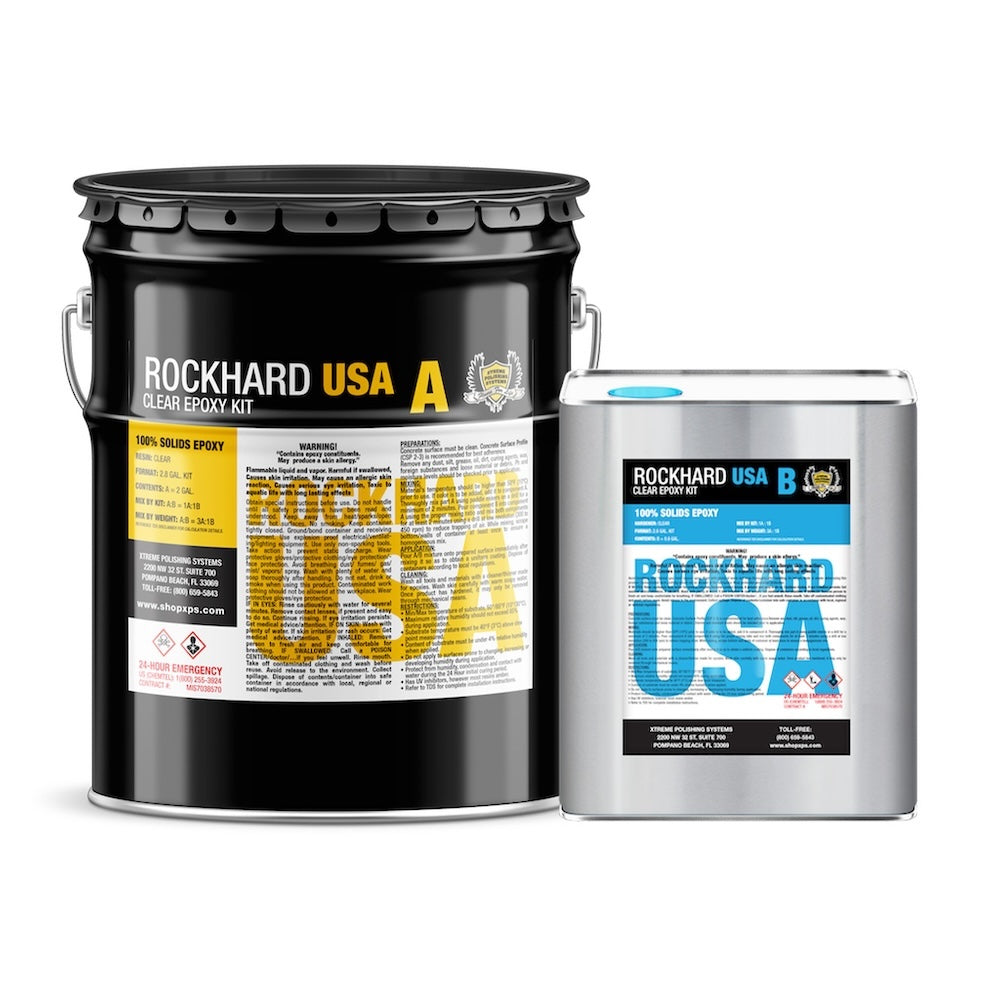
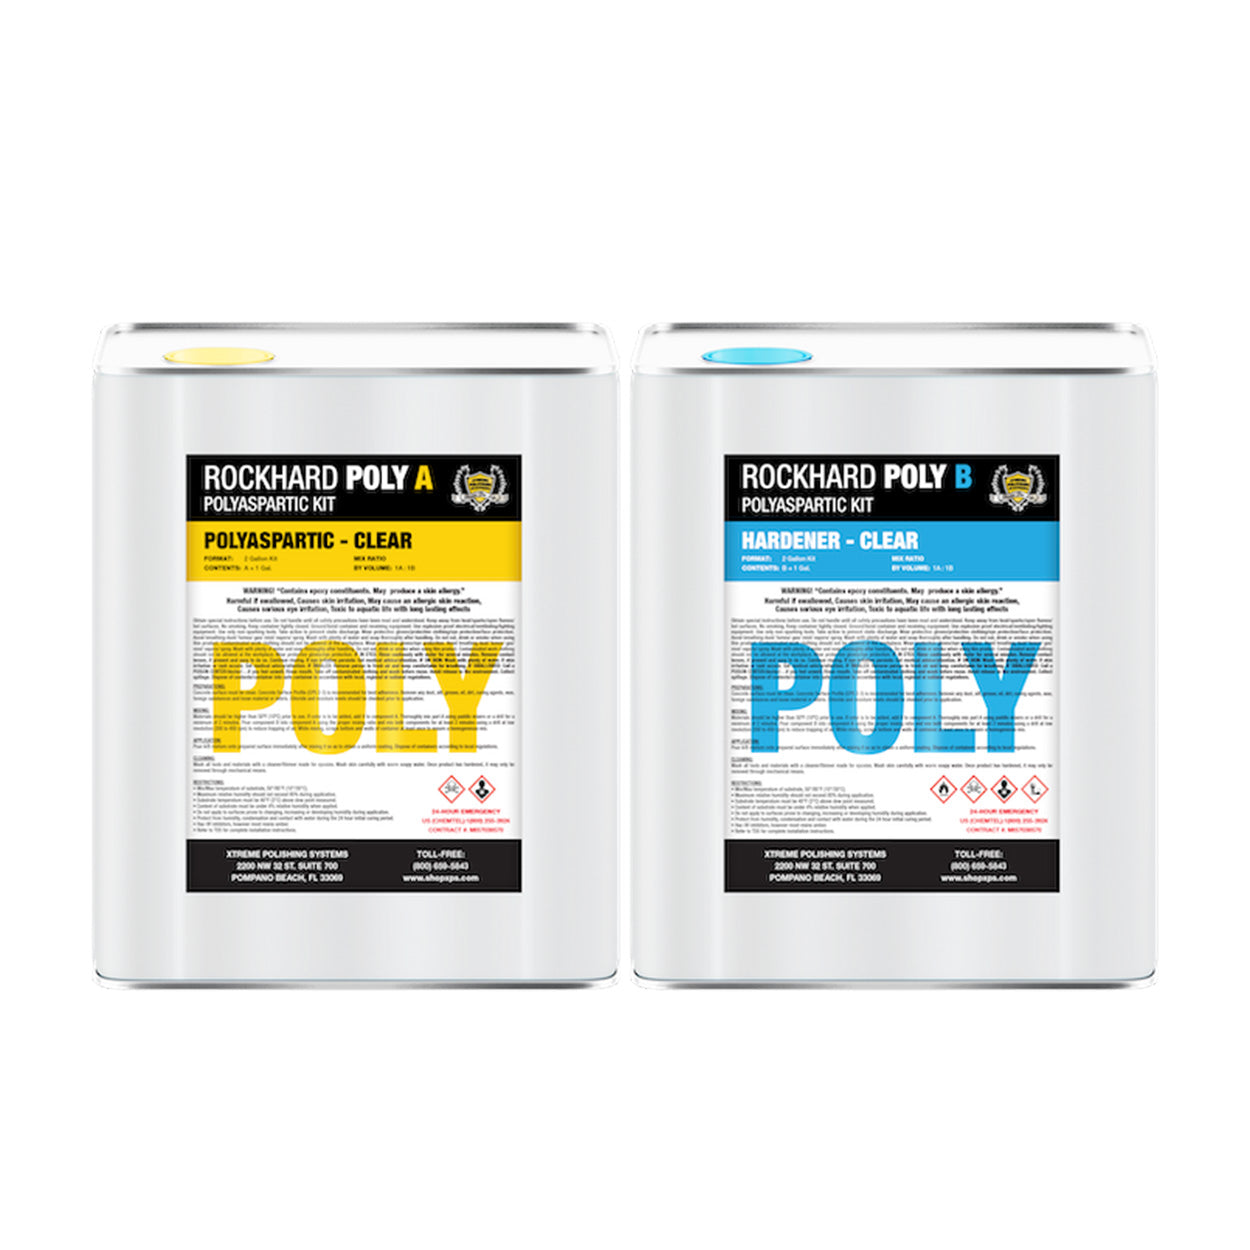
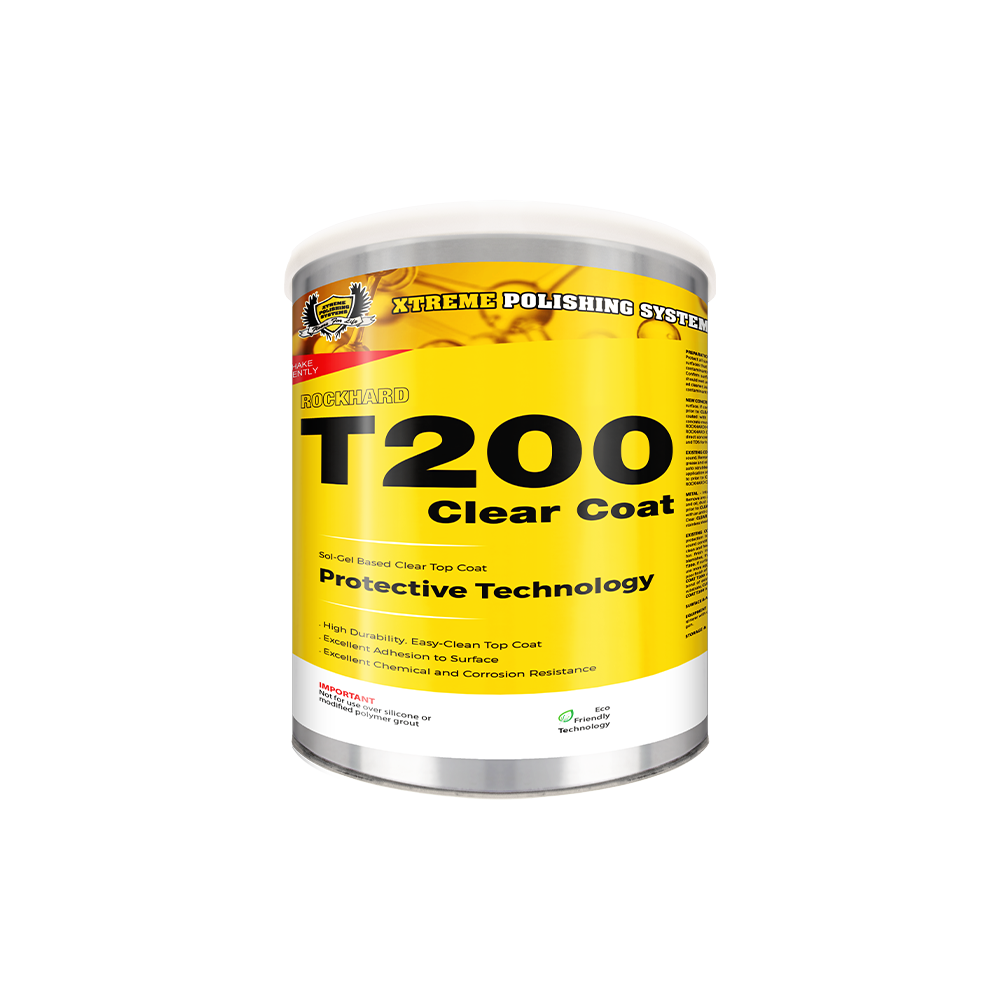
The last decision you'll have to make is which resinous coating will actually get installed onto your or your clients' floors. At Xtreme Polishing Systems, we have plenty of experience and guidance on the range of resinous flooring options available for flooring contractors. You'll most likely choose between polyaspartic and epoxy resins.
On top of that, if your initial inspection of the site reveals moisture over the accepted thresholds, you'll want to invest in a moisture vapor barrier to protect you and your client's investment.
Frequently Asked Questions
What is the most critical step in epoxy floor preparation?
Mechanical profiling via diamond grinding to achieve a CSP 2–3 anchor profile is the single most vital step. Without proper surface profiling, the epoxy cannot form a mechanical bond, leading to premature delamination. While some guides mention acid etching, modern professionals now prefer diamond grinding because of inconsistent results and safety risks.
How can contractors determine if concrete moisture levels are too high?
Perform an ASTM F2170 in-situ relative humidity test or an ASTM F1869 calcium chloride test. If RH readings exceed 75%–80% or MVER exceeds 3 lbs/1,000 sq ft/24 hrs, apply a specialized moisture vapor barrier primer before proceeding with topcoats.
How is the dust tape test conducted, and why is it important?
Press a strip of clear packing tape onto the prepped concrete surface and peel it off cleanly. If visible silica dust coats the adhesive backing, re-vacuum the area. This quick epoxy floor preparation test ensures a clean, dust-free surface for maximum bond strength.
How long must newly poured concrete cure before applying epoxy?
New concrete must cure for a minimum of 28 full days. Uncured concrete continuously off-gasses moisture vapor, which destroys resin adhesion. Always test moisture levels before coating.
Is professional certification recommended for epoxy floor installation?
Yes, formal training dramatically reduces jobsite errors. EpoxyClasses offers a 5-day hands-on epoxy certification course covering moisture testing, grinding techniques, crack repair, and complete system application. You'll learn to diagnose and prevent failures before they happen. You receive an epoxy flooring certification that verifies your training, helping you win commercial bids and charge premium rates.
Closing
A disciplined epoxy floor preparation protocol is the definitive boundary between a floor that lasts decades and one that fails in months. Follow these steps, equip your team with premium equipment from Xtreme Polishing Systems, and never compromise on surface evaluation.
Xtreme Polishing Systems (XPS) the control center for contractors needing concrete and resinous coating resources. Call our specialists at (877) 958-5264 for product and project guidance.