You’ve watched the videos, cleared out the garage, and lined up a weekend for the project. But the single biggest mistake homeowners make when learning how to epoxy a garage floor happens before the kit is even opened: skipping or rushing the surface preparation. The difference between a stunning, decades-long finish and a failed, peeling mess often comes down to the first few hours of work.
This expert guide from Xtreme Polishing Systems walks you through the critical steps - and the most common epoxy resin fails - so you can avoid the heartbreak of peeling, bubbling, or sticky floors.
The 4 Main Causes of Epoxy Floor Failure: What You Need to Know
1. The Silent Killer: No Moisture Testing & Missing MVBs
Concrete may look bone‑dry on the surface, but it behaves like a hard sponge. Moisture vapor constantly moves upward through the slab from the earth below. When you seal concrete with an impermeable epoxy coating, you trap that rising moisture. If there’s enough moisture, it’ll lead to epoxy floor problems that are expensive to fix.
- Hydrostatic Pressure: As vapor collects beneath the epoxy, it builds massive hydrostatic pressure. This will cause bursting or blistering of your floor.
- Osmotic Blistering: That pressure eventually forces the coating off the ground, resulting in fluid‑filled bubbles (osmotic blisters) that pop and peel.
- Moisture Testing (The Solution): You cannot eyeball moisture. Maybe you’ll be able to tell there’s moisture problems if it’s extremely obvious, but oftentimes it won’t be. You must run relative humidity (RH) in‑situ probe tests or calcium chloride tests before mixing any product. If moisture emission rates are high, you need a dedicated moisture vapor barrier.
But what are moisture vapor barriers for epoxy resin flooring? A reliable MVB like the Rockhard USA MVB can serve as a high‑performance base coat. For serious moisture, you need a true vapor-barrier system.
Use a 100% solids epoxy MVB on slabs with RH readings above 75%. That will help create a dense surface that resists bacteria and moisture, and it’s non‑toxic with low odor for indoor use.
2. Poor Surface Preparation: The “Close Enough” Trap
Epoxy doesn’t just sit on top of concrete like paint. It needs to lock into the slab's pores mechanically. If the concrete isn’t prepped perfectly, the epoxy is essentially bonding to dust and prayers. This is the #1 cause of epoxy floor failure within the first year.
Concrete is porous and easily absorbs oil, grease, tire silicone, and old sealers. If these aren’t completely removed, the epoxy bonds to the contaminant rather than the concrete, resulting in immediate peeling. Don’t waste money on temporary fixes - clean aggressively.
-
Laitance: This weak, milky layer of crystalline dust rises to the top of freshly poured concrete. If you don’t grind past this fragile layer, the epoxy will stick to it, pull it right off the floor, and delaminate.
- Inadequate Concrete Surface Profile (CSP): Smooth concrete is the enemy. The slab needs to be mechanically roughened to feel like medium‑grit sandpaper (CSP 2 or 3).
Acid Etching vs. Mechanical Surface Preparation: Which is Best?
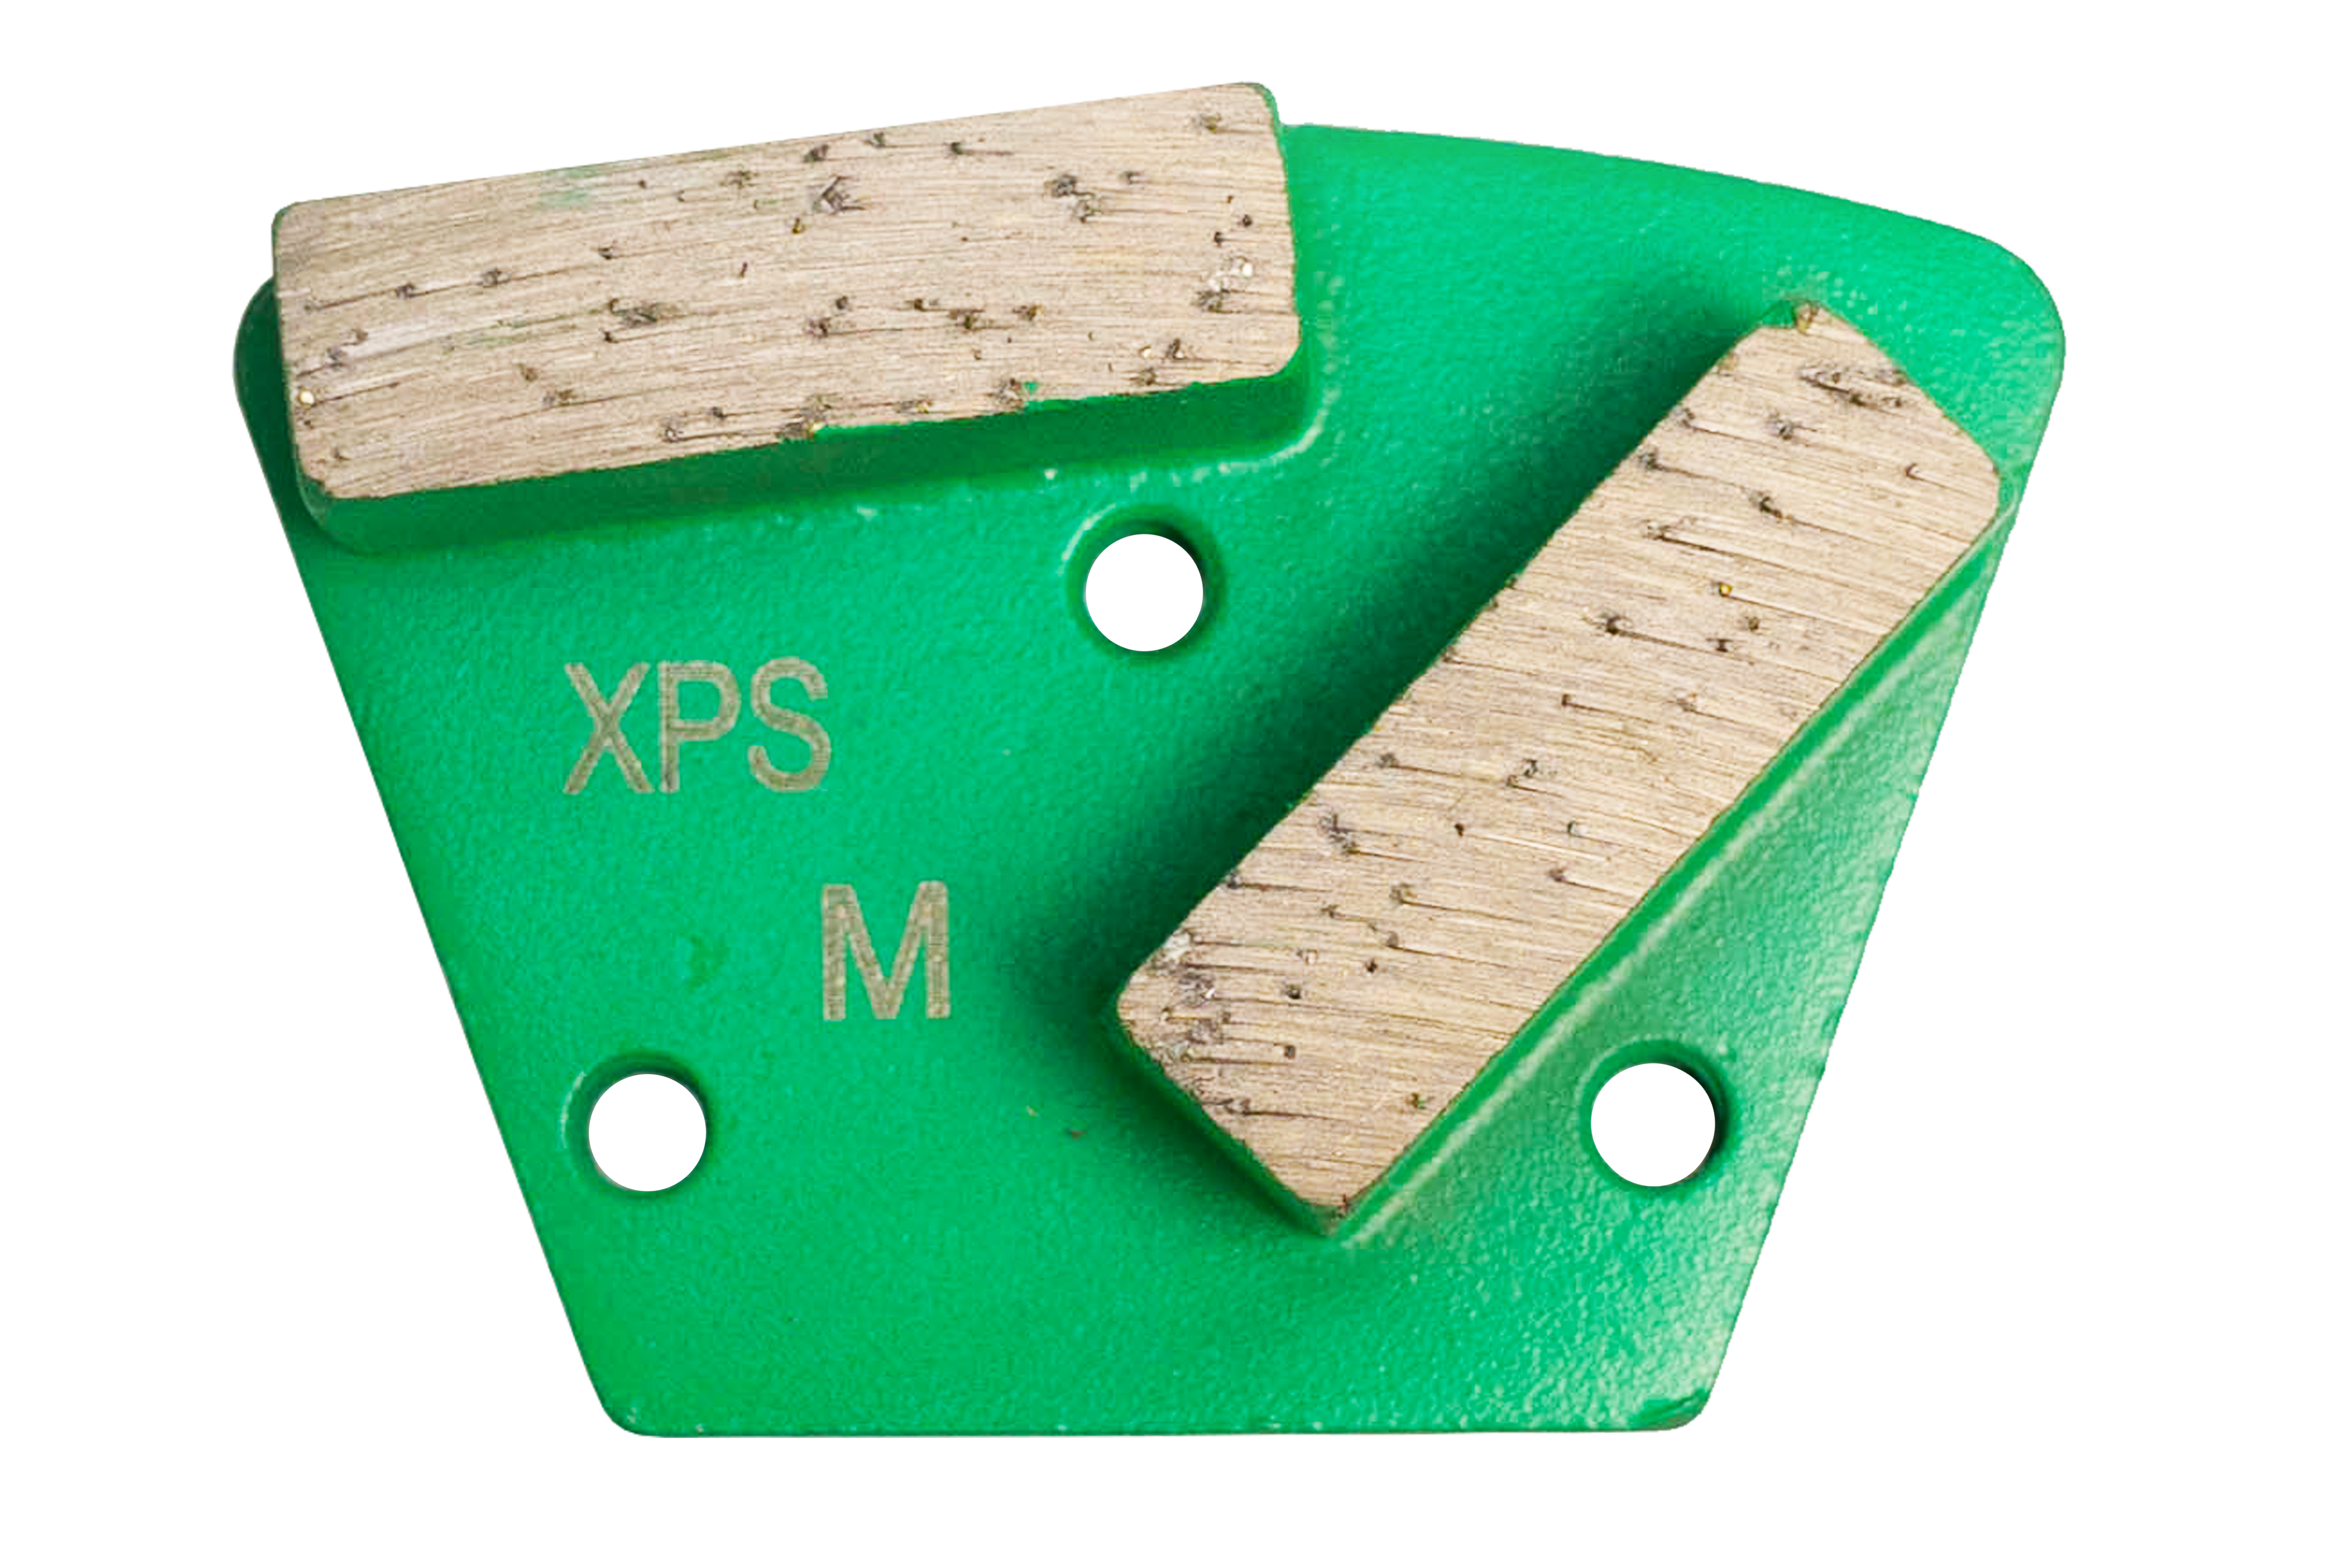
While acid etching appears in some DIY guides, modern professionals now prefer diamond grinding due to inconsistent results and safety risks associated with acid etching.
A proper grinder, such as the Concrete Genie in Xtreme Polishing Systems’ Surface Prep Starter Package, delivers a consistent profile every time. Use it to remove old coatings and open the concrete pores for maximum adhesion. The Concrete Genie is a robust polisher designed for efficiency and durability, and the included Tromb 400L dust extractor keeps your workspace clean and safe.
3. Rushing the Mix and Application
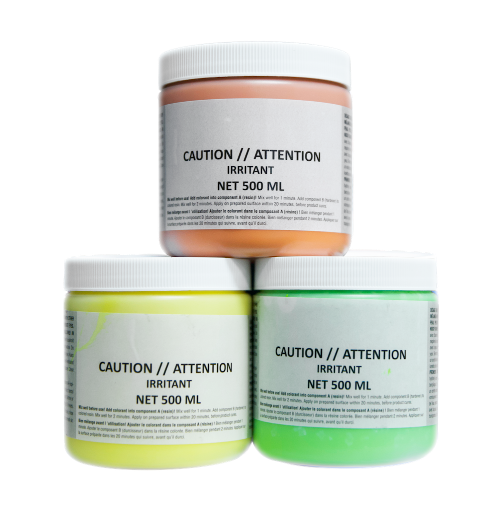
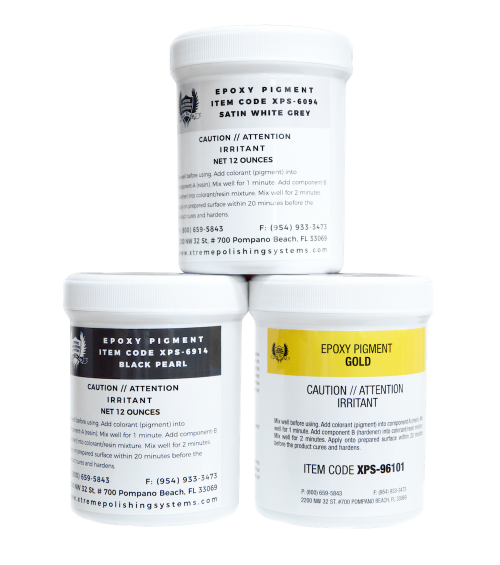
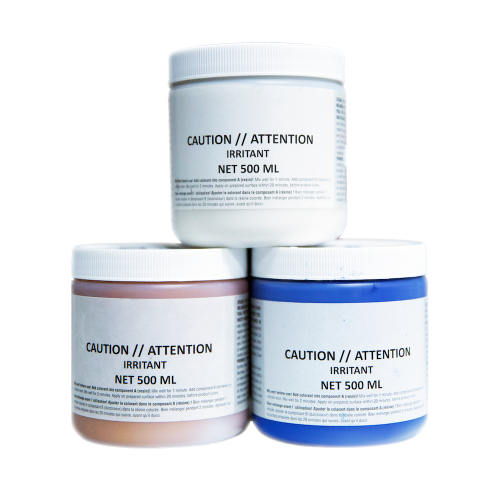
Once you mix the resin and hardener, you have a limited working time - typically 30 - 60 minutes. Use a 100% solids, high-performance epoxy, such as the Rockhard USA Epoxy Kit, to ensure a thick, durable layer that resists chemicals and wear.
-
Mixing Technique: Stir thoroughly for the full recommended time, scraping the sides and bottom of the bucket.
-
The Two-Cup Method: Mixing in one container, then transferring to a clean second container and mixing again, eliminates unmixed material that can cause soft spots.
- Incomplete Mixing: This is one of the most common epoxy resin failures, leaving tacky, uncured patches that never harden.
4. Inadequate Topcoats: The Finishing Flaw
The base epoxy layer adds thickness and color, but it is highly vulnerable to the elements when left unprotected. Using an inadequate topcoat - or skipping one entirely to save money - dooms the floor to a short lifespan.
-
UV Degradation: Standard epoxy has terrible UV resistance. Exposed to sunlight, it will amber (turn an ugly yellow) and become brittle. This is one of the most visible epoxy floor problems in garages with windows or open doors.
-
Abrasion and Hot‑Tire Pickup: Epoxy on its own is relatively soft. Heavy foot traffic, dragged tools, or hot car tires will easily scratch it or physically tear it off the floor.
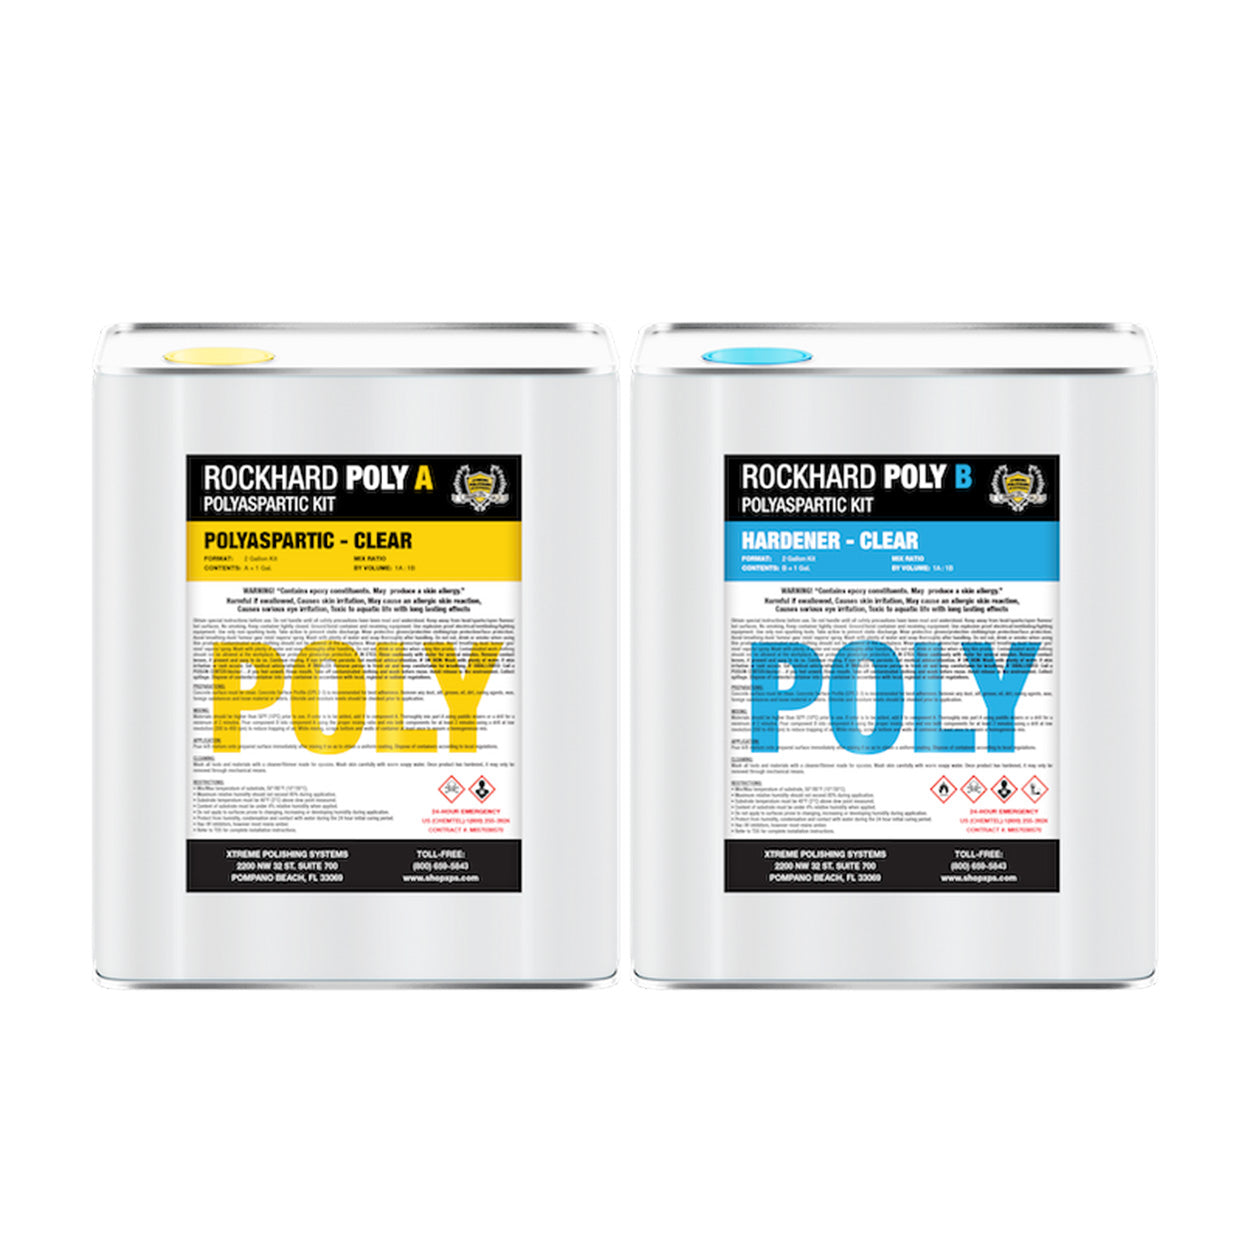
- The Fix: You must apply a high‑performance topcoat, such as polyaspartic or polyurethane.
XPS POLYUREA is a 100% solids polyurethane basecoat that also works as a durable top layer. Use it over decorative flake or quartz floors for superior scratch resistance. It offers outstanding adhesion, flexible cure speeds, and is VOC‑compliant with low odor.
Another excellent choice is the XPS ECTR 3G Kit (Maple Syrup) - a clear epoxy topcoat that provides a glassy finish. Ideal for solid‑color or metallic floors. It resists harsh chemicals, bacteria, and moisture, and you can buy it in bulk to save money.

Epoxy Floor Failure Prevention: 3 Steps to Avoid Most Failures
Follow these three steps to ensure your floor lasts for decades, not months.
Step 1 - Diamond Grind for a Perfect CSP
Rent or buy a planetary grinder like the Concrete Genie (part of Xtreme’s Surface Prep Starter Package). Grind the entire slab until it feels like 60‑grit sandpaper. Vacuum all dust with a HEPA extractor.
Failure point: Stopping too early leaves laitance or smooth spots that will cause delamination.
Step 2 - Test Moisture and Apply an MVB if Needed
Perform a calcium chloride or RH probe test. If results exceed 3 lbs MVER or 75% RH, apply a dedicated moisture-vapor-barrier epoxy.
Pro tip: Even if tests are borderline, an MVB is cheap insurance against future epoxy floor problems.
Step 3 - Apply a UV‑Stable Topcoat
After your base coat and any decorative flakes have cured, seal the system with a polyaspartic or polyurethane topcoat. XPS' diverse line of resinous coating solutions and clear coats are all excellent options. Apply in thin, even coats and allow full cure before heavy traffic.
The Professional Edge: Why Training Prevents Failure
Professional epoxy training, such as the certification programs offered by Epoxy Classes, is the most effective way to bypass the "trial and error" phase that leads to premature floor failure. By moving beyond surface-level tutorials, you gain a deep understanding of polymer chemistry and the critical "why" behind every installation step.
Troubleshoot complex jobsite variables - such as humidity spikes or moisture issues - before they escalate into costly defects like osmotic blistering or sticky, uncured spots. Gain experience operating industrial equipment like the Concrete Genie, access certified training that provides the technical foundation to identify hazards early and execute a flawless installation.
Frequently Asked Questions
1. What is a vapor barrier for concrete, and do I really need one?
A moisture vapor barrier is a specialized epoxy primer that blocks water vapor from rising through the slab. You need one if your moisture test shows emission rates above 3 lbs per 1,000 sq. ft. per 24 hours. Skipping it is a primary cause of epoxy floor failure.
2. Can I fix an epoxy floor that is already peeling?
Yes, but it requires grinding down to bare concrete, retesting moisture, and reapplying the entire system. Partial patches usually fail. It’s cheaper to do it right the first time.
3. Why does my epoxy floor have tiny bubbles or blisters?
Those are osmotic blisters caused by trapped moisture vapor. This is a classic epoxy floor problem: either no moisture barrier was used, or the slab wasn’t dry enough. The fix is full removal and reinstallation with an MVB.
4. How long should a properly installed epoxy floor last?
With diamond grinding, moisture testing, a quality MVB (if needed), and a polyaspartic topcoat, a residential garage floor can last 15-20 years. Without those steps, expect epoxy flooring failure in 1-3 years.
5. Can I use a polyaspartic topcoat over old epoxy?
Yes, but the old epoxy must be sound, clean, and lightly abraded (sanded or screened). If the old coating is peeling or blistered, it must be removed completely. For best results, take an Epoxy Classes hands‑on certification course to learn professional recoating techniques.
Conclusion
The ultimate secret to a successful epoxy garage floor is not the application, but meticulous surface preparation. By avoiding the critical mistake of skipping a moisture check and proper mechanical profiling with a floor grinder, you prevent devastating epoxy resin failures such as hot-tire pickup and peeling.
Xtreme Polishing Systems (XPS) is the command center for concrete and resinous coating solutions galore. If you need more job-specific guidance or you're not sure what product is best for you, call our technicians at (877) 958-5264.