You’ve prepped, ground, and cleaned your garage floor. You’re ready to pour that beautiful epoxy. But there’s one invisible enemy that can destroy your coating from underneath: concrete moisture vapor. Most DIYers skip testing for it, only to watch their new floor bubble and peel within months.
This guide shows you exactly how to test for moisture and install a proper moisture vapor barrier so your epoxy floor lasts for years. If you want to know how to stop moisture coming through a concrete floor, testing and a proper barrier are non-negotiable.
How to Stop Concrete Moisture from Ruining Your Epoxy Floor
1. Concrete Moisture Testing: Surface Dryness Is Not Enough
Before you buy a single gallon of epoxy, you need to know the moisture condition inside your slab. Surface dryness is not enough. Skipping concrete moisture testing is one of the top reasons epoxy floors fail. Without knowing your slab’s vapor rate, you’re gambling. A $150 moisture meter or a $50 test kit can save you thousands in re-coating costs.
Here are three proven methods, from simple DIY to professional-grade.
The Plastic Sheet Test (ASTM D4263)
This is a quick, “old school” DIY test that reveals active moisture vapor.
- The Process: Tape a 2x2-foot square of clear, heavy-duty plastic to the floor. Seal all four edges with duct tape.
- The Wait: Leave it for at least 24 to 48 hours.
- The Result: If you see condensation under the plastic or the concrete looks darker when you peel it back, you have a moisture problem that needs to be addressed.
While a plastic sheet test is cheap and can detect moisture, it is neither as quick nor as accurate as some other testing methods.
The Calcium Chloride Test (ASTM F1869)
This test measures the Moisture Vapor Emission Rate (MVER) in pounds per 1,000 square feet per 24 hours. Calcium chloride allows you to get more accurate results than the plastic sheet test without having to probe the concrete itself. The setup and testing is simple:
- You place a small dish of pre-weighed calcium chloride under a sealed plastic dome over a slab of concrete you want to test.
- Let it sit for 72 hours.
- The salt absorbs moisture, and you re-weigh it to calculate the emission rate.
Most epoxies require a rate of 3 lbs or less. Higher rates demand a moisture vapor barrier.
In-Situ Probe Test (ASTM F2170) - Professional Grade
This is the gold standard for accuracy, especially on commercial jobs. These tests can be instantaneous and incredibly accurate. But they will require you to drill small holes through your concrete to test.
- You drill small holes into the slab and insert digital probes to measure the Relative Humidity (RH) at a depth of 40%.
- You generally want an RH reading below 75% to 80% for standard epoxy.
- For high-performance coatings, aim for 75% or lower.
For fast, non-destructive initial testing, the Tramex CME5 Concrete Moisture Meter uses electrical impedance to read moisture content up to 3/4 inch deep instantly. It’s perfect for scanning large areas before committing to more invasive tests.
2. How to Stop Moisture Coming Through a Concrete Floor
If your tests come back “wet” (MVER > 3 lbs or RH > 75%), you have three paths forward. Don’t waste money on temporary fixes like surface sealers that will fail under pressure.
Option A: Apply a Moisture Vapor Barrier (MVB)
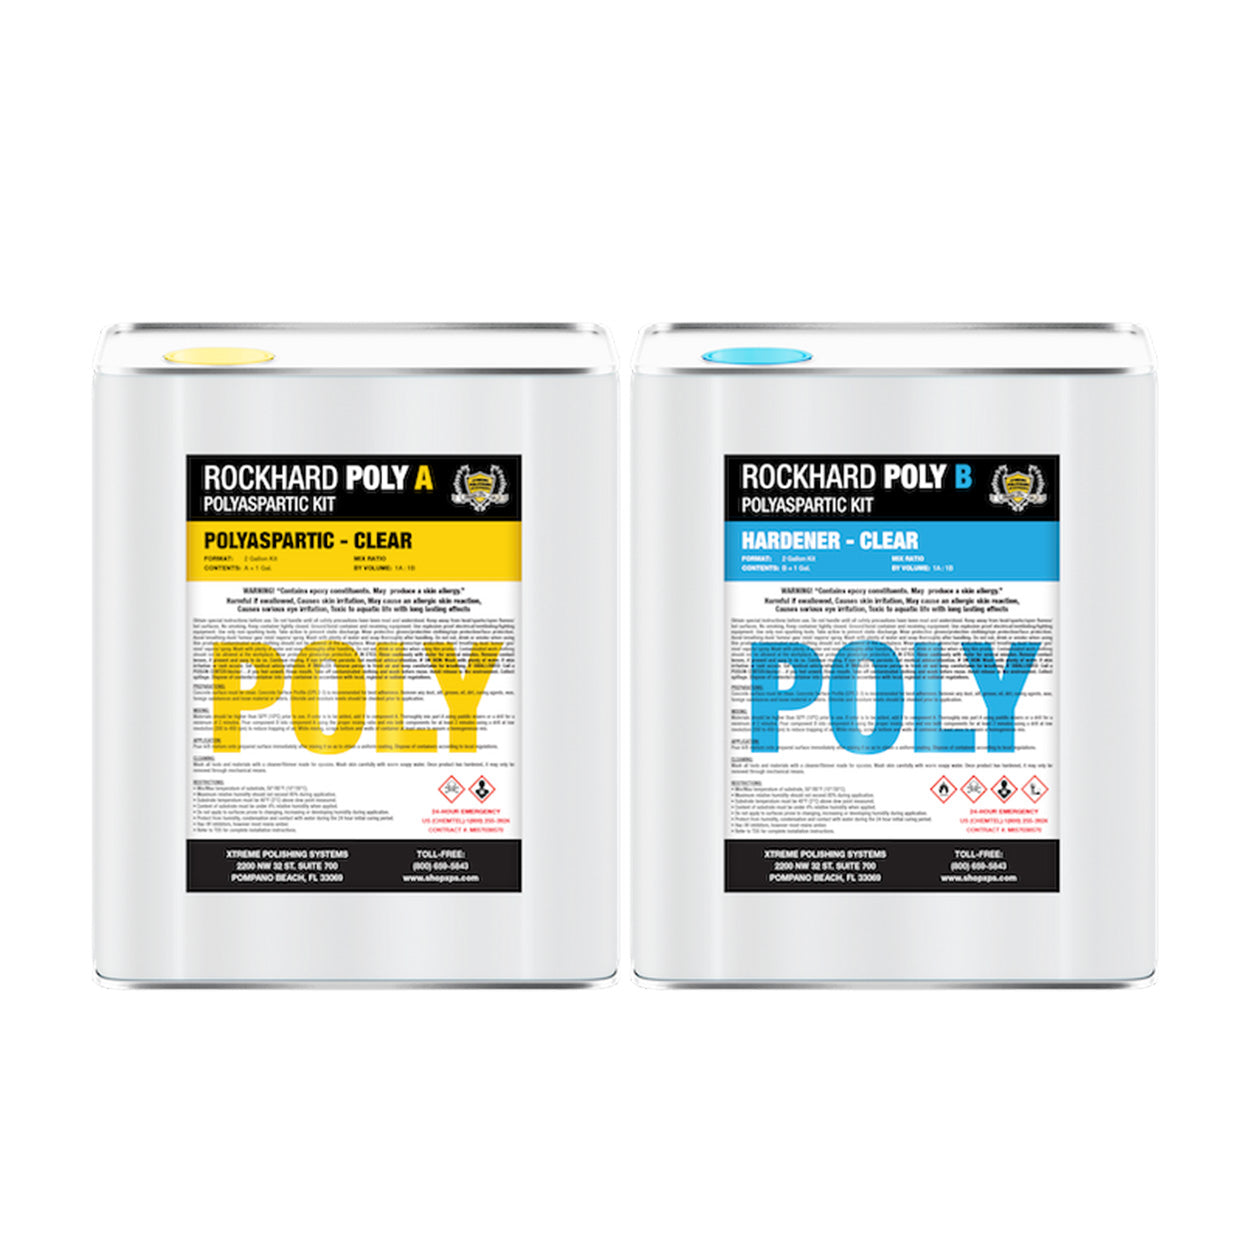
This is the professional solution. Instead of a standard primer, you apply a specialized 100% solids epoxy moisture vapor barrier that withstands high hydrostatic pressure.
- Rockhard MVB is a low-VOC, impermeable barrier that prevents water vapor from passing through. It creates a dense, seamless membrane that blocks moisture up to typical residential levels.
- For higher vapor drive (up to 25 lbs MVER), Rockhard FC MVB (fast-cure) handles the toughest conditions while curing quickly.
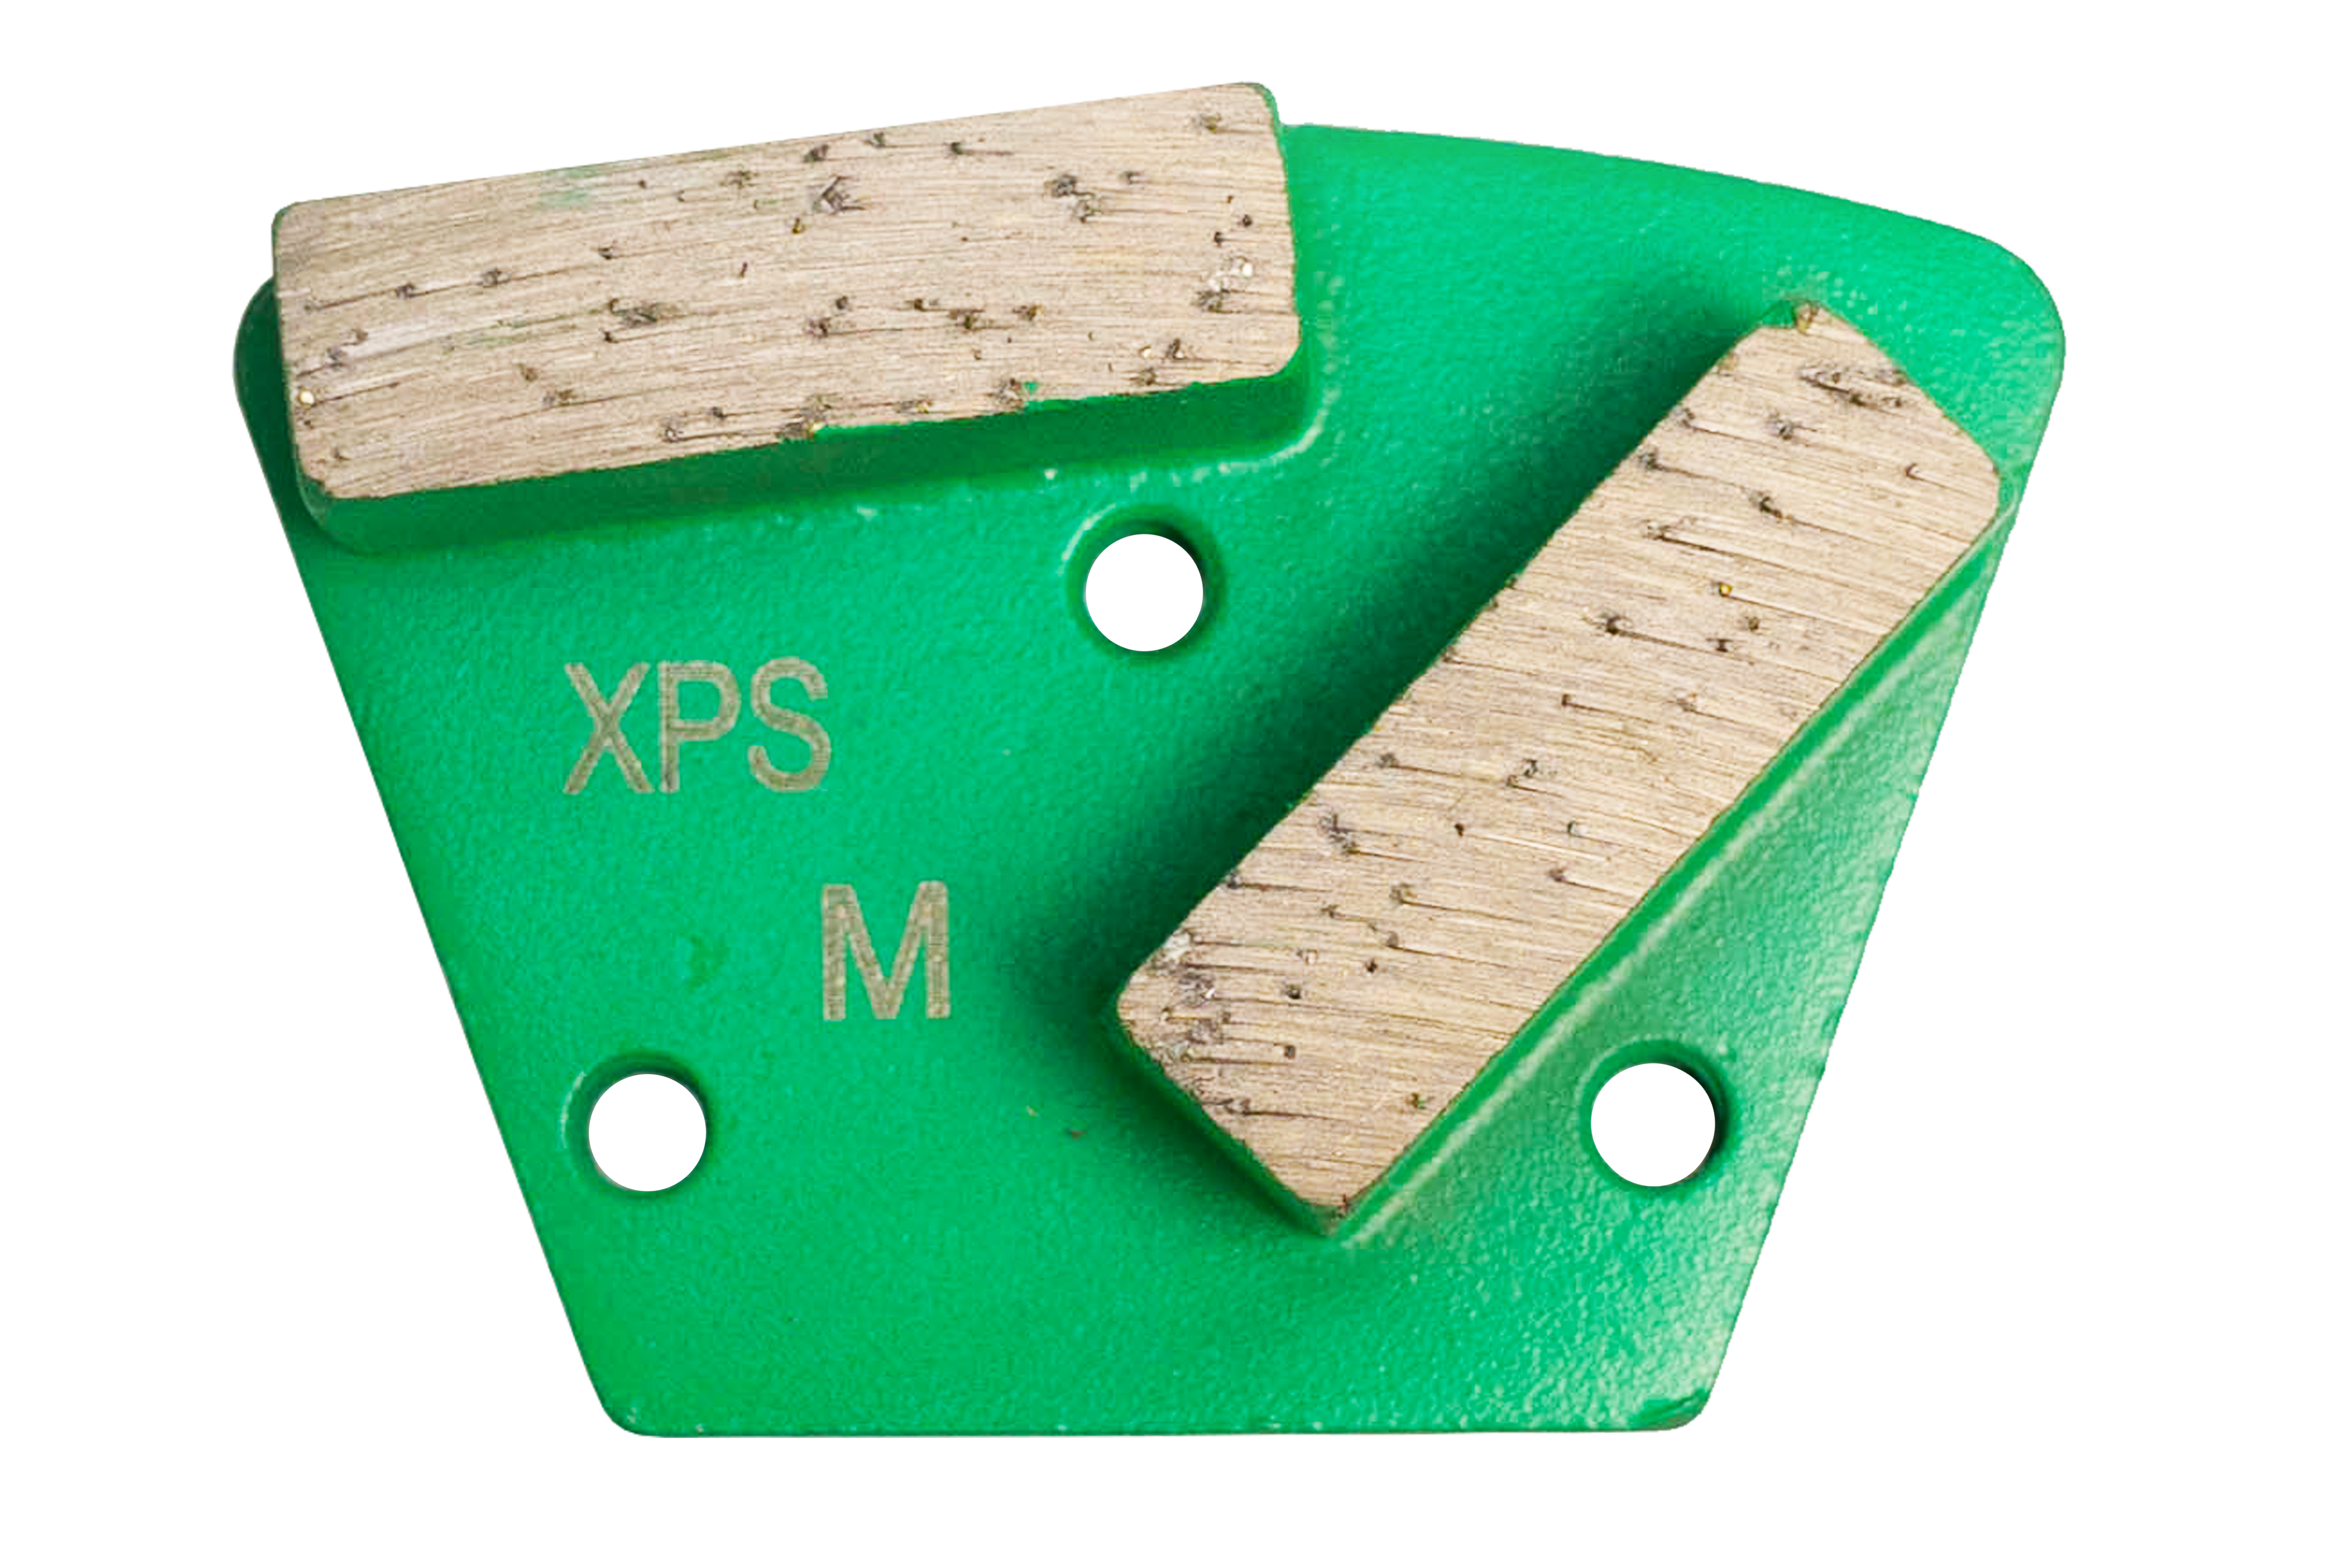
- XPS MVB offers excellent bonding and meets LEED standards, ideal for garages and residential basements.
- For extreme cases where RH is near 100%, Ardex MC RAPID is a one-coat system that can receive flooring in as little as 4 hours.
- NXT VAPOR BAN ER is a rapid-curing, single-coat MVB that exceeds ASTM F3010 and tolerates oil contamination on the slab.
These barriers penetrate the pores and “plug” the vapor drive, creating a stable surface that decorative epoxy can safely bond to.
Option B: Check Exterior Drainage
Sometimes the moisture source is above ground. If that's the case, then you'll need to address it before pouring any epoxy. Then, you'll likely have to deal with the moisture problems that have already been caused by the source.
- Gutters: Downspouts should discharge at least 5-10 feet away from the foundation.
- Grading: The ground should slope away from the house.
- French Drains: If the water table is high, an exterior drainage system may be necessary to lower hydrostatic pressure.
If you don’t redirect surface water, even the best moisture vapor barrier can be overwhelmed over time. Fix the source first.
Option C: Diamond Grind Before Applying MVB
To ensure any barrier adheres, you will need to diamond-grind the surface. Modern professionals prefer mechanical grinding because it creates a consistent anchor profile (CSP 2-3) without the inconsistent results or safety risks of acid etching.
- Grinding opens the concrete's “pores,” allowing the MVB to penetrate and lock in.
- A power-troweled (very smooth) slab will not allow proper adhesion—moisture will get trapped and push the coating off.
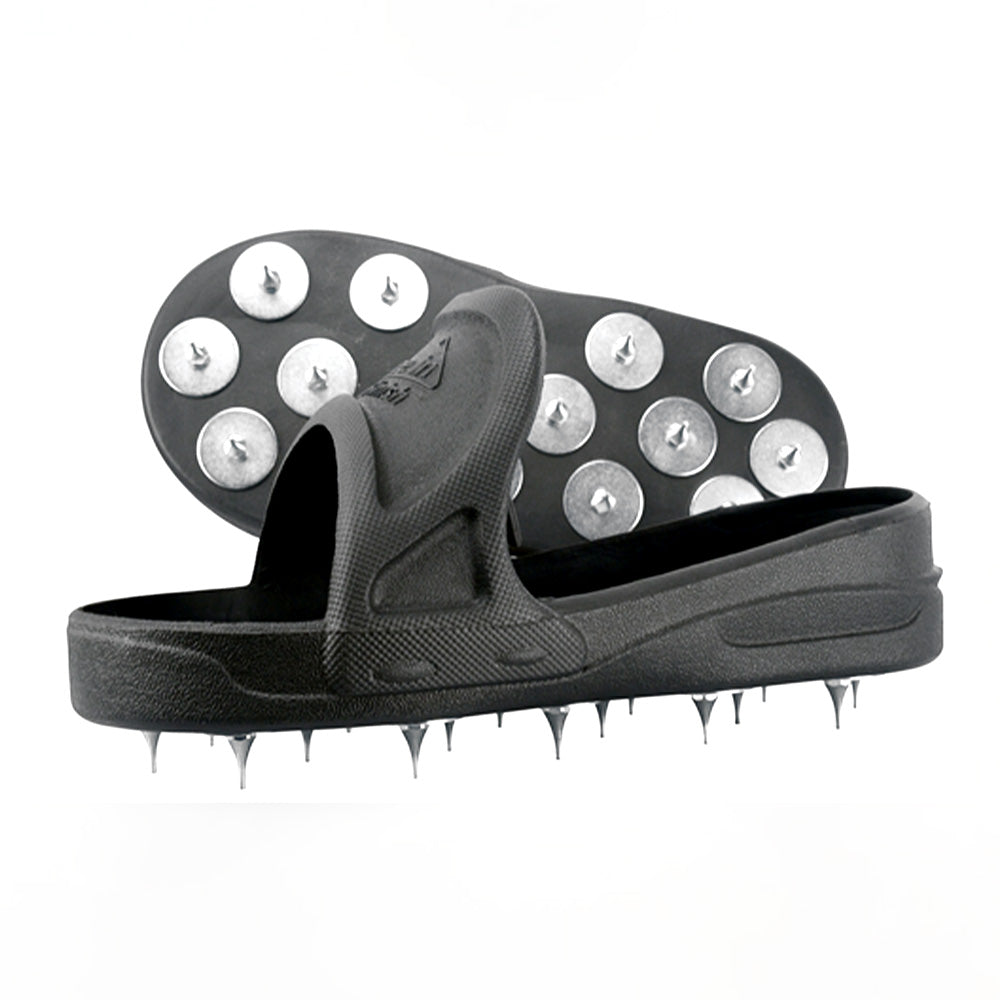
Use a Concrete Genie or Genie X550 grinder with metal-bond tooling to achieve the desired profile. Follow with a HEPA vacuum to remove all dust before applying the MVB.

3. Installation Guide: Applying a Moisture Vapor Barrier (MVB)
Step 1 - Surface Preparation
Clean the slab of all oil, grease, paint, and debris. Diamond-grind to a CSP 2 or 3 (feels like 60-grit sandpaper). Vacuum thoroughly, preferably as you’re grinding with an attached dust shroud and vacuum. Any dust or contaminant left behind will prevent the MVB from bonding, leading to delamination.
Step 2 - Moisture Testing (Confirm)
Perform at least one of the tests above. For residential garages, the plastic sheet test and a Tramex CME5 scan are usually sufficient. For commercial jobs, use calcium chloride or RH probes. Knowing the exact MVER or RH tells you which MVB product to use (standard vs. high-performance).
Step 3 - Mix and Apply the MVB
Mix the two-part epoxy moisture barrier according to instructions (e.g., Rockhard MVB has a simple ratio). Use a squeegee or roller to apply at the manufacturer’s recommended coverage (typically 100 sq. ft. per gallon). Work in sections to maintain a wet edge. For Ardex MC RAPID, you can apply a single coat and be ready for underlayment in 4 hours.
Step 4 - Cure and Topcoat
Allow the MVB to cure fully (usually 12-24 hours). Then you can apply your decorative epoxy, polyaspartic, or polyurethane topcoat. The moisture vapor barrier will block concrete moisture vapor, preventing bubbles, blisters, and peeling.
Frequently Asked Questions (FAQs)
1. How do I know if my concrete floor needs a moisture vapor barrier?
If your slab is below grade (basement), on grade (garage), or has a history of dampness, test it. Any MVER above 3 lbs or RH above 75% requires an MVB. Even if tests are borderline, an MVB is cheap insurance.
You’ll also want to know the ambient humidity of the area. For example, concrete in Florida is more likely to need a moisture barrier than concrete in Nevada.
2. Can I just use a standard epoxy primer instead of a moisture barrier?
No. Standard primers are not designed to block hydrostatic pressure. They may slow the vapor, but they won’t stop it. Over time, moisture will push through, causing bubbles and delamination. Always use a true moisture vapor barrier like Rockhard MVB for wet slabs.
3. How long does a moisture vapor barrier last?
A properly applied 100% solids epoxy MVB will last the life of the floor. It becomes a permanent part of the slab, resisting moisture indefinitely as long as the slab doesn’t crack or shift.
4. Can I apply a moisture vapor barrier over old paint or sealer?
No. The existing coating must be removed by grinding or shot-blasting. The MVB needs direct contact with bare, profiled concrete to bond and block vapor.
5. What’s the fastest way to test concrete moisture without lab equipment?
The Tramex CME5 moisture meter gives you instant, non-destructive readings. It’s a worthwhile investment for any contractor or serious DIYer. For a low-cost option, the plastic sheet test is free but only indicates active surface vapor, not deep RH.
Conclusion
Stopping concrete moisture is not optional; it’s the foundation of a durable epoxy floor. By testing correctly and applying a high-performance moisture vapor barrier, such as Rockhard MVB, Rockhard FC MVB, or XPS MVB, you protect your investment from bubbling, peeling, and costly rework. Moisture is the silent killer of many resinous coating flooring projects. Don’t let it haunt your job sites!
Xtreme Polishing Systems (XPS) is the command center for all things epoxy and concrete flooring. If you need product assistance or on-the-job guidance, reach out to our technicians at (877) 958-5264.