Knowledge is your best tool.
Epoxy flooring is a fantastic solution for giving your, or your client's, space a fresh and sleek look without breaking the bank. As affordable as epoxy is, though, you still need to be efficient while planning your projects. From professional contractors to DIY enthusiasts, you'll always need to know how much your project is going to cost.
In this guide, we'll provide you with valuable tips and tricks to enhance the efficiency of your epoxy flooring projects. We want to help you avoid small mistakes that'll end in unnecessary costs!
Estimating Your Epoxy Project's Cost
Understanding Your Epoxy Flooring Project's Square Footage
As with any project, you need to start with the foundations. If you don't have an accurate measurement of the square footage, you may end up ordering too much, or too little, resin. Precise measurements are vital to avoid wastage of resin, or worse, running out of epoxy resin halfway through the project.
Take the time to measure the area thoroughly, and have patience. Take care to measure any odd spots, like alcoves or corners. Once you have accurate measurements of your space, you can confidently order the resin you'll need! A high-quality resin like our XPS ECTR Epoxy Flooring Kit will cover approximately
How to Inspect Concrete Surface Conditions
Every floor will be different. Whether you're installing on a fresh concrete base, or a degraded, worn concrete foundation, you'll need to inspect it for imperfections, for moisture, and whether it'll hold an epoxy resin installation. Once you've finished inspections, if there are imperfections, we have plenty of guides to help you navigate your issues:
- How to repair concrete cracks and chips
- How to prevent & fix moisture in your flooring
- Cracked concrete repair with epoxy
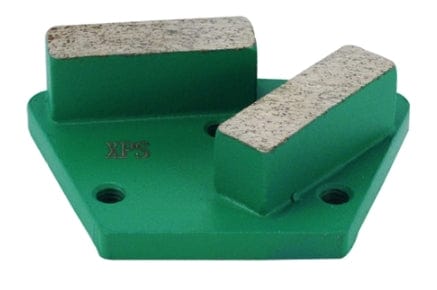
Skip this step at your own risk! Moisture & cracks will often significantly reduce the floor's lifespan. If the concrete surface profile is damaged, investing in a quality grinder is the best way to guarantee your epoxy will hold for life. We also sell all the necessary measurement & inspection tools you'll need to guarantee your floors are ready.
You should always go for mechanical surface preparation over a low-quality solution like acid etching.

Epoxy Flooring Projects' Labor Costs and Time
Every contractor knows that a project is doomed to fail if you don't plan out how much your labor will cost, and how long you'll need to work on the job. Plan each step of the project carefully, and try to account for any delays or obstructions that might come.
Our guide on the cost of garage epoxy flooring will take you through some of the specific numbers. For example, the national average of an epoxy garage flooring project is around $1.5k-3.2k, according to HomeAdvisor. You should keep in mind that flooring project estimates are almost always calculated in square footage.
That may seem like a wide range, but it's because of these estimation practices that you can be efficient with your pricing. From using a resin that cures in less time, like polyaspartic, to ordering the right amount of resin for your space, it pays to be efficient.
Be proactive in your estimates, and you'll see the difference in your profits!
How to Calculate Epoxy Resource Costs
Once you have all the measurements you need, you're ready to order your resins and any other materials you'll need. This includes everything from physical tools, like application tools and grinders, to the cost of resins.
If you're a professional contractor, you should consider the following tools as baseline investments for your business:
- A quality grinder, preferably diamond-tipped, appropriate for the job sizes you work with.
- Application tools. You'll need these for every job, from the smallest to the largest, so invest in high quality tools!
- Safety equipment. From dust vacuums, to spiked shoes, masks and more, you need protection on the job at all times.
Once you have your initial toolkit filled out, you can start to get a more accurate idea of what you'll need job-to-job. The cost of your resin (per sq. ft.) will depend entirely on what resin you decide to use for the job. Choose wisely! There are lots of good options on the market, and each one is designed for different applications.
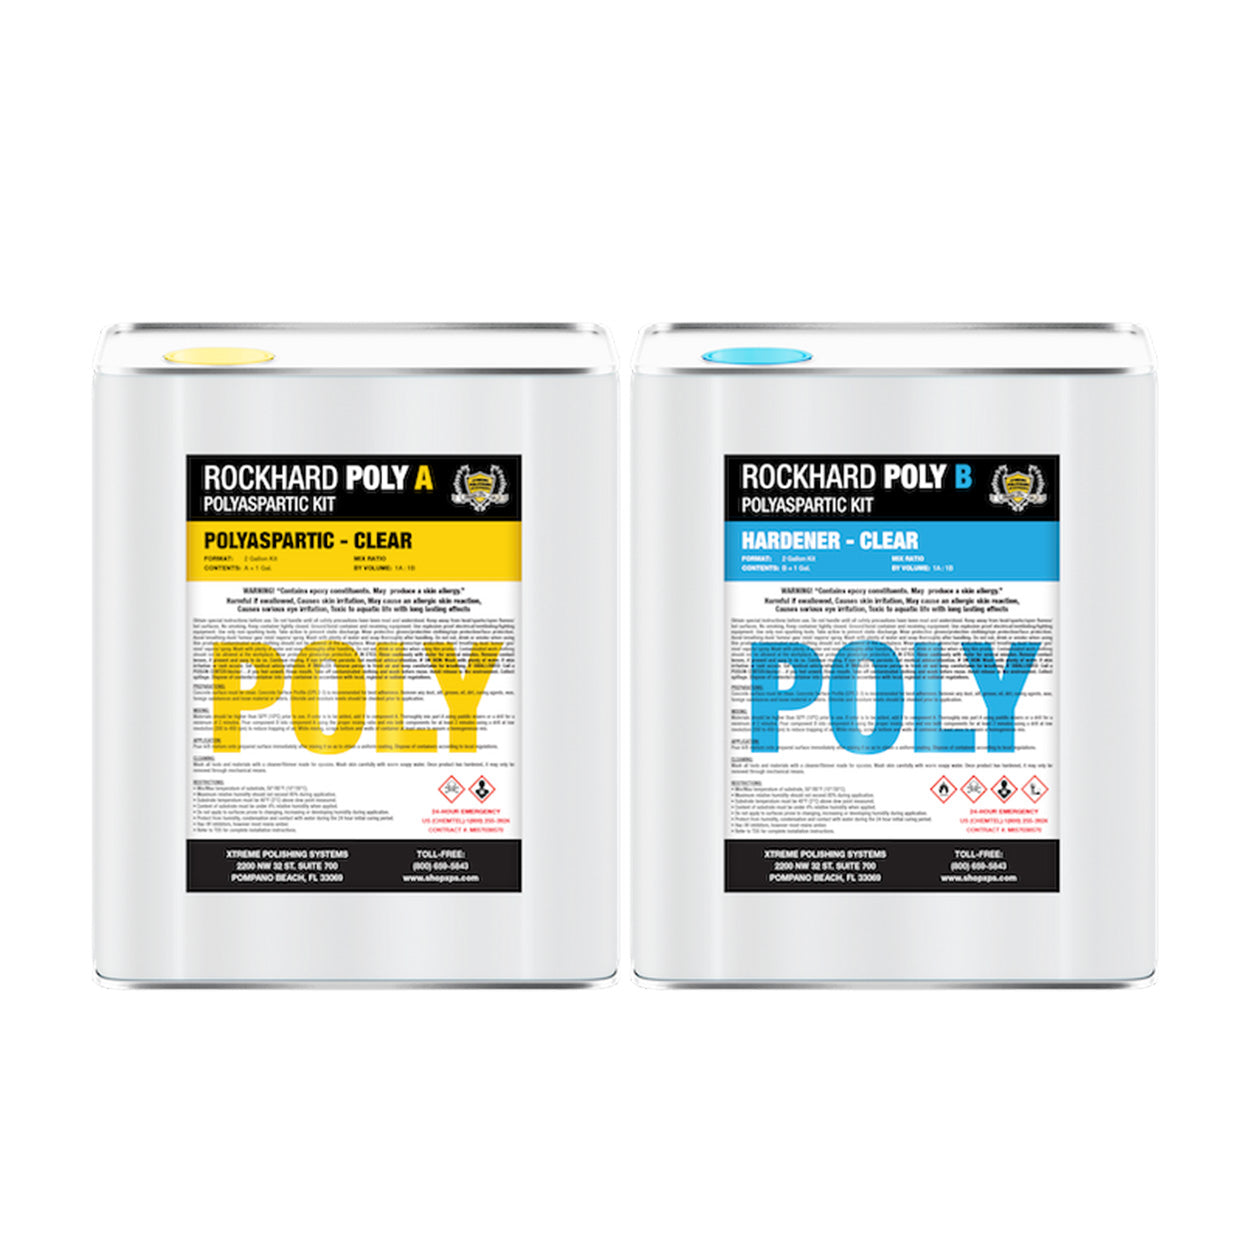
For example, you may choose to use a polyaspartic resin for your initial layers due to its quick curing time. The XPS FC Fast Cure Epoxy Kit is a great option for this, balancing cost and quality for the amount of coverage that you get.
Because you have accurate measurements, you can start to understand your true budget by comparing the cost & coverage of your resin with the amount of resin you'll need. Set realistic expectations for your team and stay within budget, and success will come to you easily!
Conclusion
The best tools in any contractors' kit are patience and knowledge. Accurate estimation of project costs is essential for your business to find success and profit. Consider square footage, surface conditions, labor expenses, and cost of resources to build a precise cost estimate. Find your budget, work within it, and you can build consistent success in the future!
Our blog is dedicated to giving flooring contractors the information they need to succeed. At Xtreme Polishing Systems, we offer the best resources at affordable rates, so you never have to compromise on quality!


