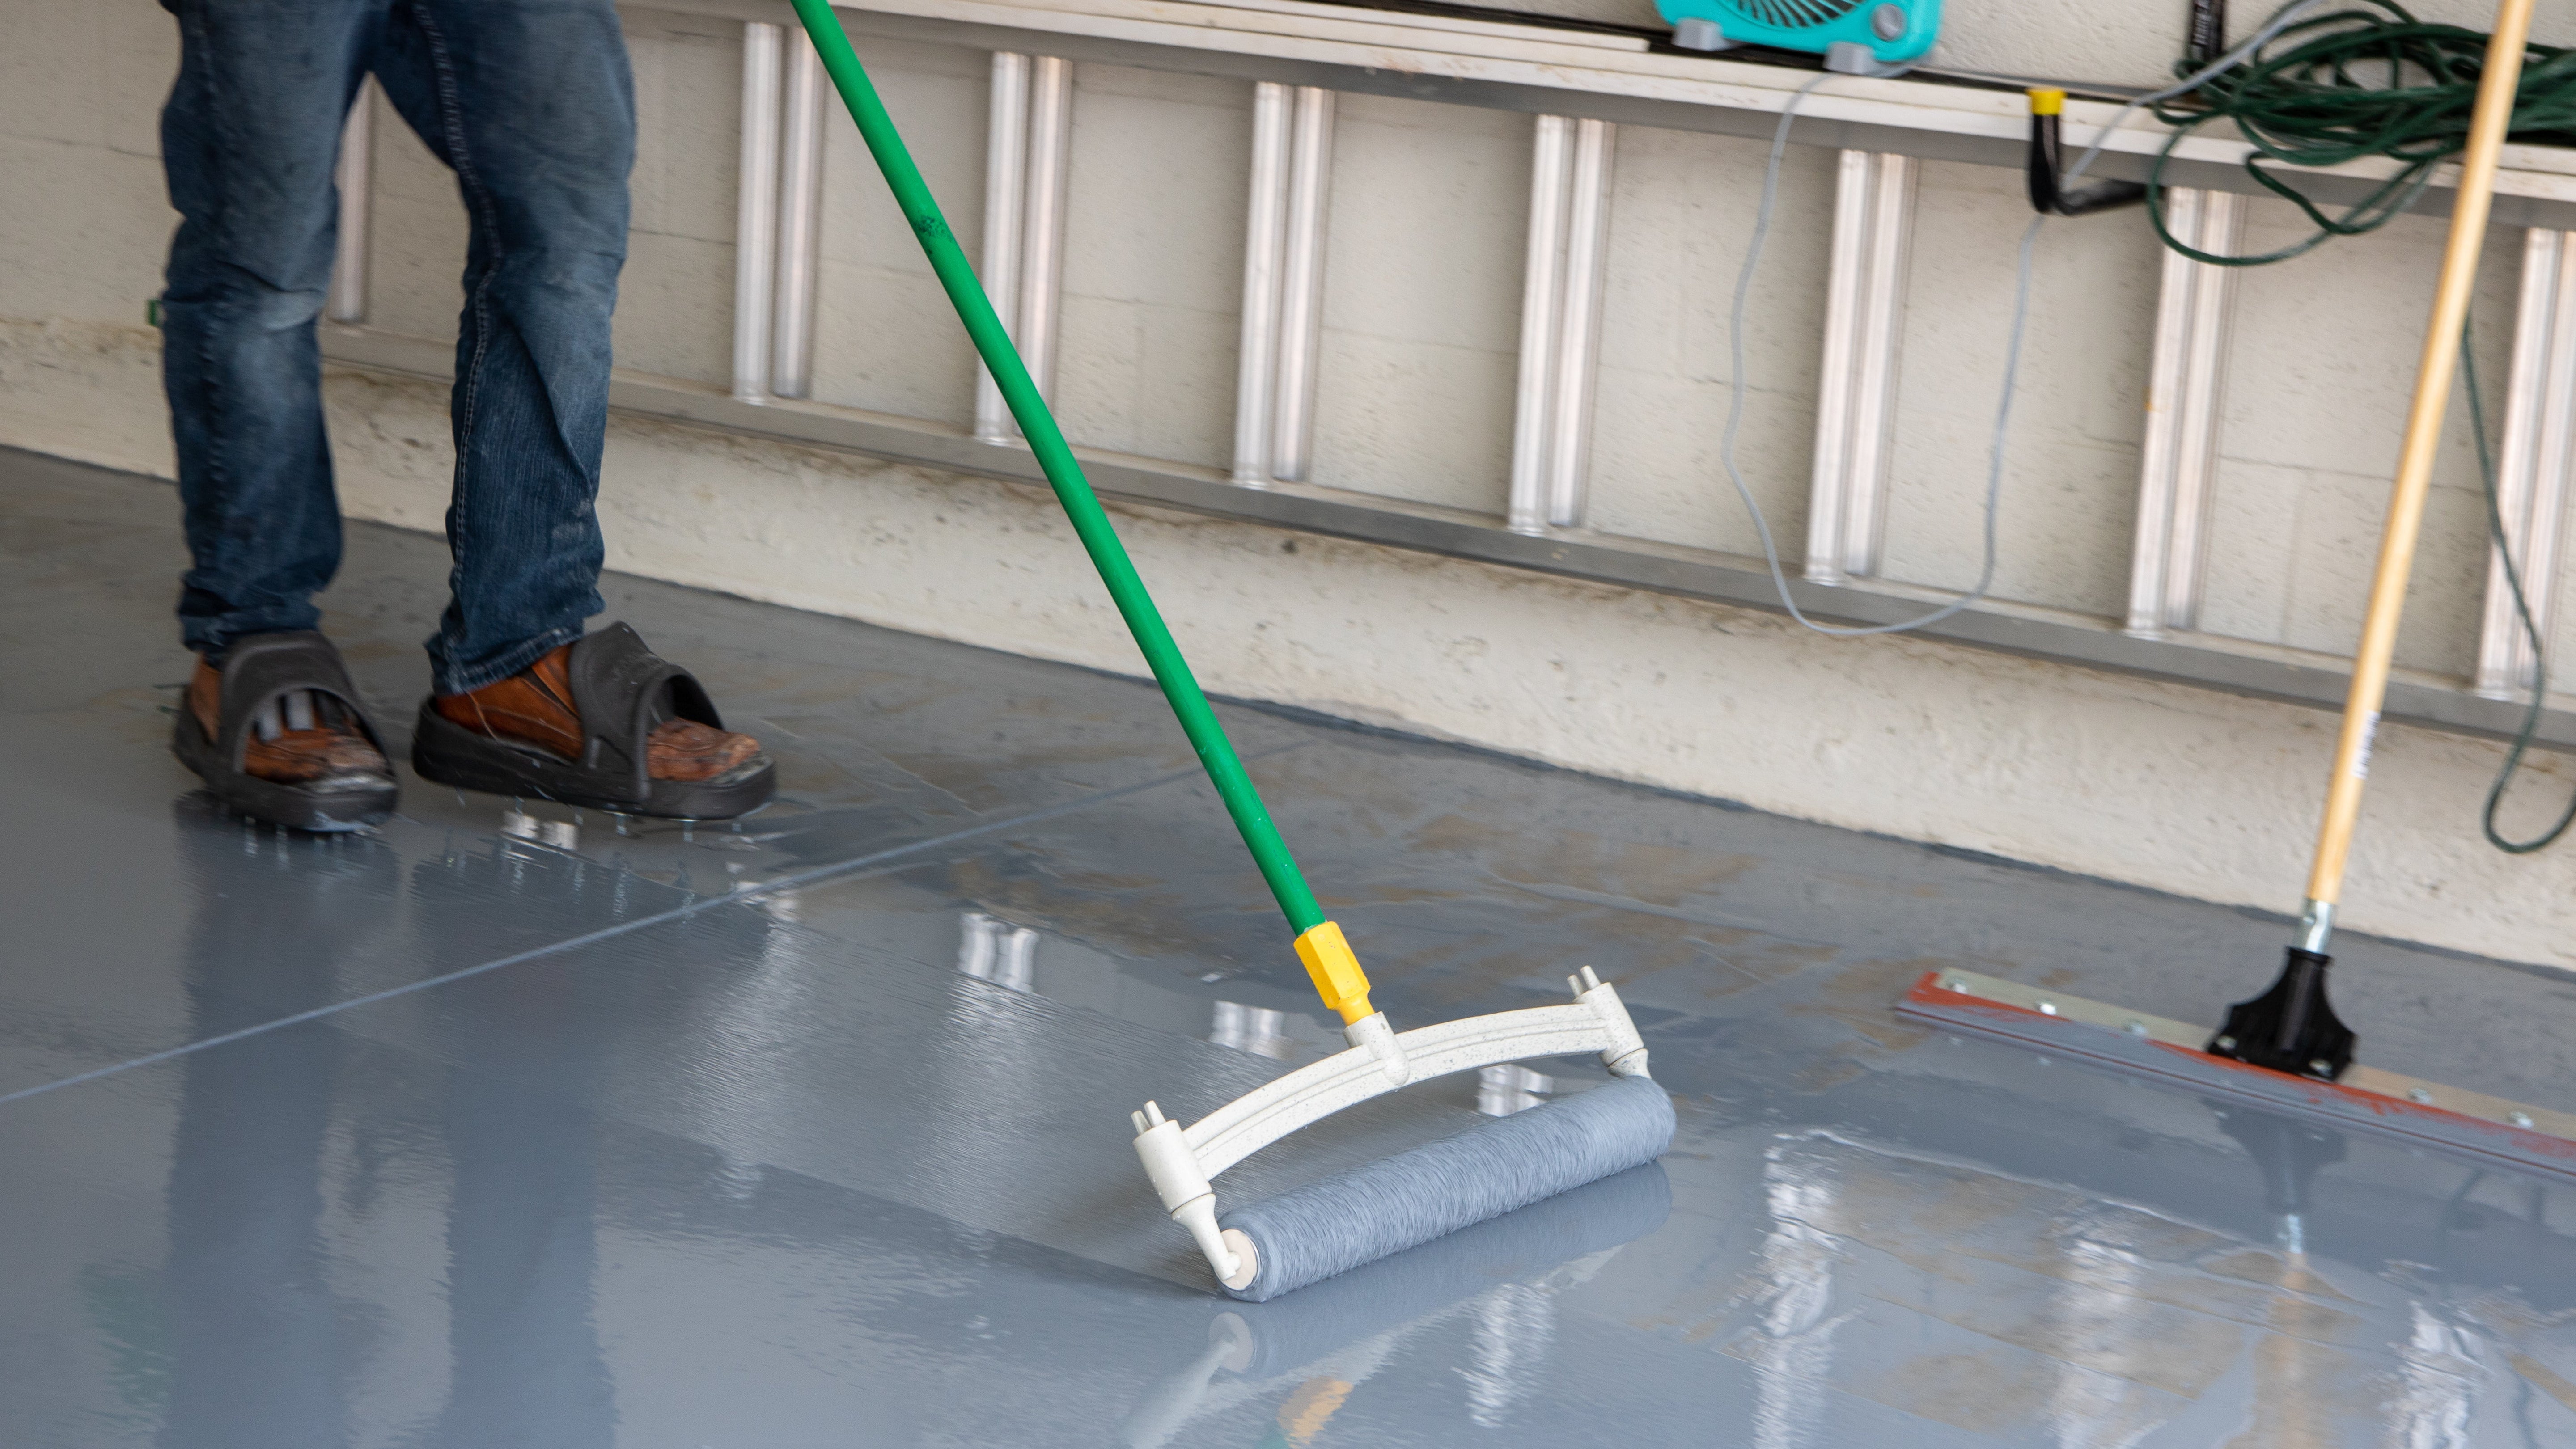
Epoxy floors are known for their durability, shine, and long lifespan, but even the toughest coatings eventually need to be replaced. Whether the floor has yellowed, peeled, worn down, or simply no longer matches your design goals, learning how to remove old epoxy flooring before reapplying is essential for a successful new installation.
Why Proper Epoxy Removal Matters
Before diving into the steps, it’s important to understand why proper epoxy removal is crucial:
- Adhesion: New epoxy will not bond well to damaged, dirty, or poorly prepped surfaces.
- Longevity: Good prep ensures your new coating lasts years without peeling.
- Aesthetics: Removing old epoxy eliminates texture inconsistencies, bubbles, and imperfections.
- Safety: Old epoxy may contain slippery patches or uneven wear spots.
How to Remove Old Epoxy Flooring Before Reapplying
The process can be broken down into five main phases:
- Inspection and Safety Prep
- Mechanical Removal (Grinding or Shot Blasting)
- Scraping and Detail Edging
- Concrete Repairs
- Final Surface Prep for Reapplication
Let’s go through each one.
1. Inspect the Floor and Prepare the Workspace
Before you begin, take time to inspect the epoxy floor and evaluate the condition of the concrete beneath it.
What to Look For
- Peeling or delaminated sections
- Hot tire pickup
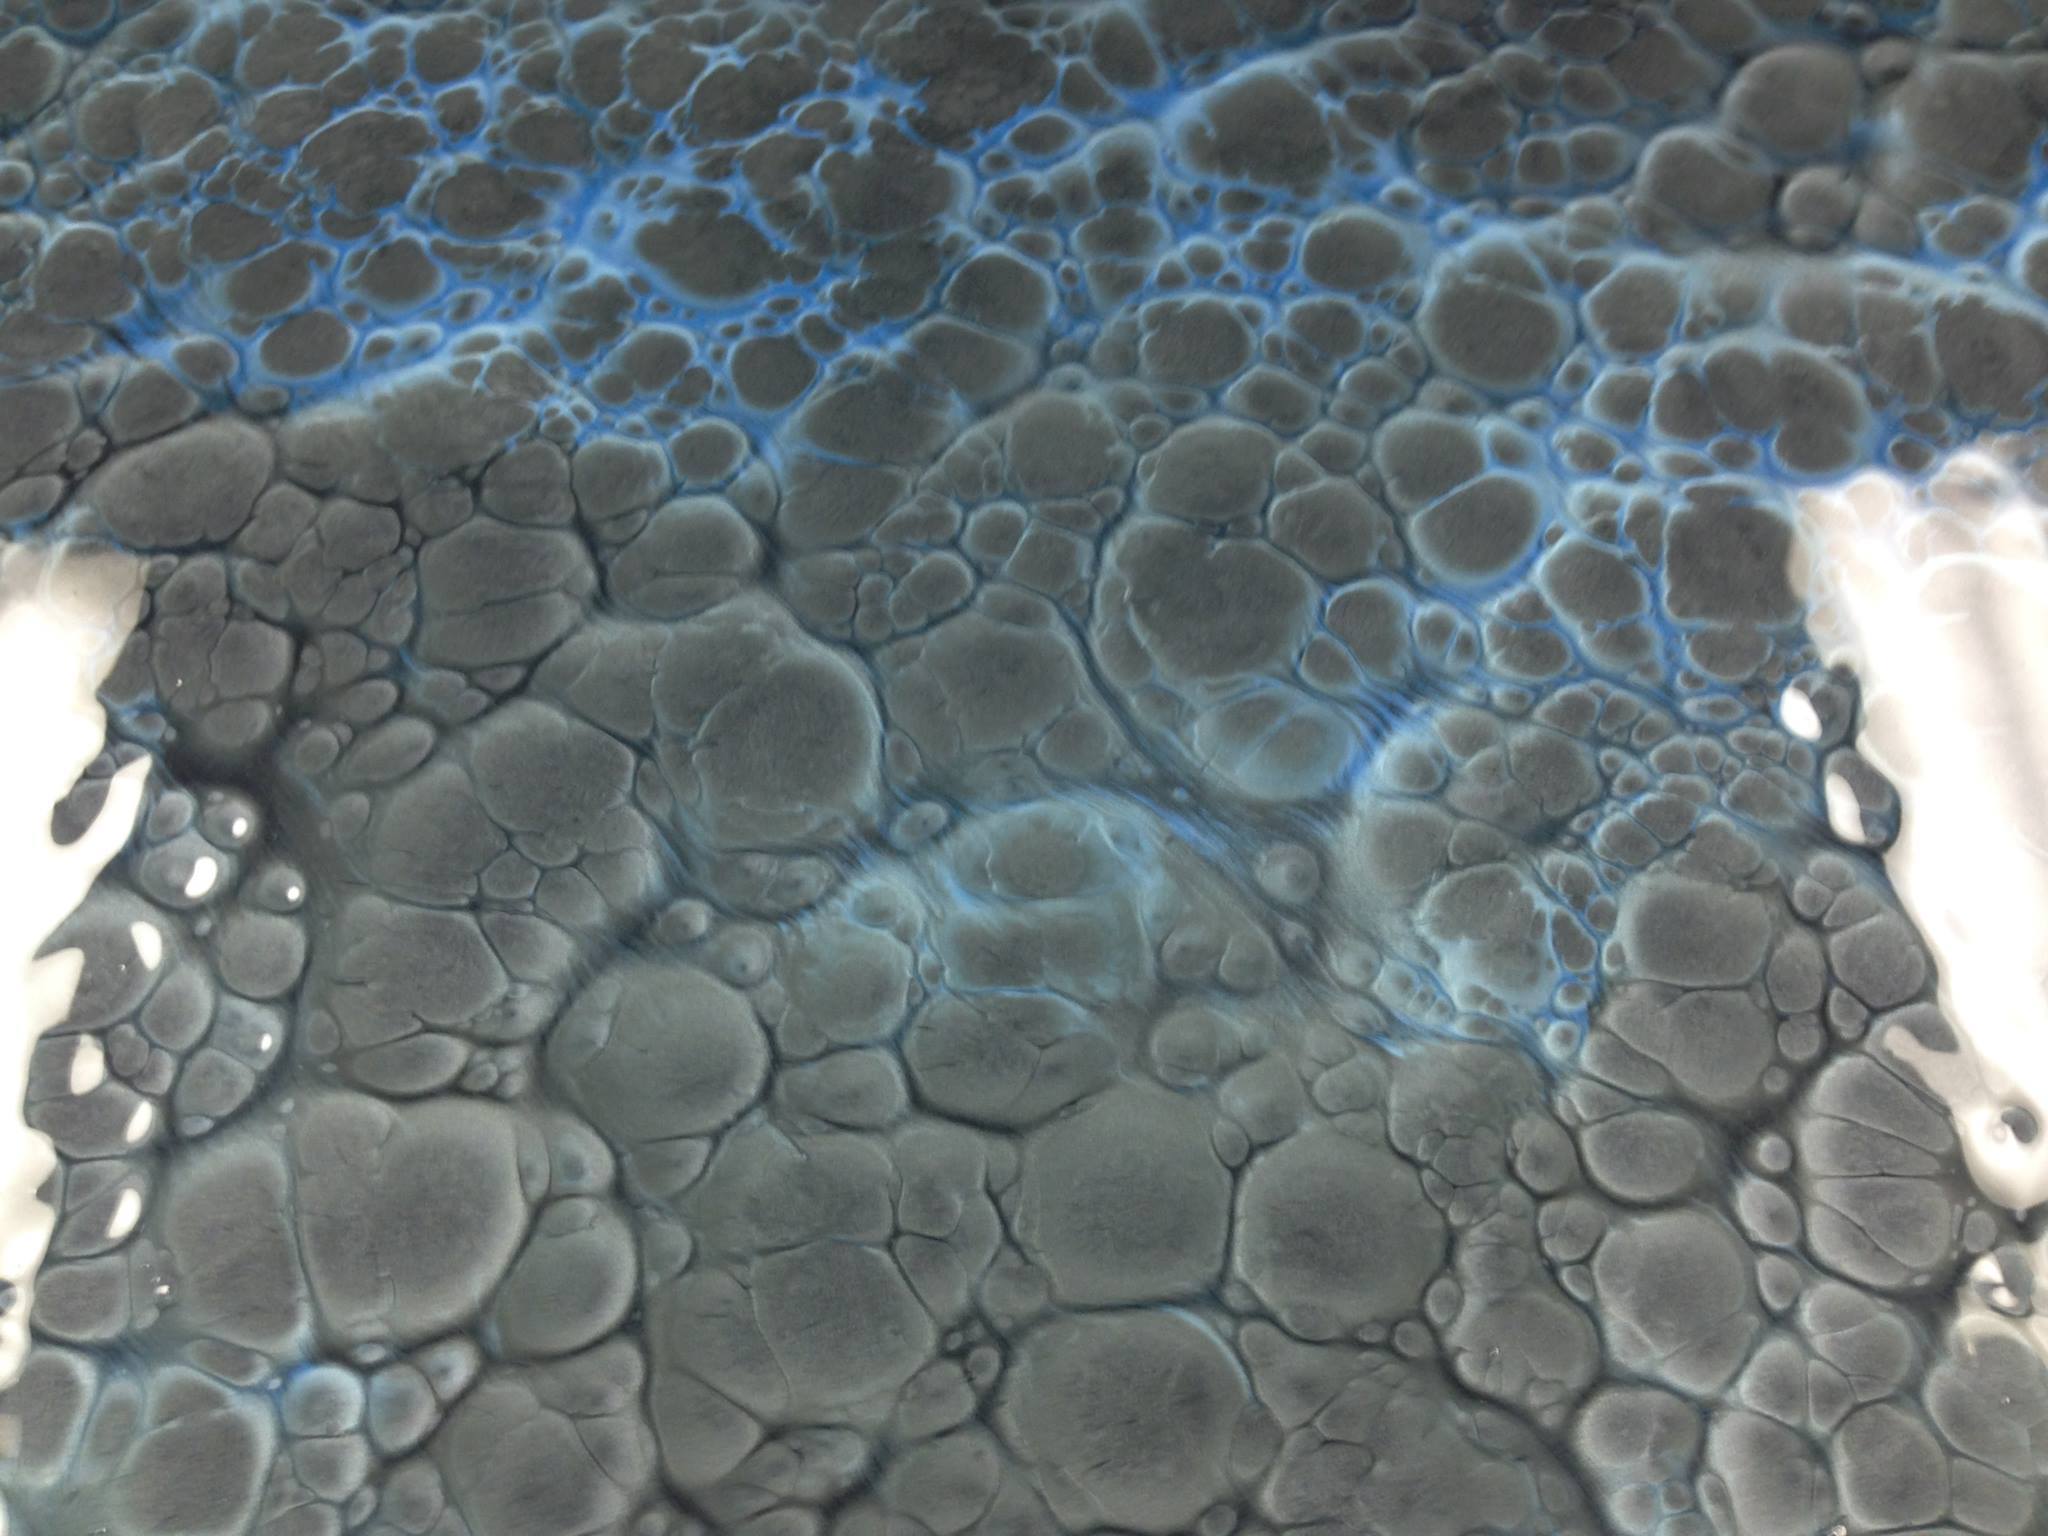
- Blistering, bubbling, or moisture issues
- Cracks, spalling, or surface damage
- Oil spots or contamination
- High or low spots in the slab
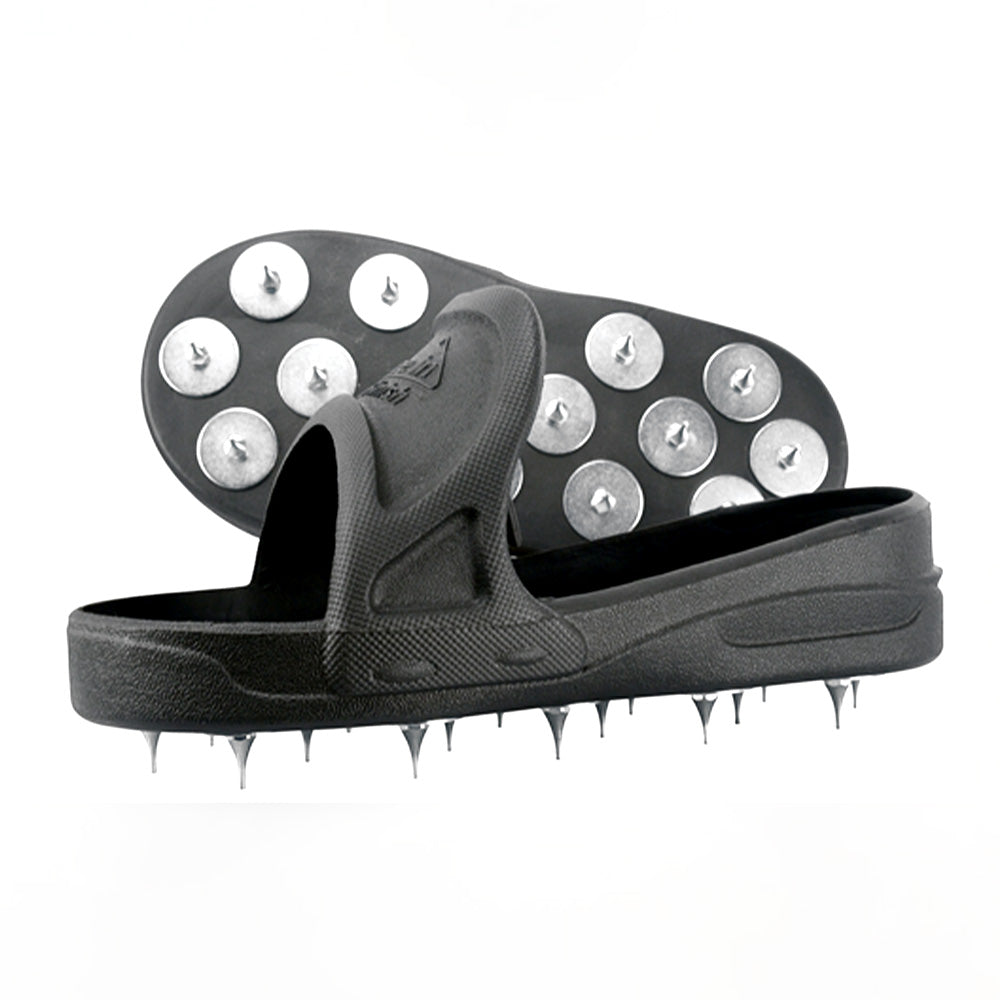
Safety First
Because epoxy removal creates dust and debris, proper PPE is a must.
Wear:
- Respirator or dust mask
- Eye protection
- Gloves
- Knee pads
- Ear protection if using grinders
- Work boots or steel toes
Prepare the Area
- Remove all equipment, furniture, and vehicles.
- Tape off walls and doorways with plastic to minimize dust spread.
- Ensure adequate ventilation when grinding or scraping.
2. Mechanical Removal: The Most Effective Method

When professionals talk about removing old epoxy, they almost always rely on mechanical removal. This means grinding or shot blasting the epoxy off, and it's the most reliable method for a clean, even surface.
Grinding the Epoxy Off
Using a floor grinder is the most common and efficient way to remove epoxy coatings.
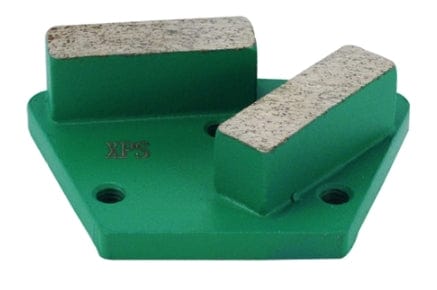
Recommended Tools
- Planetary floor grinder (such as a 20”–32”)
- Diamond tooling (PCDs, metal-bond diamonds, or carbide scrapers)
- Industrial dust collector
Which Tooling Works Best?
- PCD (Polycrystalline Diamond) Tools: Best for thick epoxy or stubborn coatings.
- Carbide Scrapers: Great for bulk removal.
- Metal-Bond Diamonds (16–30 grit): Smooth the floor after epoxy removal.
Benefits of Grinding
- Removes epoxy cleanly and evenly
- Exposes a fresh concrete profile
- Prepares the slab for optimal adhesion
Tips for Grinding Epoxy Flooring
- Apply slow, even passes—don’t rush the machine.
- Change tooling if diamonds gum up or stop cutting.
- Always use a dust collector for safety and cleanliness.
- Grind in multiple directions for consistent texture.
Shot Blasting (Alternative Method)
Shot blasting uses steel beads fired at high speed to chip away epoxy coatings and open the concrete surface.
Pros
Fast removal, excellent surface profile (CSP rating), and ideal for commercial/industrial spaces.
Cons
Can be too aggressive for delicate slabs, less precise around edges and corners, requires vacuum-assisted equipment.
3. Remove Any Remaining Epoxy
After grinding or blasting, some areas—especially corners, edges, and tight spaces—may still have epoxy residue.
Tools for Detail Removal
- 4" or 5" hand grinder
- Carbide hand scraper
- Oscillating multi-tool
- Wire wheel brushes
Tips
- Pay attention to edges where epoxy tends to be thicker.
- Remove all glossy or slick spots; new epoxy will NOT bond to them.
4. Repair the Concrete Surface
With the old epoxy removed, now is the time to repair the slab.
Common Types of Repairs
Cracks
Use epoxy crack filler or fast-setting polyurea crack repair.
Spalling or Pitted Areas
Apply concrete patch or self-leveling repair compound.
Oil Contamination
Clean with a degreaser and grind again if necessary.
High/Low Spots
Feather grind or use patch materials to level the slab.
Why Repairs Matter
- Damaged concrete = poor adhesion.
- Poor adhesion = peeling and failure.
- Repairs help ensure your new epoxy floor lasts.
5. Final Surface Prep Before Applying New Epoxy

Once the floor is fully cleared of old coating and repairs are complete, it’s time to get the slab ready for re-coating.
Clean the Surface Thoroughly
- Vacuum dust and debris using a HEPA-filtered vacuum.
- Mop if necessary (use water only prior to moisture testing).
Check the Concrete Profile
Your slab should have a surface profile of CSP 2–3 for most epoxy systems.
Moisture Testing
Before applying new epoxy, always test for moisture:
- Calcium chloride test
- RH test
- Plastic sheet test (basic)
Prime the Surface
Primers help penetrate the slab and create a solid foundation for your epoxy.
When to Call a Professional
Removing epoxy flooring is labor-intensive and requires specialized equipment. Call a professional if:
- You don’t have access to grinders or vacuums
- The coating is extremely thick or multilayered
- The concrete is severely damaged You want industrial-quality preparation
Final Thoughts: Removing Old Epoxy Flooring the Right Way
Knowing how to remove old epoxy flooring before reapplying is essential for achieving a smooth, durable, and long-lasting new coating. Whether you’re tackling a residential garage or a commercial workspace, the key steps remain the same:
- Use mechanical removal (grinding or shot blasting)
- Detail the edges
- Repair the concrete
- Prep the surface properly before re-coating
Taking the time to do it right ensures your new epoxy floor looks flawless and performs for years.