
Callbacks are the nightmare that keeps flooring contractors awake at night. You pour a beautiful floor, collect the check, and three months later, you receive that dreaded phone call: "It's peeling." The ugly truth is that most epoxy gone wrong stories trace back to preparation mistakes, environmental oversights, or mixing errors - rarely is it the product itself at fault.
Xtreme Polishing Systems knows that learning how to fix epoxy mistakes starts with a proactive strategy to prevent them. By mastering surface profiles, chemical reactions, and site management, you can protect your reputation and ensure your floors last a lifetime.
Epoxy Gone Wrong: How Professional Contractors Avoid Callbacks
Concrete & Surface Preparation: Where Epoxy Gone Wrong Stories Start
Surface preparation is the bedrock of every successful installation. If you skip this phase, you are effectively gambling with your reputation and the long-term viability of the floor. Your goal is to establish a permanent, structurally sound mechanical bond.
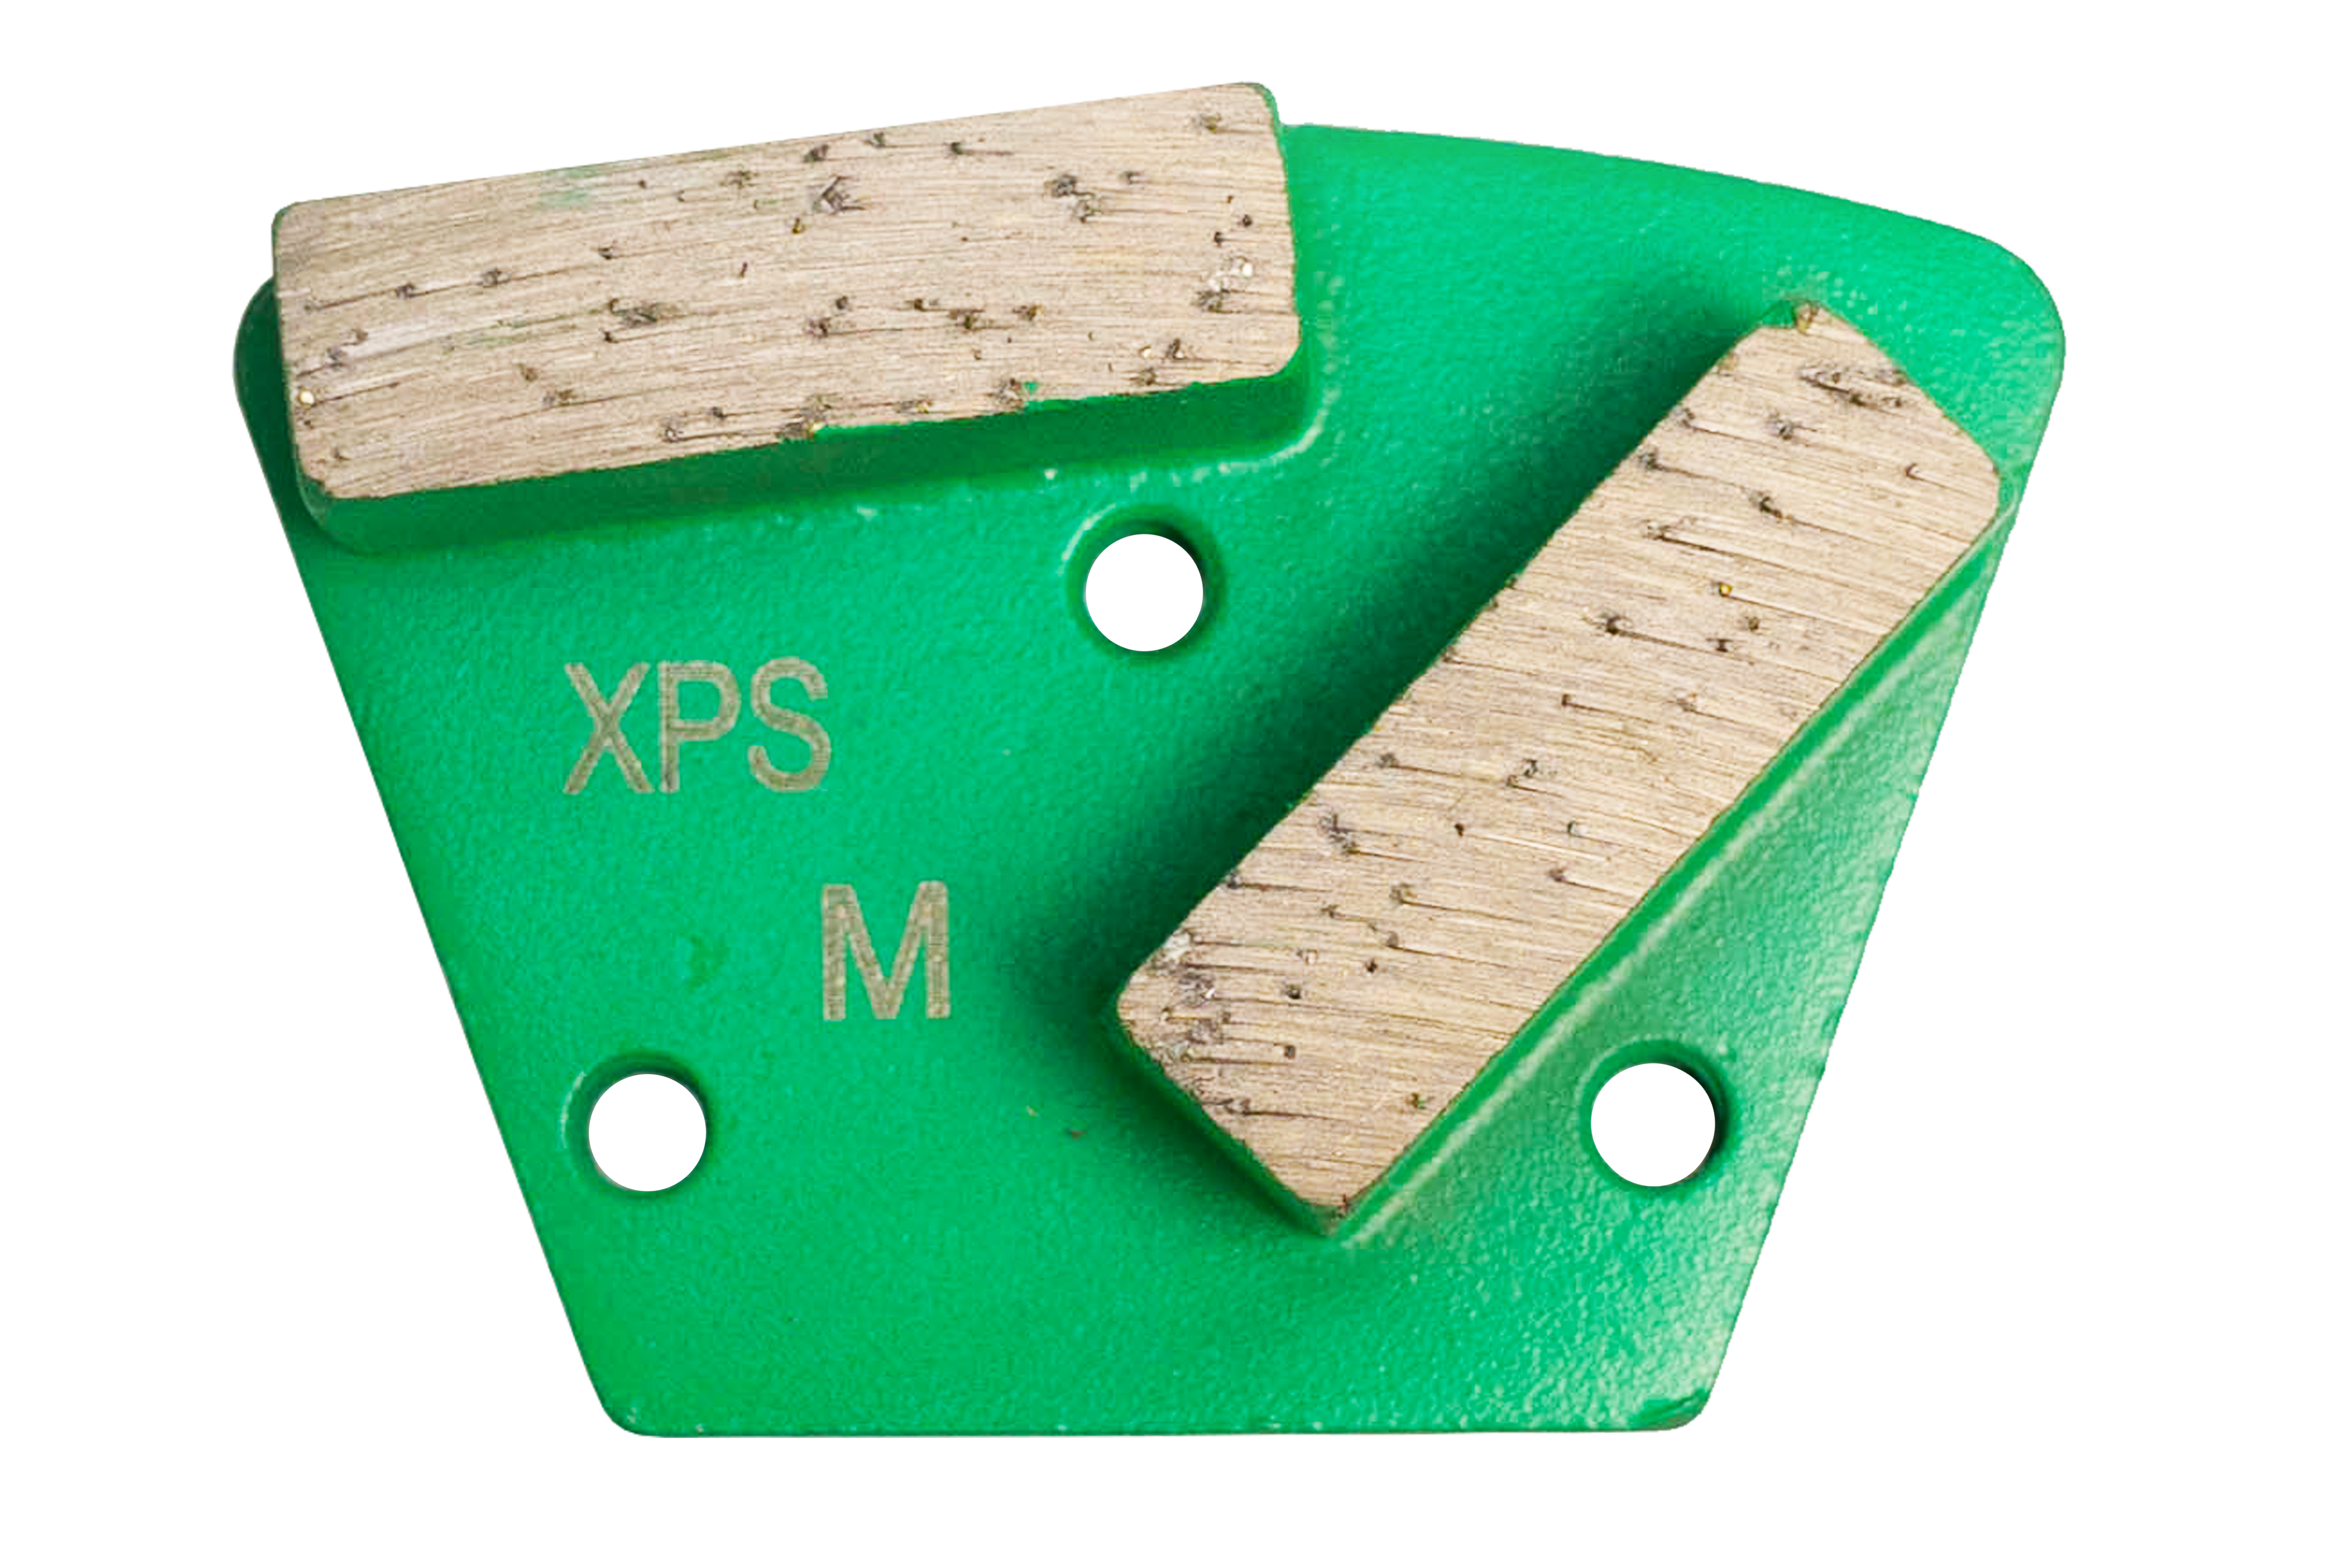
While acid etching appears in some guides, modern professionals now only recommend diamond grinding due to inconsistent results and safety risks associated with acid etching. Mechanical grinding is the only way to achieve a consistent Concrete Surface Profile that guarantees the resin can lock into the substrate. To achieve this, you need the right machinery.
XPS Recommendation: How to Fix Epoxy Mistakes & Prevent Them With The Right Tools
The Surface Prep Starter Package (Genie) is an essential investment for any serious contractor. This package is ideal for residential garages and light commercial work that require consistent surface profiling. The Concrete Genie is a robust polisher designed for efficiency and durability, while the Tromb 400L dust collector ensures the jobsite remains clean, safe, and professional.
When you fail to dial in the correct Concrete Surface Profile (CSP), you invite delamination. A floor that lacks sufficient texture for adhesion will inevitably fail under stress, such as during hot-tire pickup. Invest the time to grind until the concrete feels like coarse sandpaper, or else waste time later when your installed resinous coating potentially fails.
Environmental Control: Avoiding Epoxy Mistakes Through Site Management
Epoxy is a precise chemical reaction, and chemistry is notoriously sensitive to the environment. If you ignore temperature and humidity, you will find yourself searching for how to fix epoxy mistakes far sooner than anticipated.
You must monitor the dew point and ambient conditions. If your concrete substrate temperature is too close to the dew point, you risk invisible micro-condensation, which destroys adhesion. Similarly, high heat accelerates the exothermic reaction, which can shorten your pot life drastically, while high humidity can cause amine blush.
Ignoring these environmental factors is a fast track to epoxy gone wrong. By controlling the environment, you ensure a consistent chemical cure, which is critical for the durability of your final finish.
Mixing & Application: Precision Techniques to Prevent Epoxy Gone Wrong
Epoxy resin is known as a forgiving material. But that leniency relies on your knowledge of and ability to execute the fundamentals. If you mix resinous coatings incorrectly or rush the application, you create defects that are difficult to repair. A lack of precision in these steps is why professionals often scramble to learn how to fix epoxy mistakes on a live job site.
Always use a low-speed drill (300–450 RPM) and mix for the manufacturer's recommended time, scraping the sides and bottom of the bucket. High-speed mixing introduces micro-bubbles that will mar the surface of your finished floor. To be safe, you might even opt for just a basic wooden mixing stick to hand-mix the solution.
XPS Recommendations: Best Epoxy Resinous Coating Resources
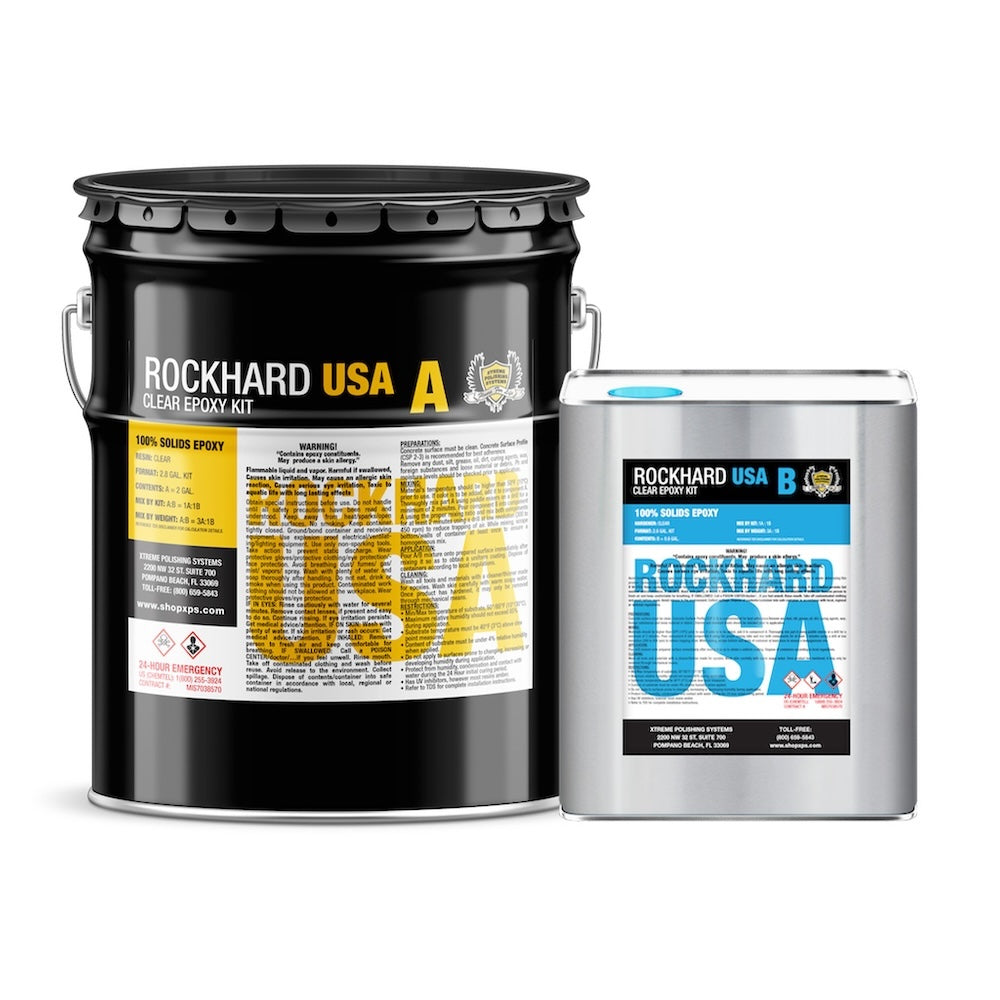
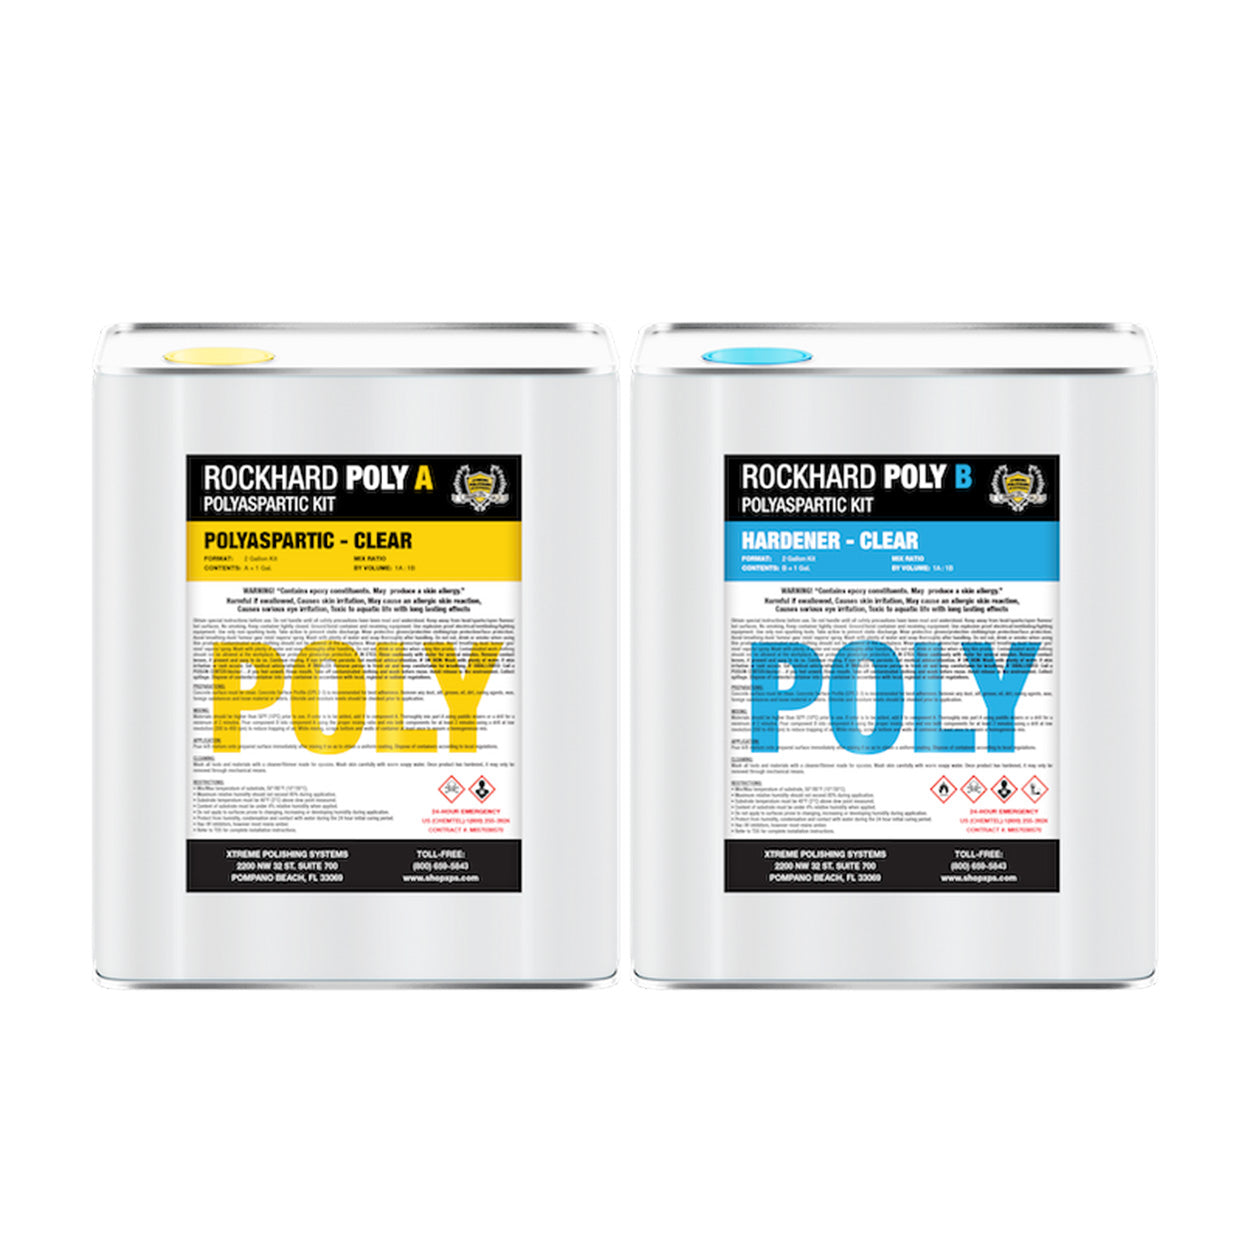
For your base layer, the Rockhard USA Epoxy Kit is an industry-standard, 100% solids system that is reliable and professional-grade. While it is technically possible to mix and match epoxy products between layers, the best practice for a flawless installation is to use a complete system from the same product line. If you start with Rockhard USA, you should finish with Rockhard USA products to ensure optimal chemical compatibility and adhesion.
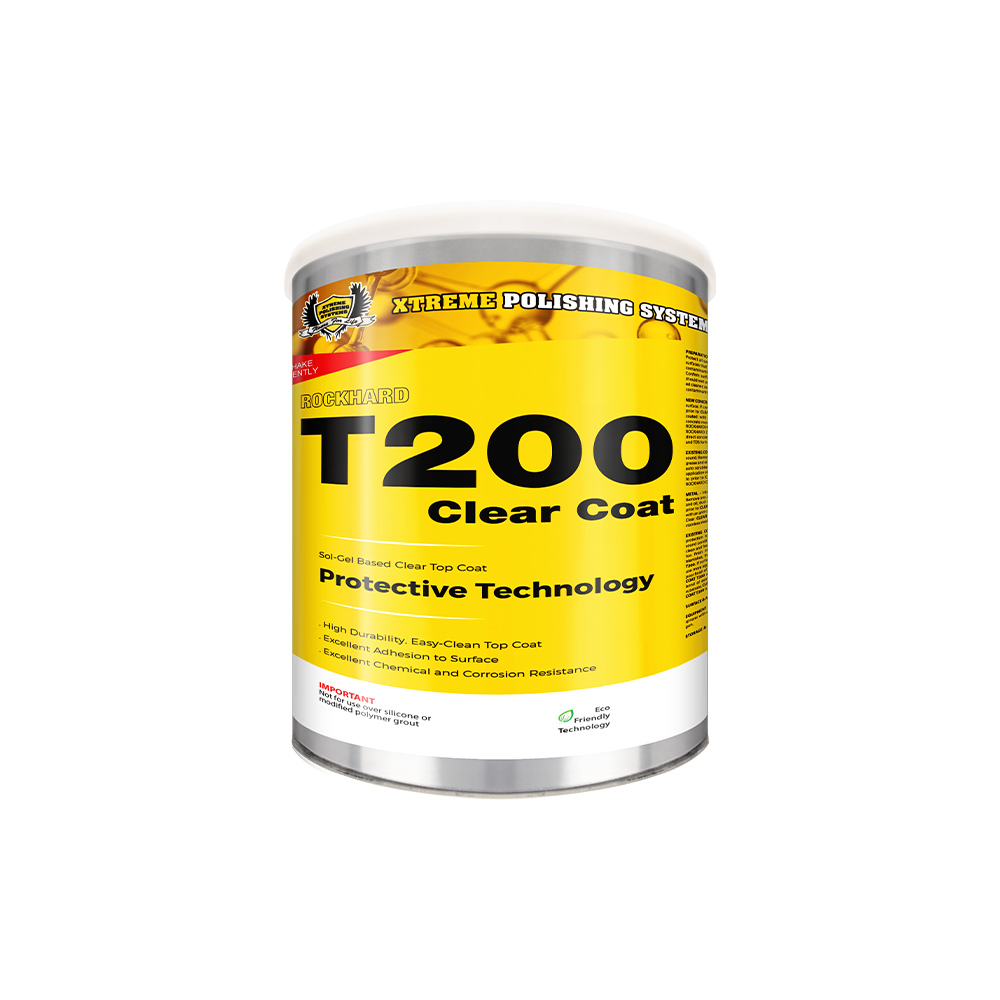
Interchanging systems between different manufacturers is possible, but you will achieve the most consistent and durable results by sticking to a single product line throughout the job. Note that this guidance does not apply to most polyaspartic topcoats; for instance, Rockhard's T200/T2000 systems are designed for versatility and can be applied over most epoxy systems as a high-performance extra layer of protection against UV rays and abrasion.
Improper mixing or rushing the application leads to sticky spots, bubbles, and uneven curing. These are the classic signs of epoxy gone wrong that are expensive and time-consuming to fix later.

Installation: Troubleshooting and Repair Protocols
Even the best contractors face challenges. Here is how to address common failure points when they occur.
Step 1: Diagnose the Failure
Identify the type of failure: peeling, bubbling, fisheyes, or tackiness. Peeling suggests poor adhesion due to lack of prep. Bubbles often indicate outgassing or dural bubbling - a common issue where moisture or air trapped in the substrate rises through the curing resin.
Step 2: Surface Prep for the Repair
For localized issues, sand the affected area with 80-grit sandpaper, feathering the edges into the sound coating. Failure to do this leaves contaminants behind, which guarantees the repair will fail. Clean thoroughly with an industrial degreaser and vacuum the area.
Step 3: Recoat or Spot-Patch
Mix a fresh batch of your chosen epoxy system, such as XPS ECTR 3G. Apply carefully, blending the edges into the surrounding floor.
Step 4: Allow Full Cure
Respect the recoat window and total cure times. Rushing this final phase is the most common reason why attempts to fix epoxy mistakes fail.
Frequently Asked Questions
1. What is the most common cause of epoxy floor failure?
Poor surface preparation. If the concrete is not profiled (CSP 2-3) and free of contaminants, the epoxy will not bond properly. This is the 1 reason epoxy gone wrong stories exist.
2. How do I fix a sticky or tacky epoxy floor?
Tackiness typically results from improper mixing ratios or incomplete stirring. Unfortunately, there is rarely a way to "patch" this. It usually requires full mechanical removal of the failed section and re-application.
3. Can I apply a new coat of epoxy over a peeling floor?
No. You must grind down to bare, sound concrete, ensure the surface is clean, and reapply the entire system. Partial patches over peeling areas will not hold.
4. How do I prevent dural bubbling in my epoxy floor?
Apply a primer coat, avoid grinding during the heat of the day, and use a spiked roller to release trapped air. Also, mix at low speeds to avoid whipping air into the resin.
5. Is professional training worth it to avoid callbacks?
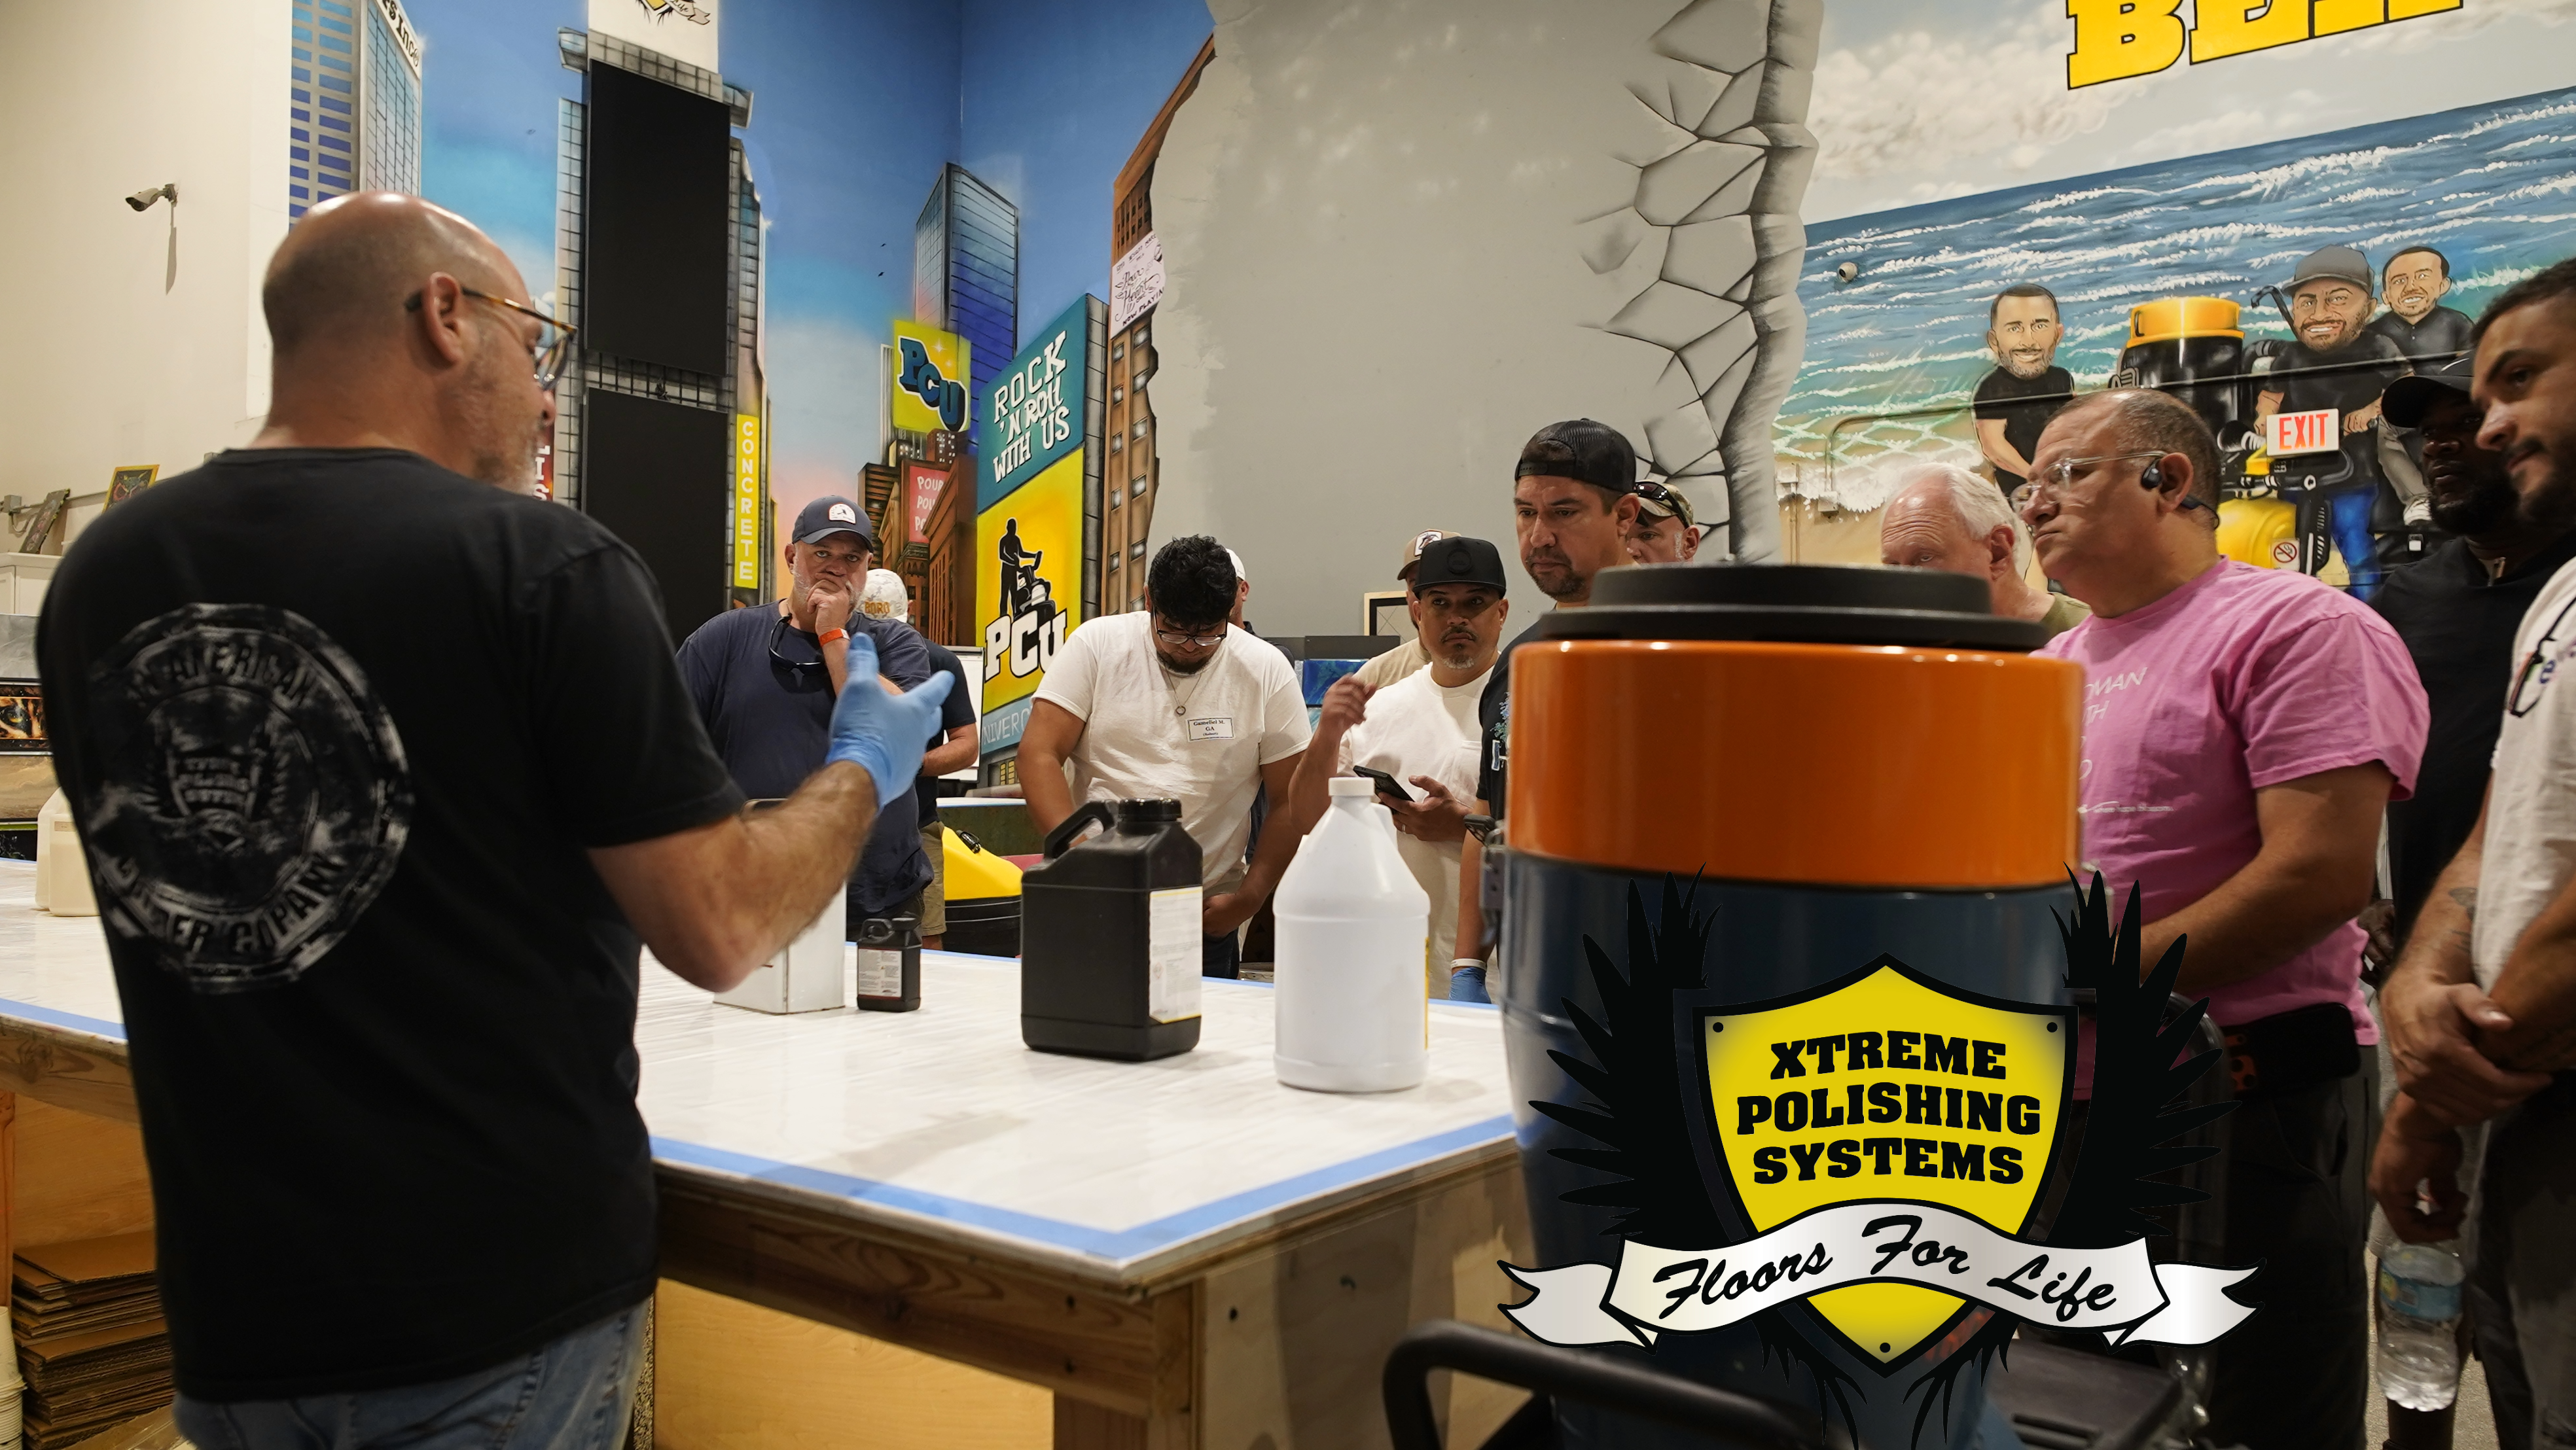
Absolutely. Epoxy Classes offers a 5-Day Hands-On Epoxy Certification Course that covers moisture testing, equipment operation, and troubleshooting. It teaches you to diagnose failures before they happen, helping you win commercial bids and charge premium rates.
Conclusion
Callbacks are expensive - not just in materials, but in your professional reputation. By following strict prep protocols, controlling your environment, and respecting cure times, you can eliminate most epoxy gone wrong scenarios. With Xtreme Polishing Systems' help, you can avoid the most common causes of epoxy going wrong and learn how to fix epoxy mistakes.
Xtreme Polishing Systems (XPS) is your epoxy and concrete flooring headquarters. For project-specific guidance or product recommendations, reach out to our technicians at (877) 958-5264.