Don't settle for gray concrete - explore a new colorful life!
Transform your space into a vibrant canvas with our masterclass on coloring epoxy floors. Much like an artist preparing to paint, the foundation is what sets the stage. You'll need a smooth, grounded concrete floor - our guide on surface preparation will help you build the perfect canvas.
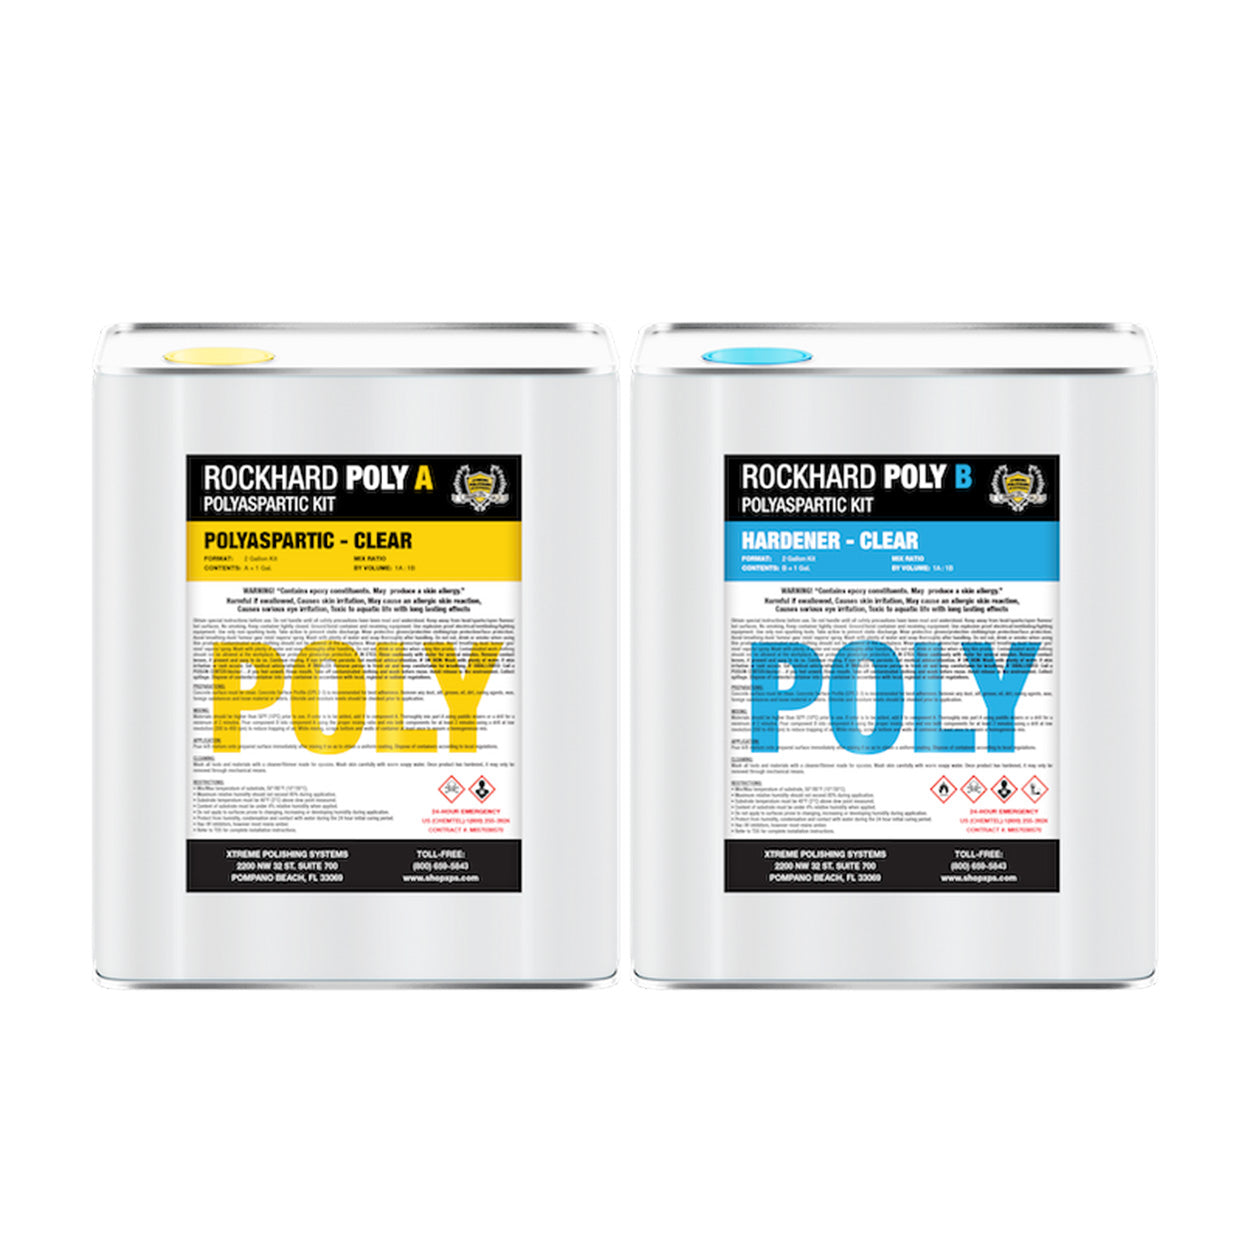
Opt for top-tier epoxy resin like our stock on Xtreme Polishing Systems (XPS), it'll guarantee a sleek finish. The choice of pigments becomes your palette—mica particles, metallic hues, and more dance together to create a visual symphony.
How to Add Color / Pigment / Dye To Epoxy Resin

1. Preparing for Installation:
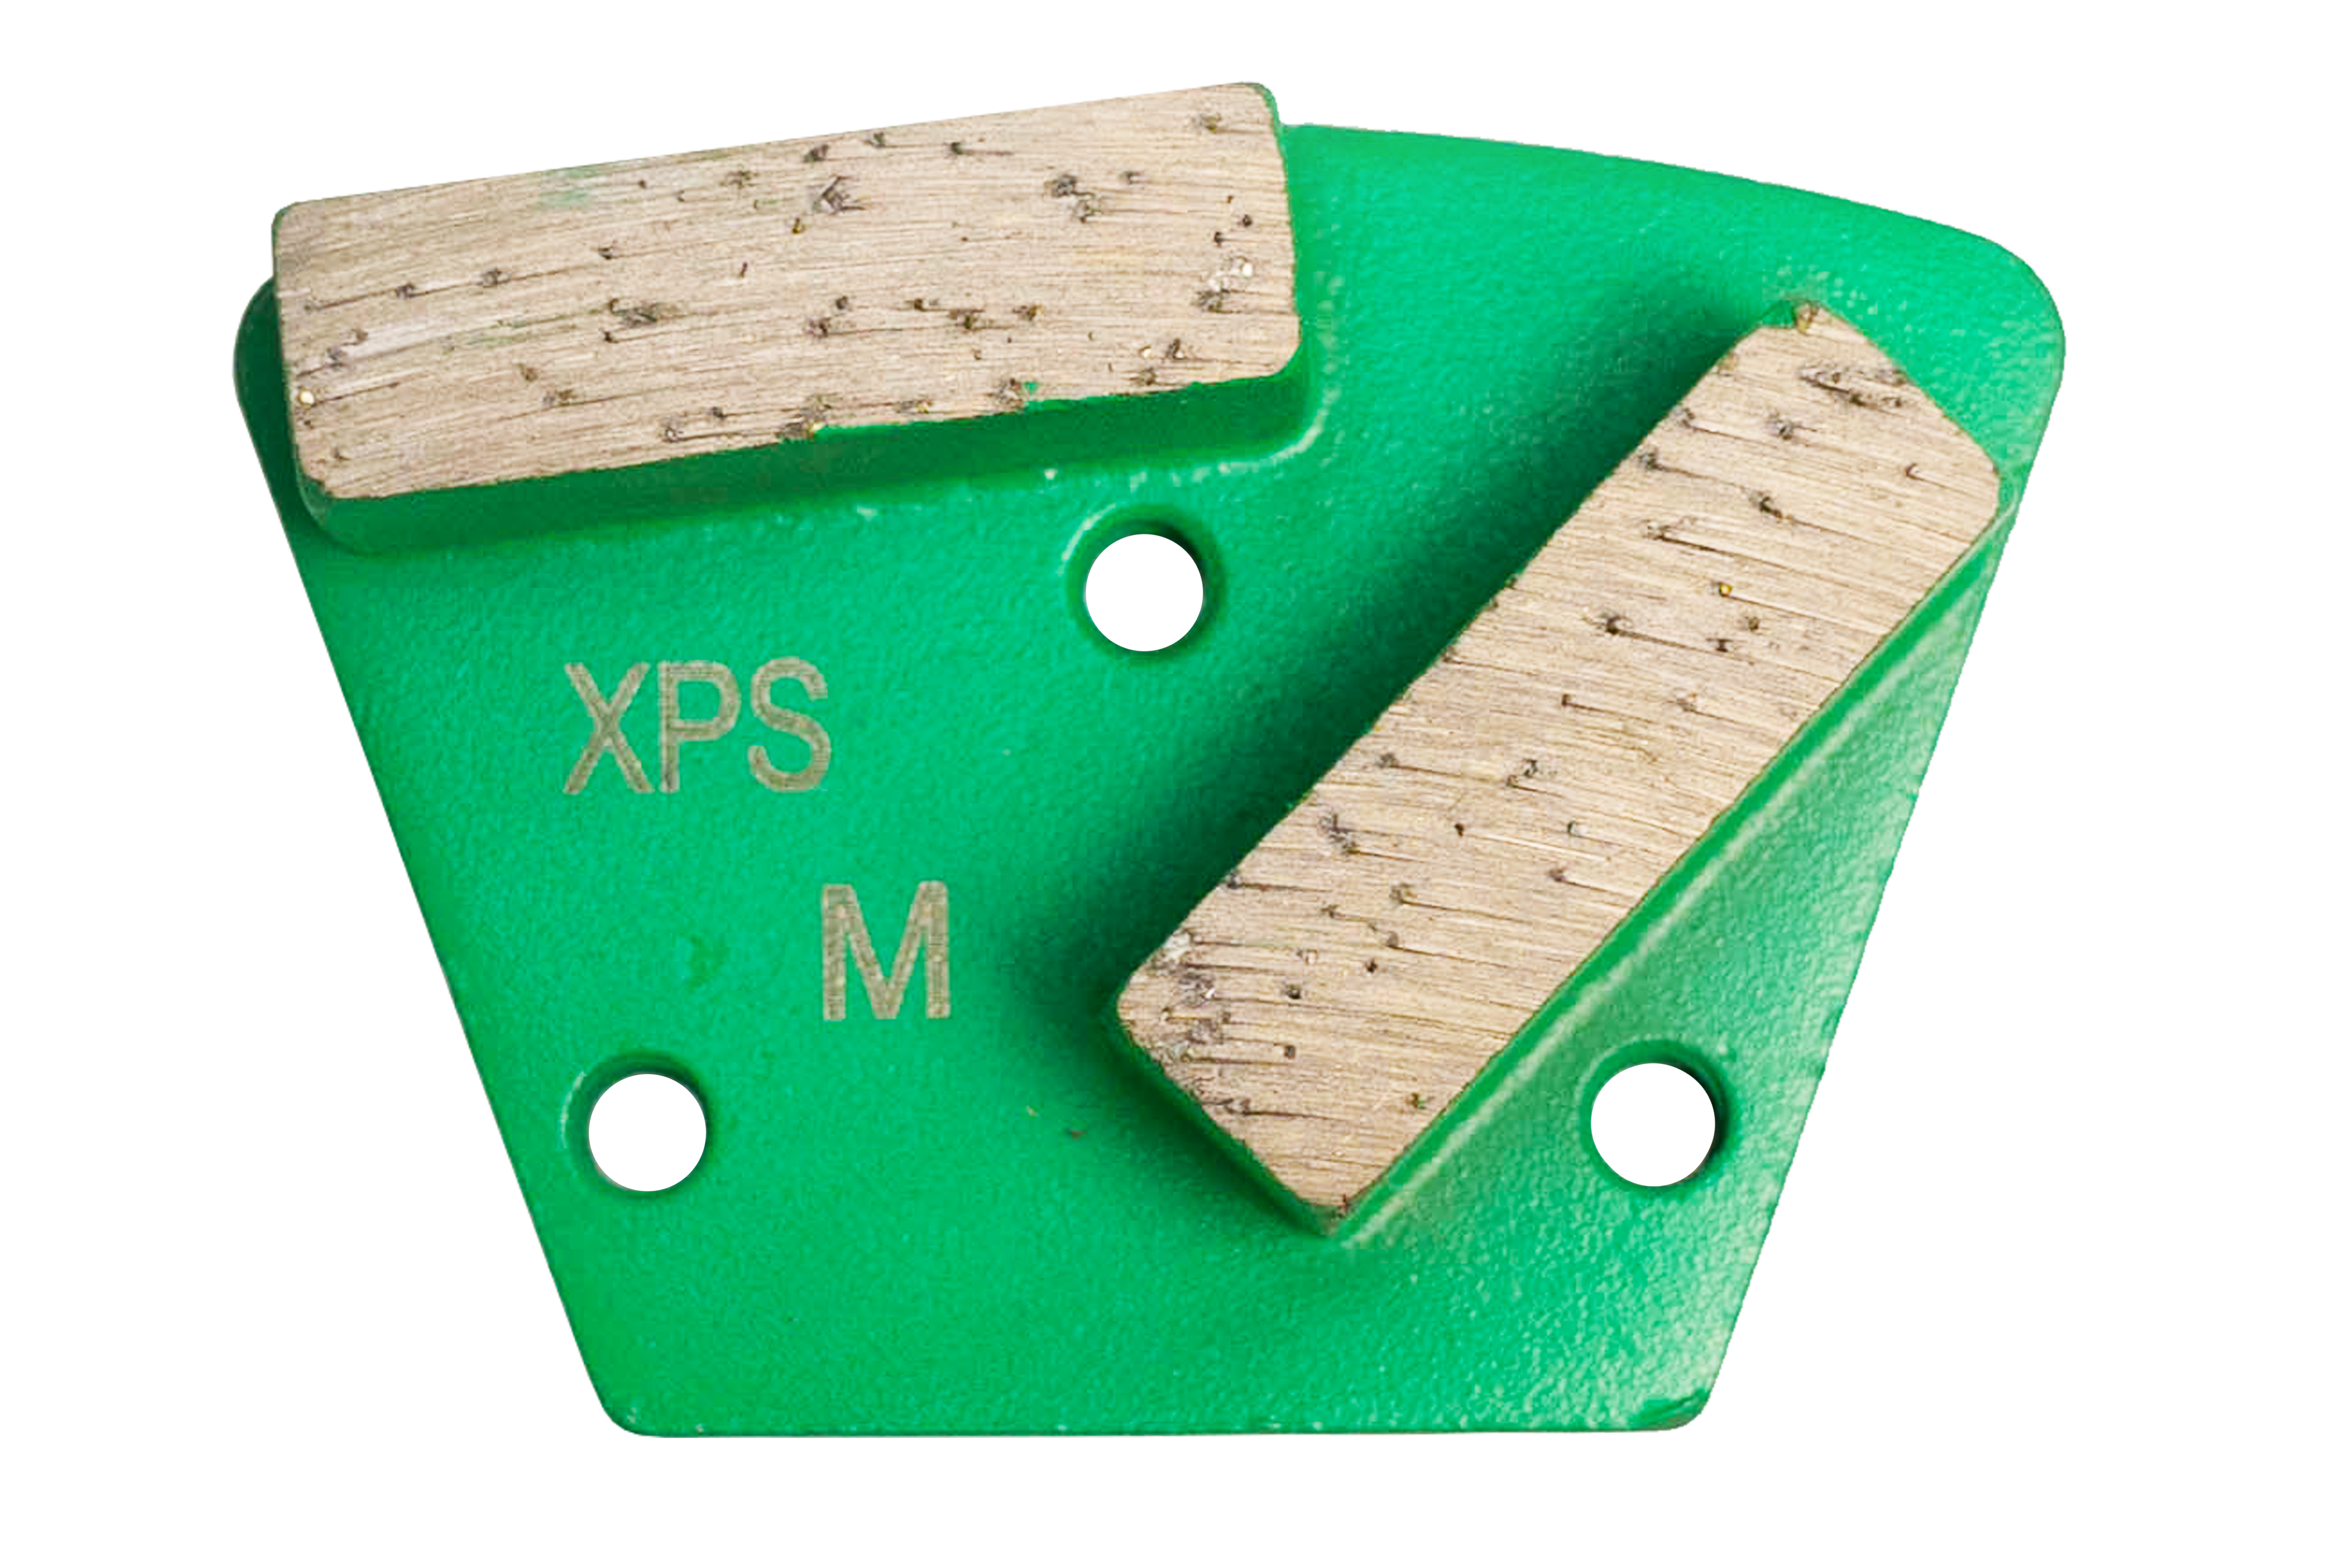
Your foundation is the first stroke in your masterpiece. Smooth out imperfections in your concrete canvas for an even, grinded surface. The surface needs to be level and smooth - but not too smooth! Your epoxy will bind best to your surface when it's slightly roughened. This goes for non-concrete surfaces, as well.
Get all your ingredients together. Pick out a resin, your choice of pigment, and any application tools you'll need. A mixing bucket, a squeegee, all of these things will be necessary on the project.
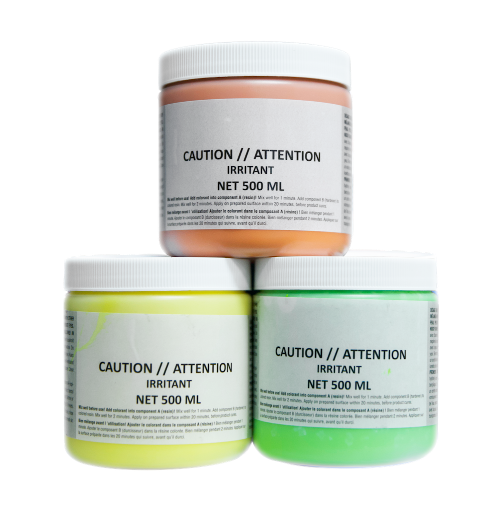
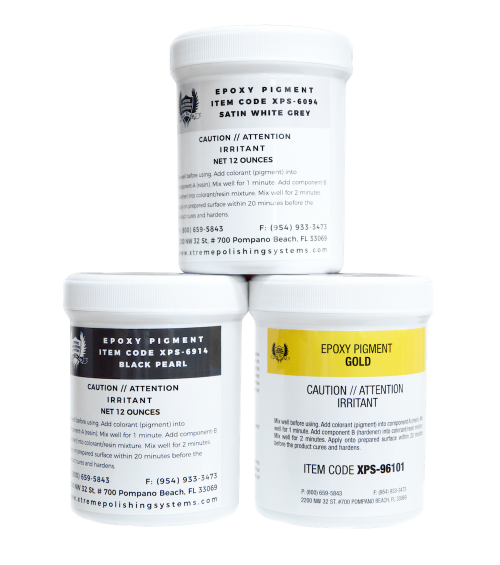
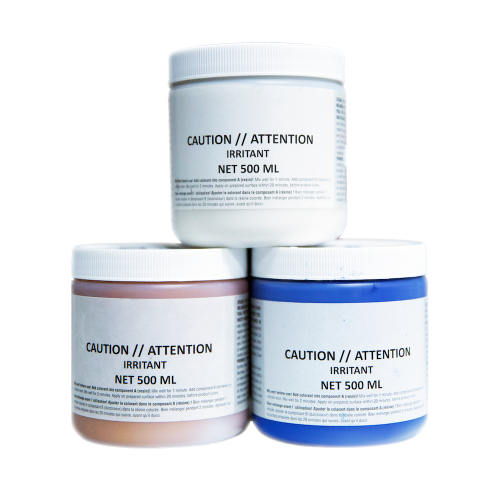
2. Choosing Pigments:
Venture into a world of possibilities—mica particles, iron oxide, metallic hues. Each pigment brings its own character to the canvas. At XPS, we carry rich, vibrant palettes; from solid colors to metallic pigments. It’s not just about picking colors. Your space will be truly stunning if you take the time to consider how your floors will match the rest of your interior's design.
3. Adding Pigments:
You've set your canvas, and picked out your palette. Now it's time to make your artistic impact!
Experiment with different shades and blends to reflect your style. Make small epoxy resin test slabs to make sure you get the look exactly how you want it! The beauty lies not just in the colors but in their harmonious interplay. This is where you can elevate your space from drab to fab.
Start small - it's easier to add color than it is to take it away. Whichever color/pigment you decide on, all you'll have to do is add it to your epoxy mixture and stir. You can also add it directly to the epoxy layer before it cures, too! Some designs & looks are made by stirring color in before application, and some will rely on being applied while the epoxy cures.
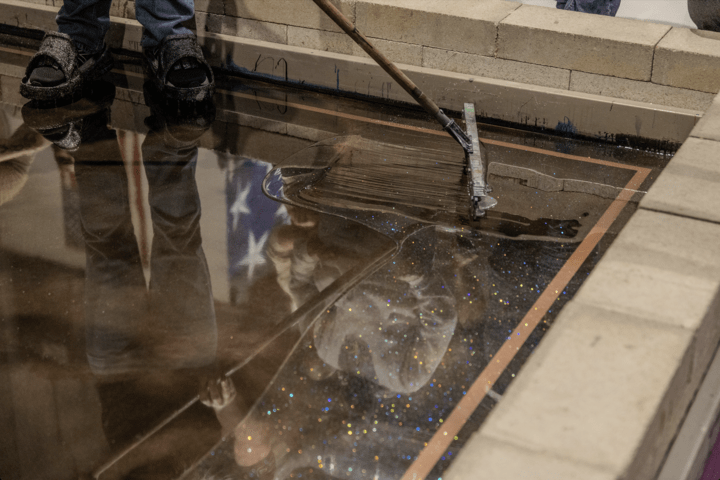
4. Application Process:
Now that all your planning and preparation is complete, it's time to truly make your vision a reality. Approach your application patiently and carefully - epoxy is an incredibly lenient solution, but any mistakes will show!
Experiment with colors, incorporate vinyl flakes, or introduce glitter for a distinctive touch. Application is also where you can make any design and style choices you want! Swirl around your colors in the epoxy for make waves and veins of vibrant colors, or stay simple with a solid color finish.
In terms of technique - use a squeegee for smaller spaces, or an epoxy resin roller for larger spaces, to maintain a smooth finish. The resin should settle itself for the most part, but you should be mindful of maintaining a level, smooth surface throughout the application!
The application process isn’t just about technique; whether you're a contractor or a DIY enthusiast, this step is where you can really make your footprint. So express yourself!
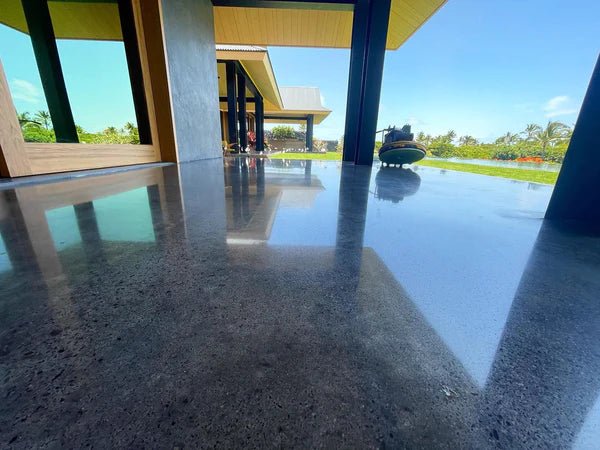
5. Curing and Drying:
Now that the hard work is done, it's time to sit back and let the epoxy resin work its magic. Epoxy needs to cure and dry for a number of hours before it can be touched or stepped on, otherwise you could ruin all the planning and effort you've put into it! So, follow the manufacturer's guidelines for your resin, and be patient.
Curing and drying are the silent chapters of your artistic journey, where time takes the reigns. As the epoxy settles, it'll create that glossy, perfect sheen your colors need to stand out. And when you trust high quality resin, that cure means your floors will be protected for years to come.
Recommended Epoxy Resin Color Products
Here's a few of our favorite products from our storefront for your next project:
- Epoxy Resin Kit
- Metallic Epoxy Floors Liquid Pigments Solid Epoxy Colors Pigments
- Powder Metallic Epoxy Flooring Pigments
- XPS Vinyl Flake Epoxy Kits
Conclusion
Your space should represent you - and with epoxy resin, that's never been easier to accomplish! Whether you're a contractor learning to create beautiful floors for your clients or you're a DIY enthusiast working on a creative project, our guide on epoxy resin coloring should help you fulfill your visions.
Transform functional spaces into personal statements. Dive into our color charts at Xtreme Polishing Systems (XPS), where we've combined expert guidance and experience with affordable high-quality resources. Reach out to us for any assistance to help elevate your floors, and elevate your space!