Boost your flooring business with stunning flake epoxy garage floors!
Flooring is a rapidly booming industry for contractors seeking success. The industry is filled with growing opportunities for profit! But, many flooring businesses overlook one of the easiest avenues of profit: flake epoxy garage flooring.
Flake epoxy is now known as the industry standard for garage floors, all because of its array of unique benefits. It not only boasts remarkable durability, but also provides a dazzling finish that can transform your clients' garages into standout spaces. If you're looking for a way to set your business apart from the competition, learning how to install flake epoxy garage floors is the way to do it!
Flake Epoxy Garage Floors: A Contemporary Essential
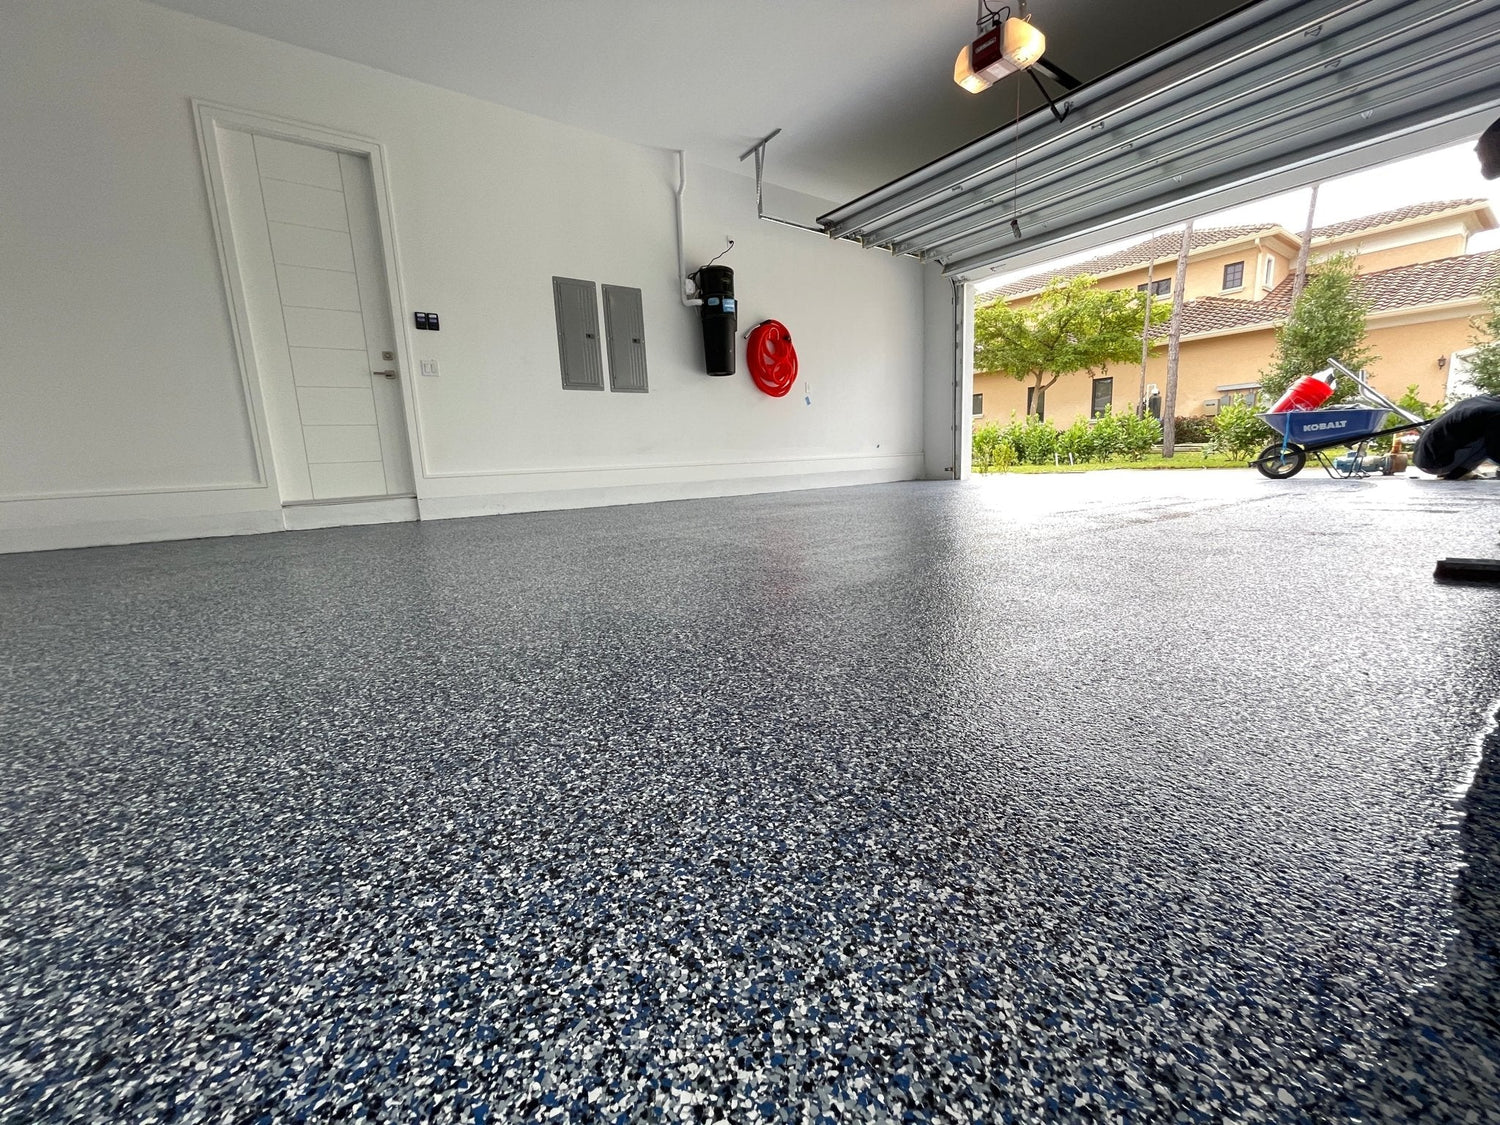
In today's market, flake epoxy is the new gold standard for garage floor finishing. Every installation is unique; it'll bring a dose of style and sophistication into a usually mundane flooring space. Flake epoxy comes with strength that make it superior to other concrete finishes, and when you use high-quality vinyl flakes like those offered by XPS, a beauty without compare!
The process involves applying a vinyl flake broadcast onto wet-applied resin solution of your choice. Every job is inherently unique. From broadcast coverage, to color choices, you'll always get distinctive patterns that go above and beyond the alternatives. With just a little extra knowledge, and some patience, you can have easy, consistent results!
What makes flake epoxy even more attractive is its cost-effectiveness. Garage owners can achieve a stylish flake epoxy finish without breaking the bank, making it the preferred choice for garage upgrades.
Where Strength Meets Beauty in Garage Flooring
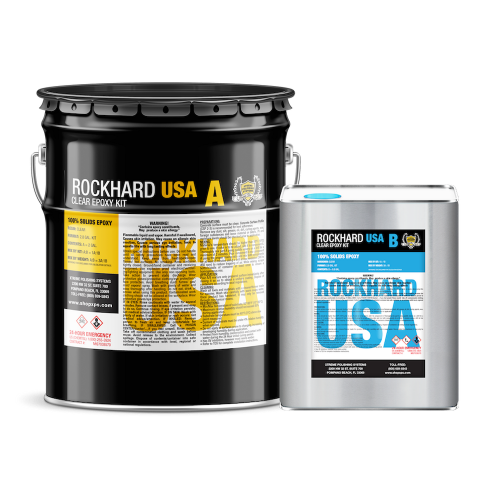
Flake epoxy's strength comes mostly in the form of resistance to scratches, stains, and everyday wear and tear. All this strength comes from the inherent durability of epoxy resin combined with the boost it gets from vinyl flake coverage. . When you choose a high-quality resin system like the ones available from XPS, you're investing in a reliable solution.
Epoxy.com's review of the numerous studies on the resin show it excels in every area of measurable strength! Every product on the XPS store will come with its own data sheets, so check out the strength of every product before you buy.
Moreover, epoxy flakes can be arranged in a multitude of color combinations, allowing for creative freedom that is sure to delight any customer. A flake epoxy garage floor system is the epitome of the perfect blend of strength and beauty, which is why it's fast becoming the industry standard.
Flake Epoxy's Benefits for Contractors and Homeowners
Now, let's dive into the substantial advantages that flake epoxy garage floors can bring to your flooring business. Not only is flake epoxy flooring easy to install, but it also comes with low labor and other costs! That means your team will be in and out faster than the alternatives, with more margin for profit. ThisOldHouse reports that epoxy resin on average comes in around $2-12/sqft depending on quantity, quality and other factors.
In comparison to more extensive projects, garage upgrades offer a low initial investment with high returns. Flooring businesses can complete multiple garage projects in a short time frame while utilizing fewer resources. That means more jobs in less time, which means more profit for your business!
Businesses that have incorporated this service have reported impressive results. The scalability of flake epoxy garage flooring translates incredibly to increased profits. Flake epoxy garage floor has widespread appeal, making it a sought-after choice for homeowners looking for a touch of character and style in their garage space.

A Step-By-Step Guide to Flake Epoxy Garage Floor Installation
Are you ready to dive into the world of flake epoxy garage floors? Here's a quick overview of the installation process:
1. Surface Preparation
The key to a successful flake epoxy garage floor installation lies in meticulous surface preparation. Begin by thoroughly cleaning the garage floor with a mild cleanser, removing any dirt, dust, or debris. Use a powerful vacuum or air compressor. If the concrete has any existing coatings or sealants, these should be removed as well.
Inspect the concrete for cracks or imperfections and repair if needed. Check for levelness. Fill any cracks with an appropriate epoxy filler and level the surface. This step is crucial to ensure a smooth and flawless finish!
2. Diamond Grinding to Boost Adhesion
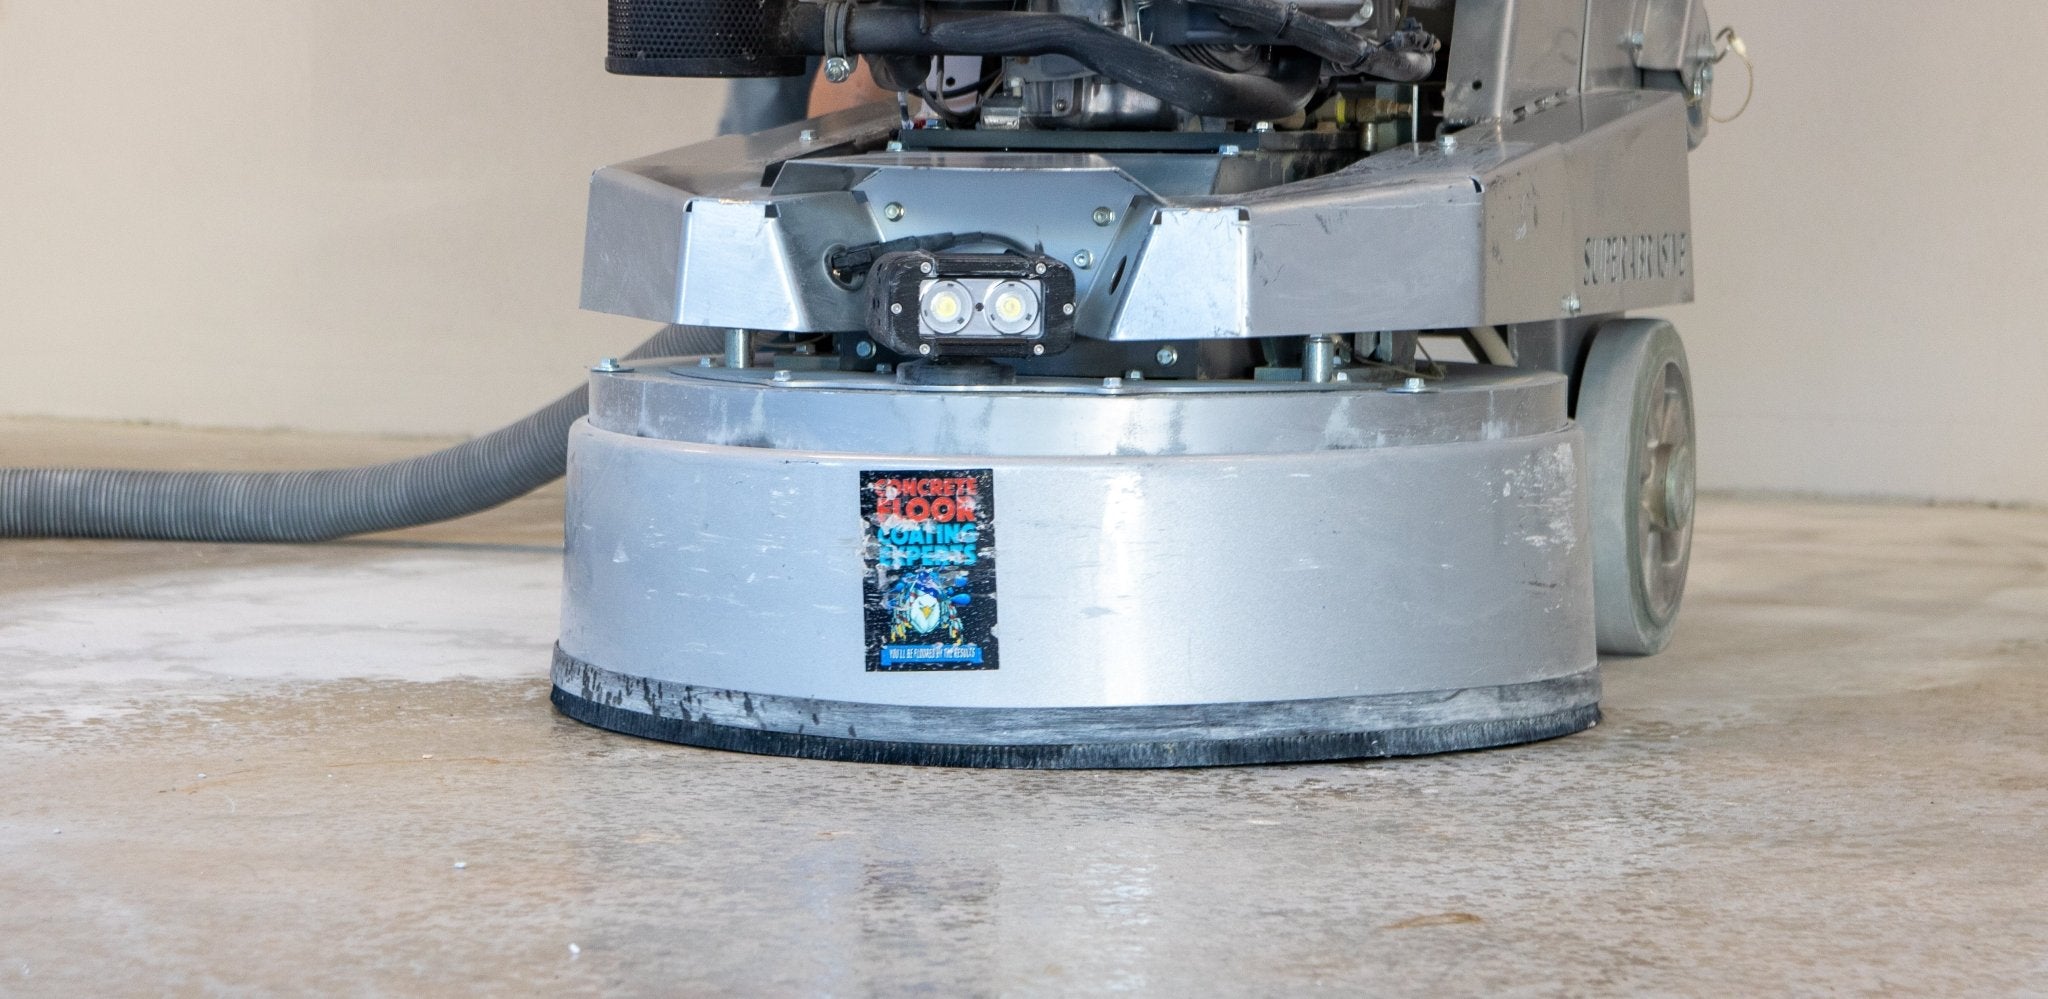
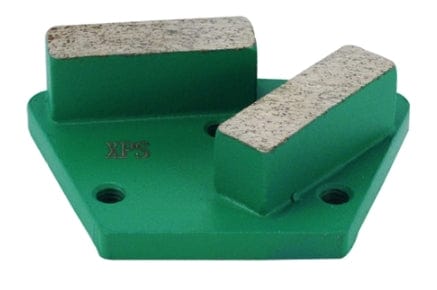
Depending on the condition of the concrete, its Concrete Surface Profile (CSP), you may need grind the surface to create a suitable texture for epoxy adhesion. Don't acid etch! Acid etching is commonly thought of as a suitable alternative to an industrial grinder, but the truth is that its simply much less effective. Invest in an industrial-grade grinder today with XPS!
3. Apply the Epoxy Base Coat
Once the surface is ready, it's time to apply the epoxy base coat. This coat serves as the foundation for the epoxy system. Use a roller or squeegee to apply an even layer of epoxy across the entire floor. Work methodically to avoid leaving streaks or uneven areas.
If you're working with a larger garage floor, or just want to take that extra time to get it perfect, section off the work area in pieces. This allows you to focus more on each individual area to guarantee perfection, and work more efficiently in general.
4. Add the Flake Broadcast
As the base coat is still wet, it's the perfect time to add the epoxy flakes. Broadcast the flakes evenly over the surface, matching your client's desired coverage. The goal of the flake broadcast is not only enhance the floor's appearance, but also provide texture and slip resistance.
If you're working with a combination of colors, be aware of how evenly you're spreading the colors around. Avoid clumping! Any time you or your contractors are walking around wet epoxy resin, be sure to wear the appropriate spiked shoes.
5. Allow the Resin to Cure
After applying the flakes, allow the floor to cure for the recommended time. This typically ranges from 12 to 24 hours, depending on environmental conditions & the resin. Check your manufacturer's guidelines!
Once the epoxy has cured, scrape off any loose or excess flakes with a scraper tool or a hand grinder. Then, thoroughly vacuum the floor to remove any remaining loose particles.
6. Apply the Clear Topcoat
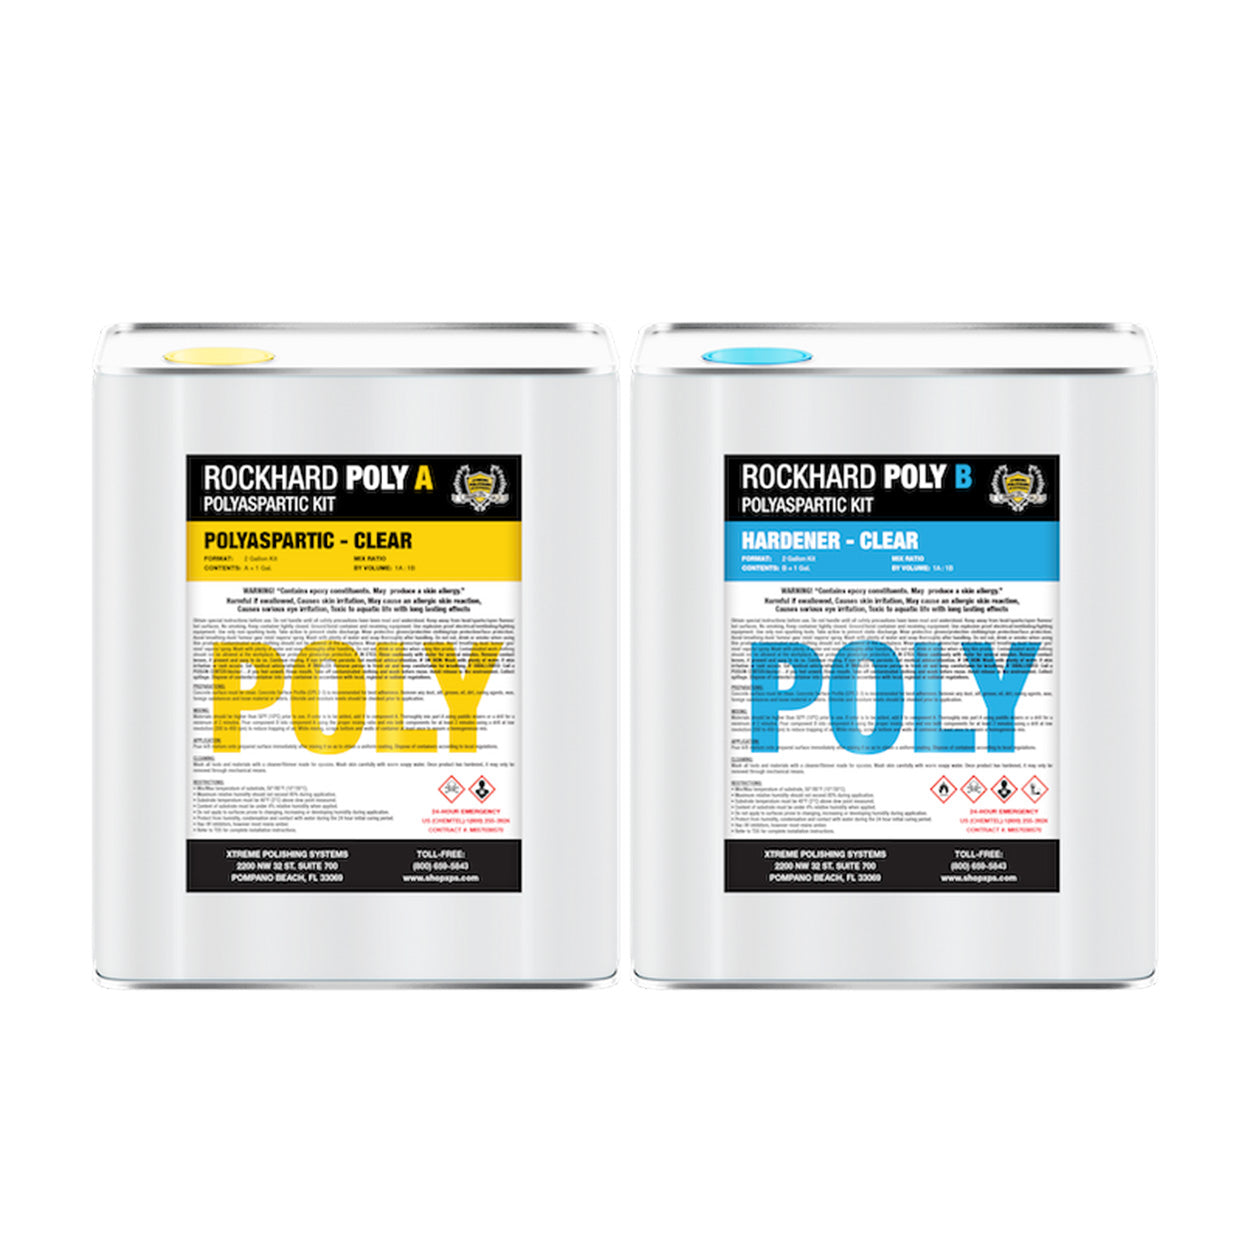
To seal and protect the flakes and create a glossy finish, apply a clear epoxy topcoat. A topcoat is the first and best layer of defense against all tests! So get it right the first time. The right topcoat provides durability and chemical/abrasion resistance.
7. Final Cure
Allow the clear topcoat to cure for the specified time, usually 24 to 72 hours. You're in the home stretch, so don't lose patience now! During this period, avoid foot and vehicle traffic on the newly coated floor.
Remember, while this guide offers a simplified overview, the specific steps and products may vary based on your project and the epoxy system you choose. Always follow the manufacturer's guidelines and consider seeking professional training for the best results in your flake epoxy garage floor installations.
Conclusion
Distributors, homeowners and contractors alike have fallen in love with flake epoxy flooring! Don't get left behind; offer flake epoxy garage floor services to not only increase your profits, but also tap into a new client base. Xtreme Polishing Systems is here to help you every step of the way, so reach out to us today.
Do you need assistance on the job, or managing your growing flooring business? From DIY garage flooring kits or professional-grade grinders, you'll find it all at the XPS online store!

