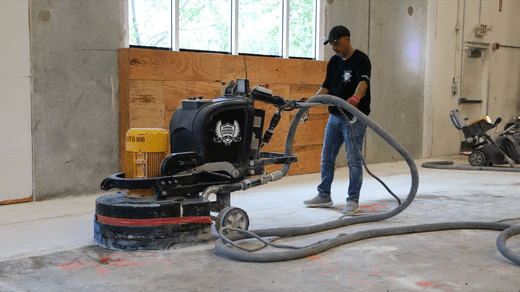
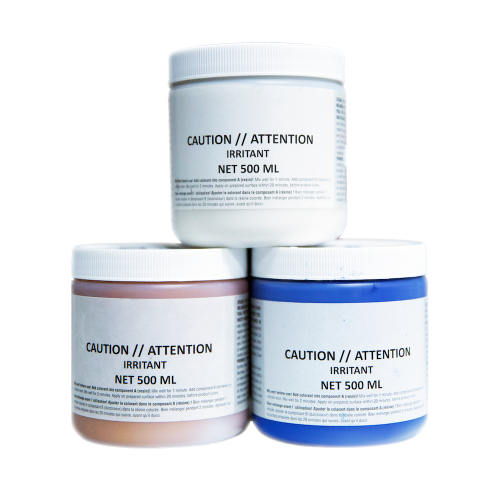
How does water vapor in the air interfere with epoxy applications? When the weather is hot and humid, will the material cure? What effect does humidity have on epoxy resin? All of these questions need to be considered before you begin.
What is Humidity?
Humidity is a measure of how much water vapor is present in the atmosphere. It measures how much water is in the air compared to how much water vapor (moisture) is in the air at any given time. In general, the higher the temperature, the more water vapor the air can hold.
Although warmer temperatures seem ideal for curing resin, too much moisture in the air can negatively impact the final outcome. Without proper care, you might end up with a cloudy finish or an oily surface layer. Loss of clarity typically occurs during the curing phase or when the pouring phase is completed. As a result, you have to ensure that the temperature and humidity levels are maintained during the curing process.
One way to control humidity is by using air conditioning (not evaporative cooling as it produces moisture), but if your work area is in an extremely humid location, you may also benefit from running a dehumidifier a day ahead.
Epoxy and Humidity: What Are the Effects?
The burning question remains, how does humidity affect epoxy applications? If it does happen, how will you know? The epoxy will typically not suffer from excess moisture until it cures. To achieve a clear finish the first time around, you have to keep your humidity levels under control while pouring and curing.
The surface layer of your cured epoxy may appear to have "amid blushing" if it has been exposed to excessive humidity. As a result of changing temperatures and high humidity, it can appear oily, sticky, or waxy. Maintain a consistent temperature level throughout the epoxy curing process to avoid similar condensation issues. When the epoxy is exposed to water in the air, it can foam or undergo an exothermic reaction, which results in a premature cure.
Is epoxy still capable of curing in hot weather? In short, yes. Generally speaking, warmer temperatures speed curing, but as with anything, too much of a good thing can lead to negative outcomes. The same is true when curing epoxy.
The following factors will help you understand what will contribute to epoxy's temperature:
- You should keep your work environment at an ambient temperature of 71-77 degrees Fahrenheit (approximately 22-25 degrees Celsius).
- You should also consider the surface temperature where epoxy was applied (another aspect of the ambient temperature).
- The heat that is generated by epoxy curing, or exothermic heat.
- When epoxy resin is left for long periods of time in a confined space, it cures faster. This means if the epoxy mixture is left inside buckets or mixing containers for too long it could be subjected to aggressive exothermic reactions.
- Measuring must be precise. Exothermic reactions can occur when Part A (Resin) is mixed with Part B (Hardener) in an incorrect ratio.
- You should use more than 10% of the pigment additive ratio in your mixture. It is important to note that some pigment additives are not compatible with some epoxy products and may accelerate the curing process if used.
Epoxy Cure Stages
A chemical reaction occurs when Part A (Resin) and Part B (Hardener) are mixed, transforming the mixture into solids. It is during this period that we refer to as the cure time. Halfway through the curing process, the epoxy changes from a liquid state to a gel state. This is followed by its solidification.
Here are the phases of cure that epoxy goes through:
1. Open Time (Liquid Stage)
The working time is also known as the 'gel' time. The epoxy mixture remains a liquid after mixing, giving you the opportunity to work with it. It is vital that you use this time to finish your project in order to ensure a dependable bond.
2. Curing Phase (Gel Stage)
During this stage, the epoxy has already begun to cure, so it can no longer be worked on. This is where the material begins to 'kick off' and start heating up in reaction to the cure. Midway through the procedure, it develops a gel state and becomes non-sticky.
When the epoxy is this far along in the curing process, it may still be sticky like masking tape. In other words, it occurs when two layers make a primary or chemical bond.
3. Final Cure Phase (Solid Stage)
In epoxy curing, the solid stage is the last phase. Dry sanding is possible after the epoxy resin has cured into a solid.
It is at this point that the epoxy has reached its maximum strength. In this case, applying a new layer of epoxy will not form a primary bond. In order to achieve a stable mechanical or secondary bond with the surface, you should first clean, dry, and lightly sand it.
Once this new mixture has been cured for several days, it can last up to two weeks before it becomes an inert solid.
Choosing the Right Temperature for Curing Epoxy
In order to ensure that your epoxy project is successful, you must achieve the right temperature, regardless of whether it is inside a residence or a commercial building. It is essential that your materials are kept in a controlled environment. Taking these steps will ensure a successful application. If you fail to do so, you might experience excessive air bubbles, cloudy finishes, or wet spots in your surface finish.
Furthermore, these instructions should be understood not as suggestions or tips but as real instructions. The purpose of these requirements is to prevent epoxy-curing problems. After spending all your time and energy, you do not want such an unsatisfactory result.
The following instructions will help you set the proper temperature so that the epoxy will cure perfectly.
Curing Epoxy at the Proper Temperature
- Before using the epoxy, make sure the room and the product are at least 71 degrees Fahrenheit (22 degrees Celsius) until it has begun to cure (72 hours).
- Prior to mixing epoxy, allow it to acclimate to the right temperature if it is being received outdoors in temperatures below 71 degrees Fahrenheit.
- When the temperature falls below freezing, we recommend using small heaters with thermostats to quickly warm up your room. You can still achieve the correct temperature by setting your thermostat a few degrees warmer than the recommended temperature if your thermostat is not 100% accurate.
Curing Temperature Limit for Epoxy
- It is best if the temperature stays close to 77 degrees Fahrenheit (25 degrees Celsius).
- It would be better to go above rather than below the standard temperature when attempting to maintain a stable climate.
- Temperatures should not exceed 90 degrees Fahrenheit (32 degrees Celsius) nor fall below 59 degrees Fahrenheit (15 degrees Celsius).
- At a warmer temperature, the epoxy reacts faster, resulting in a shorter mixing time, faster cure time, and faster finishing results.
How to Minimize Epoxy Adverse Effects by Controlling Humidity
- Make sure the epoxy is prepared in a dry environment.
- Keep the humidity below 80% as much as possible.
- To avoid inconsistent results in working procedures, make sure that there is no excess dew in the location where epoxy is stored as well as in the epoxy mixture.
- While mixing epoxy, make sure any wetness is kept away from it.
Conclusion
Regardless of your experience in epoxy work or whether you are a beginner, doing epoxy work will bring you joy. To ensure your project goes smoothly, we provide guidance and provide high-performance products and materials so that you can accomplish it without a hitch.
Our experts share these tips before you begin your epoxy project:
- In order to help manage the ambient temperature in your workplace, set up a working air conditioner (not evaporative cooling).
- The humidity in the workspace can be controlled with the help of a working dehumidifier.
- The room can be cooled to minimize humidity, but it may take longer to cure. Make adjustments as needed.
- Take note of the atmosphere at work. A hot summer can bring unwelcome levels of humidity.