Discover new worlds of flooring with epoxy resin!
Flooring doesn't have to be boring. With epoxy resin, it can be anything you want! Epoxy resin is a versatile and transformative material, and it'll empower your creative side. Glow-in-the-dark, glitter epoxy or LED strips - epoxy resin flooring is the foundation of unique flooring!
Transform simple, unremarkable spaces into showpieces and galleries with epoxy resin! Our guide here will teach you how to install three different beautiful epoxy resin flooring projects.
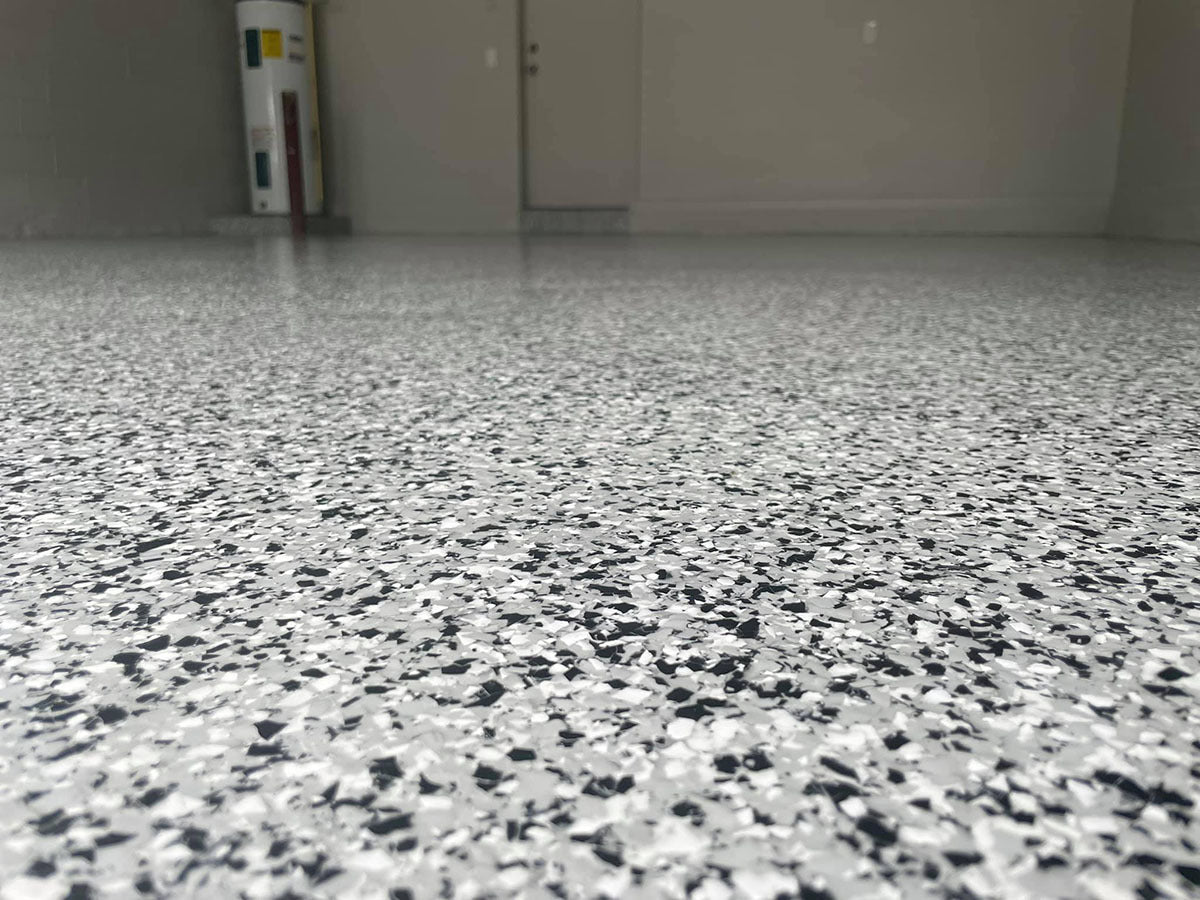
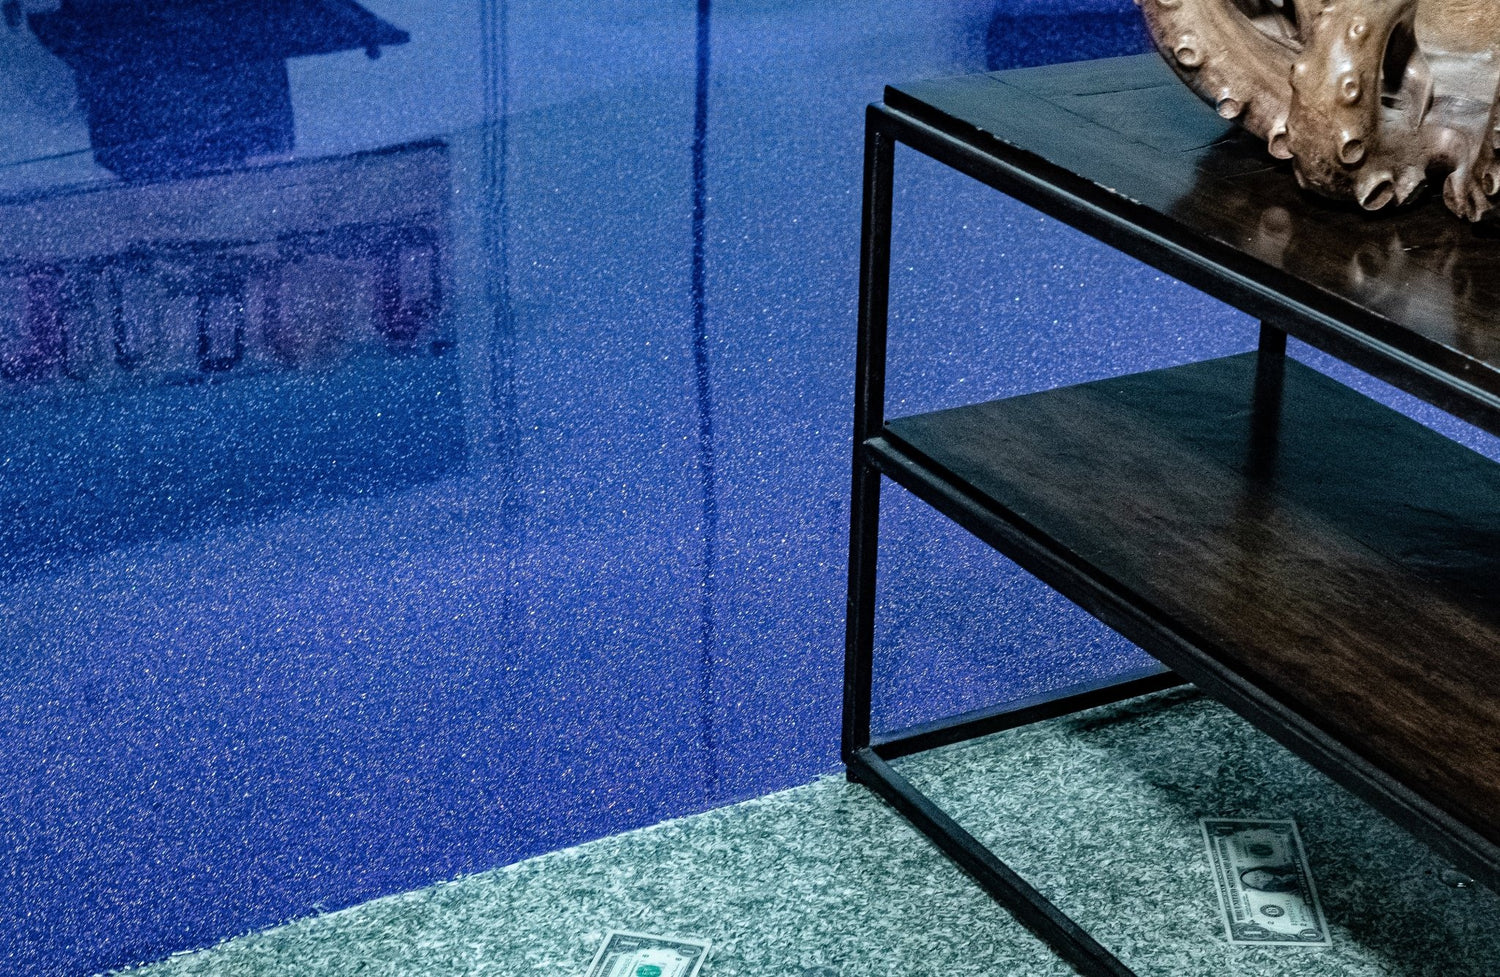
Beautify with Glitter Epoxy Resin Floors
Glitter - it's been a symbol of creative exuberance for years and years. With epoxy resin, it's never been easier to show off your floors!
With this guide, you'll learn how to combine the inherent strength of epoxy resin with the timeless look of glitter.
Step 1: Concrete Foundation Surface Preparation
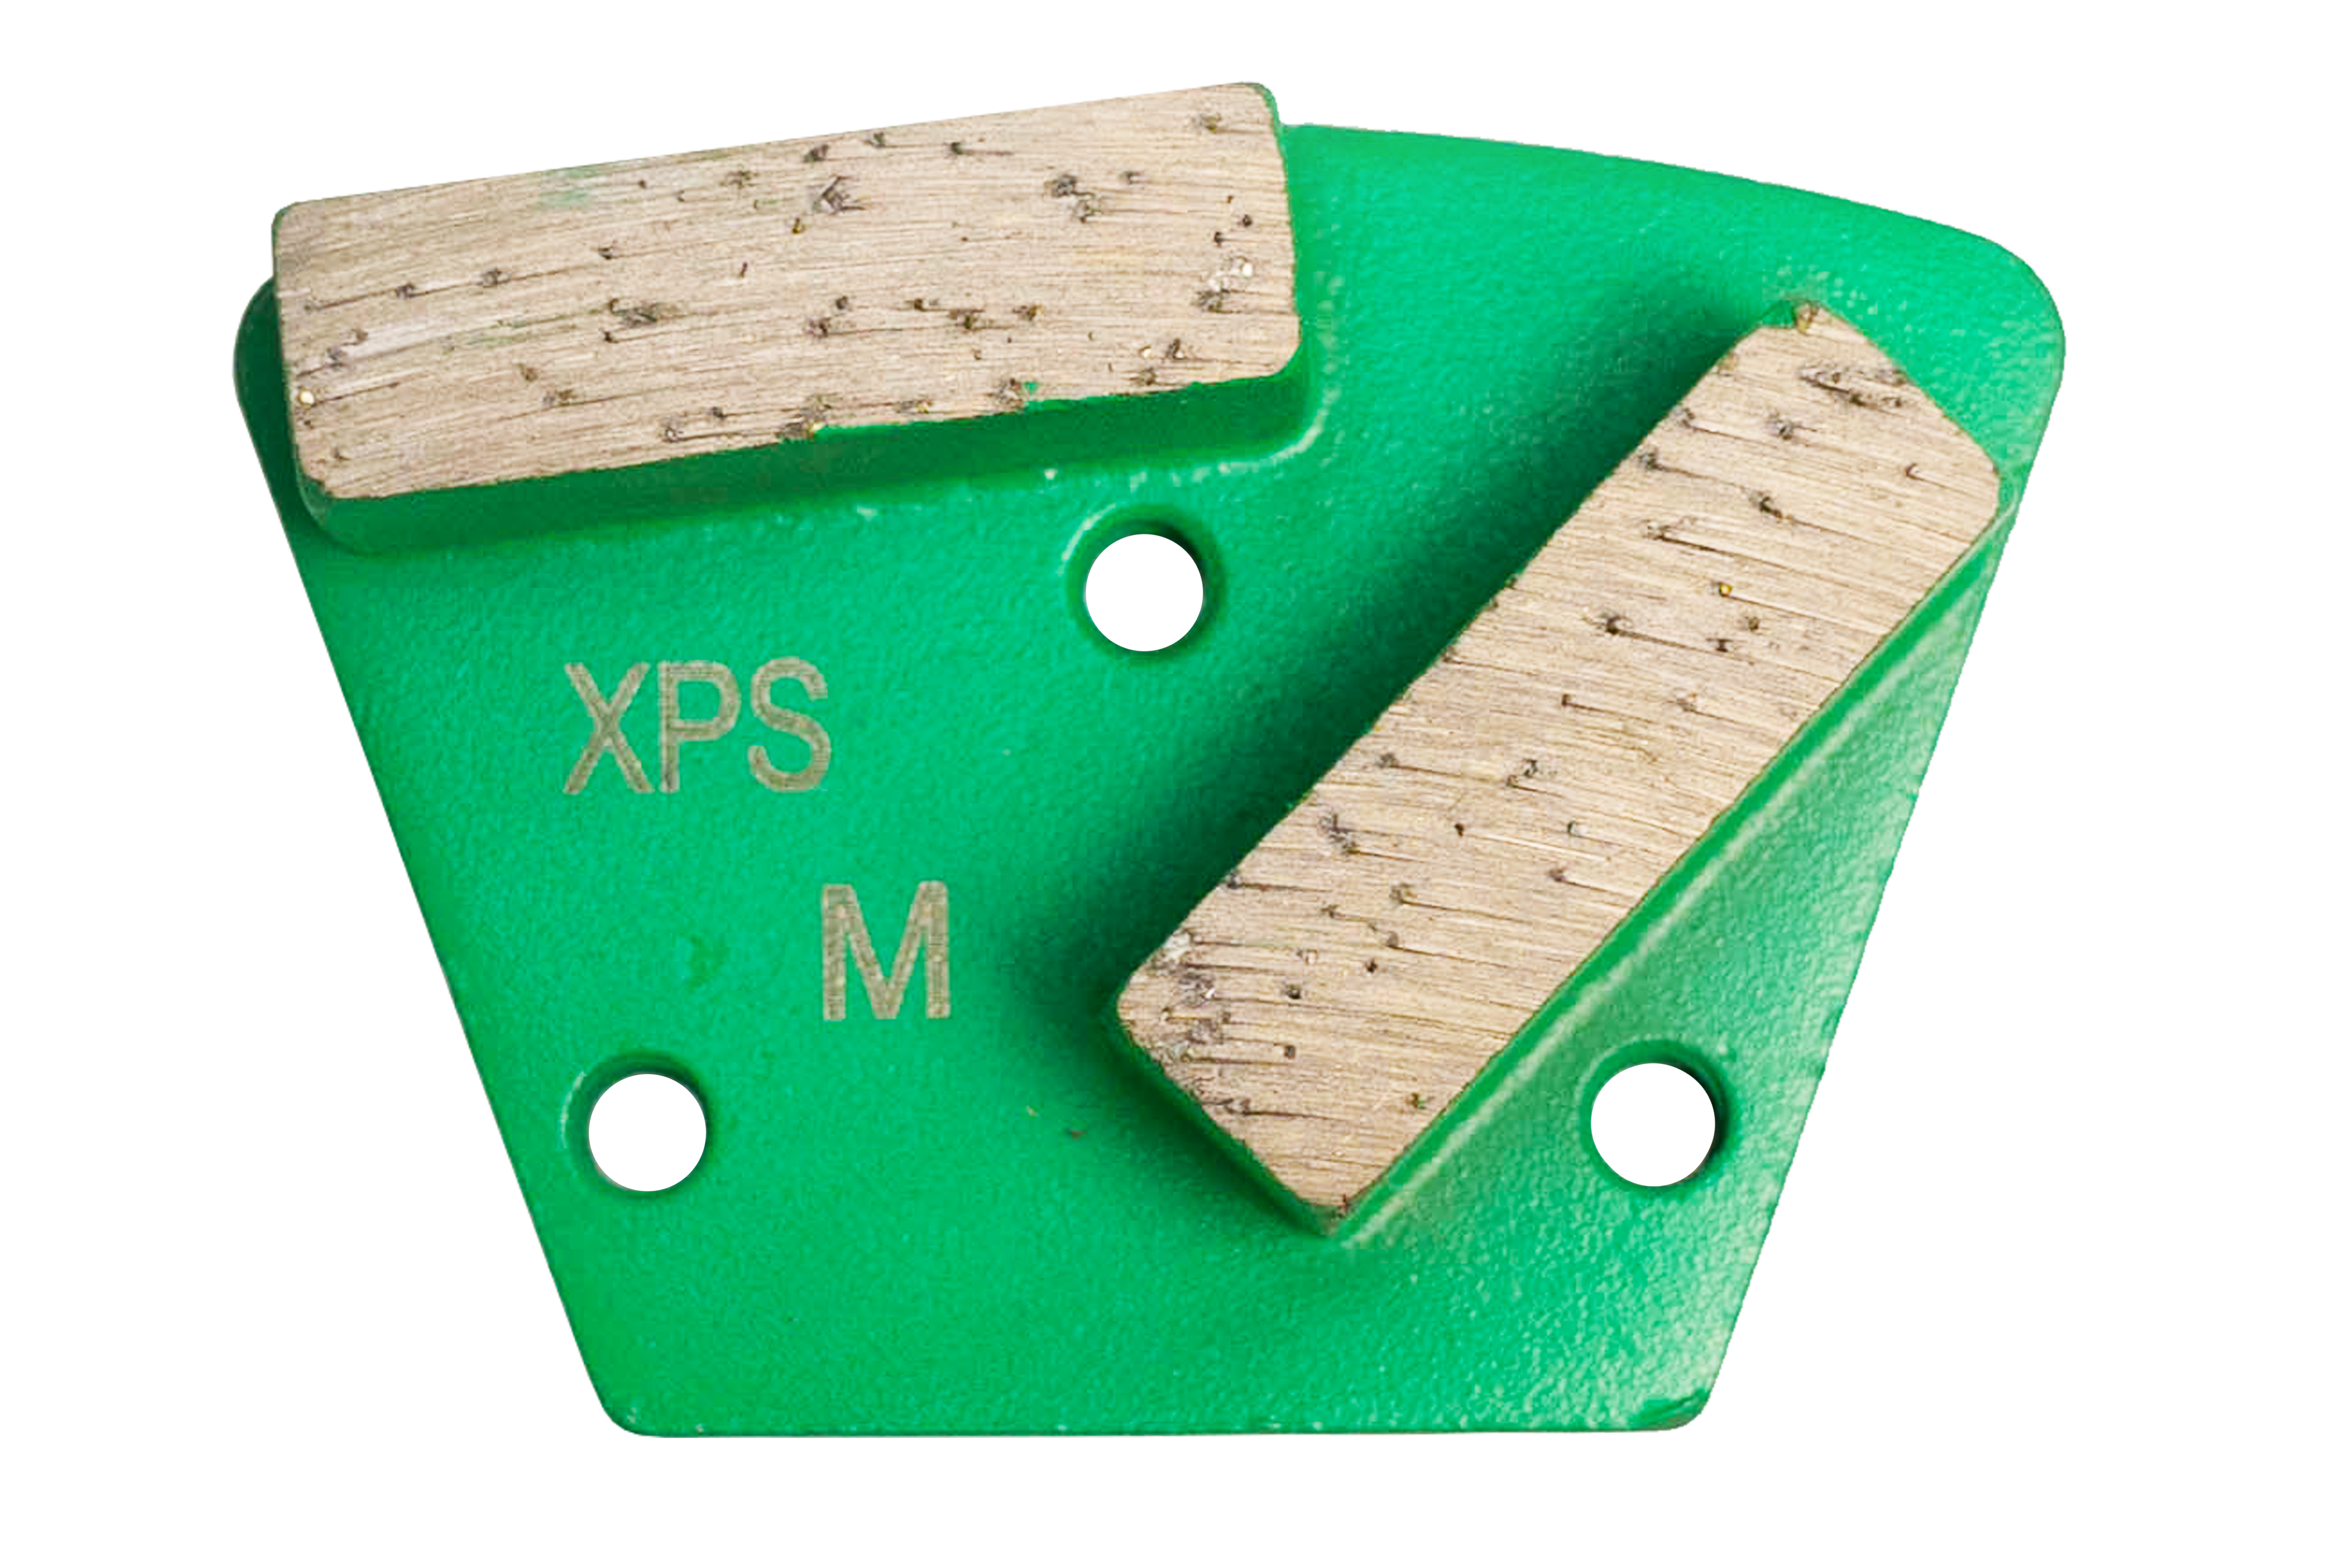
Begin with a solid, dry concrete foundation. On most any epoxy resin flooring project, you'll need to sand & grind your foundation to set up the best foundation.
Surface preparation doesn't need to be hard! It's one of the most important parts of any flooring project, but especially with epoxy. Invest in a quality grinder fit for your project space. Contractors used to recommend an acid etching solution for preparation, but recent experience and research shows mechanical is still the way to go.
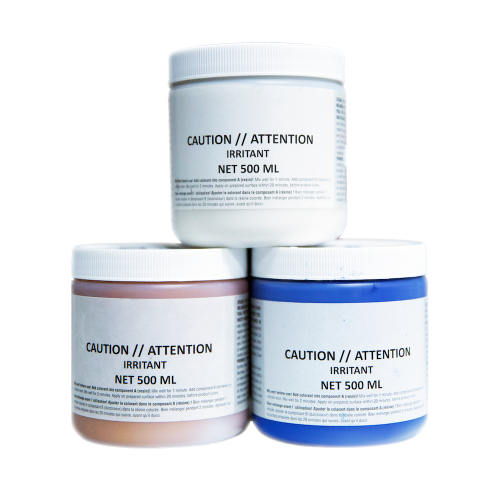
Step 2: Apply a Base Layer of Epoxy Resin
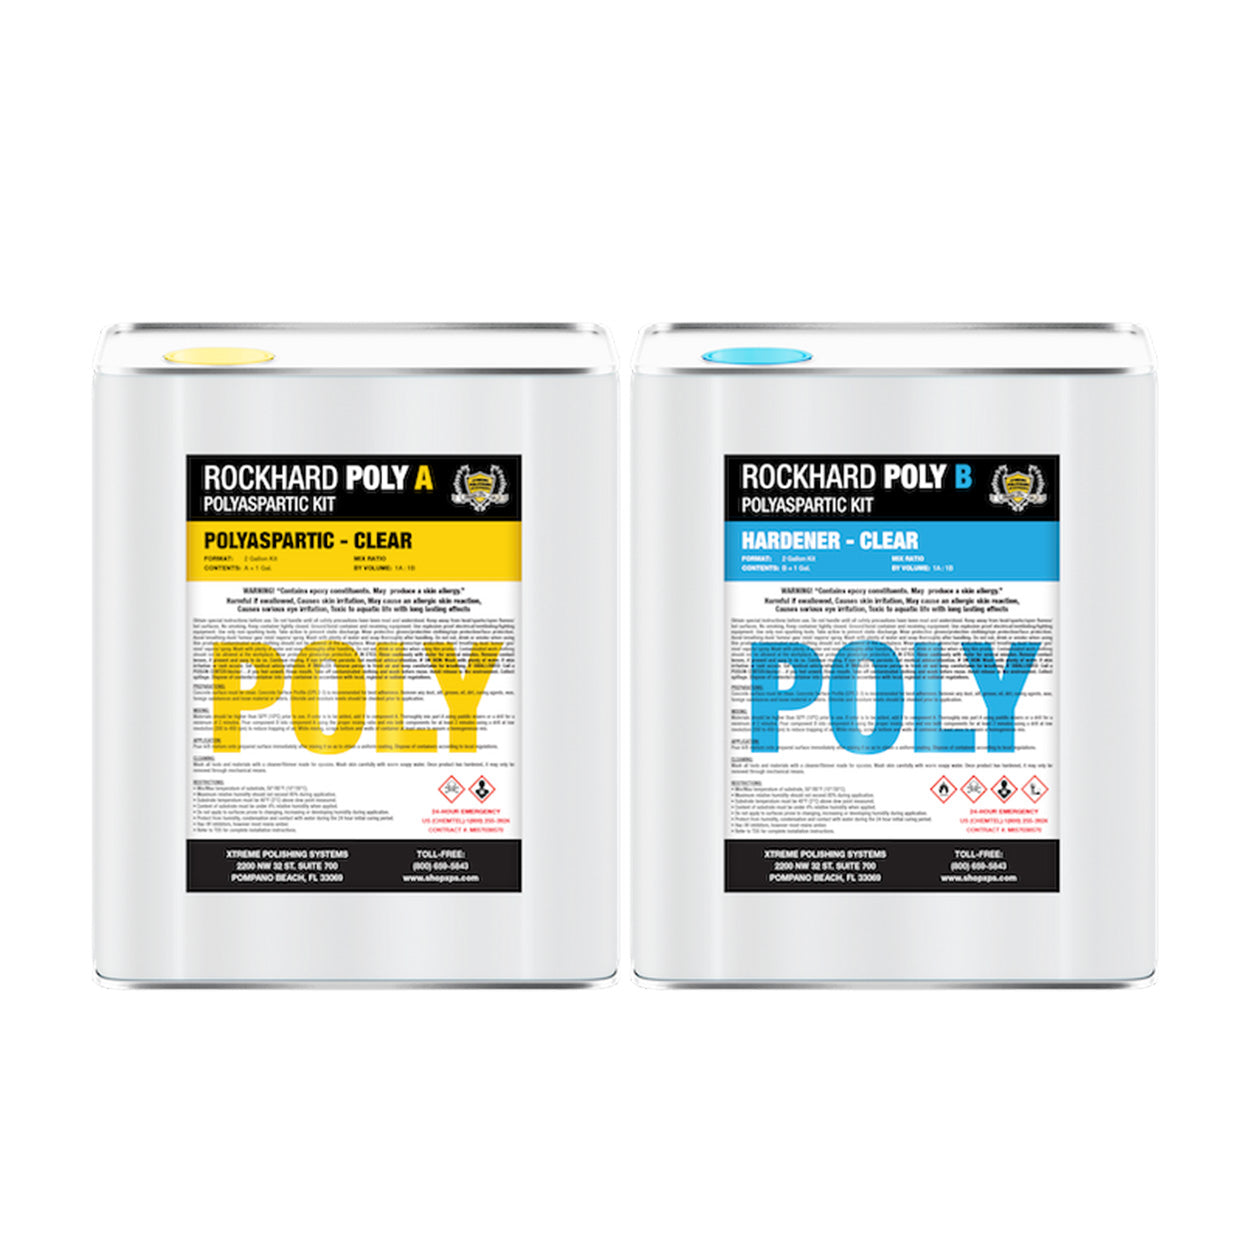
Your epoxy resin mix should come with guidelines for mixing, which you should follow closely. Once it's mixed, you'll have a limited time to work with it. So work quickly, efficiently, and carefully.
Evenly spread your epoxy resin over the prepared surface. Whether you use a roller, a squeegee, or some other tool, you need to make sure the epoxy is level before you cure it.
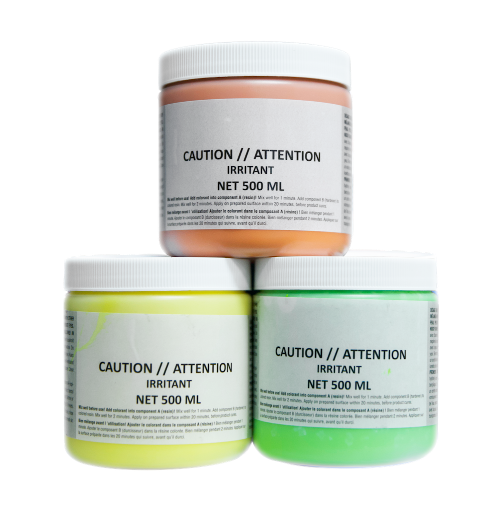
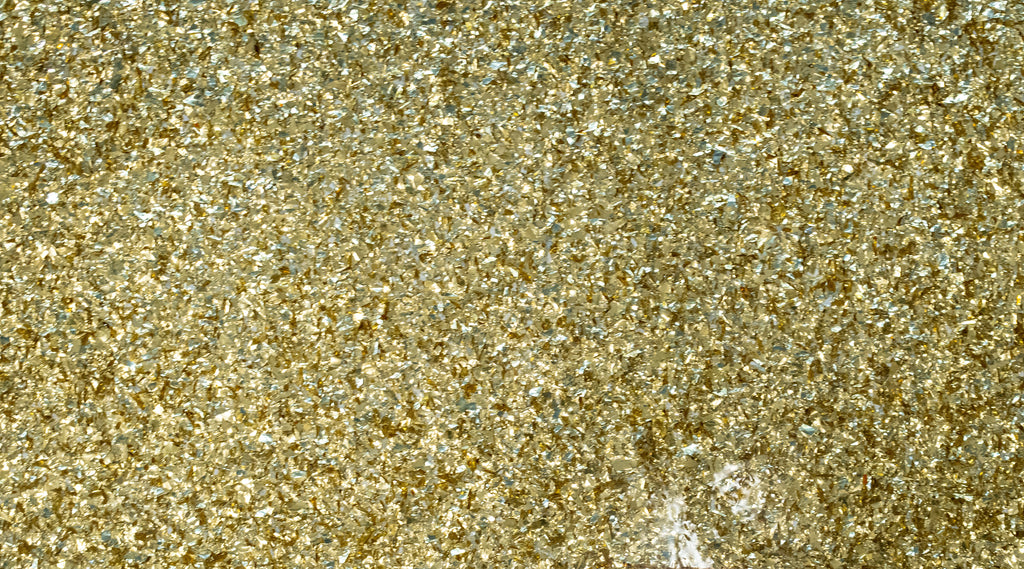
Step 3: Broadcast Glitter Pigment/Powder
Broadcast your glitter powder across the uncured layer of epoxy resin. Use a roller brush to help distribute it evenly. Once it's applied, just wait for it to cure according to the manufacturer's guidelines!
Step 4: Install a Top Coat of Epoxy Resin
And now to seal it all off! Repeat your process of the base layer, but pay even more attention to how level and smooth the surface is before letting it cure. This will be the most visible part of your installation - so don't fumble at the finish!

Ethereal Radiance with Glow-In-The-Dark Epoxy Resin Floors
Glow-in-the-dark captures the attention and imagination of everyone. Now, you can walk on a radiant floor! With this guide on glow-in-the-dark epoxy resin floors, we'll help you learn how to bring dreams to reality.
Step 1: Prepare the Concrete Foundation
Much like glitter epoxy floors, you will need a strong, prepared concrete foundation for your project to succeed. Use a mechanical concrete flooring grinder and work carefully.
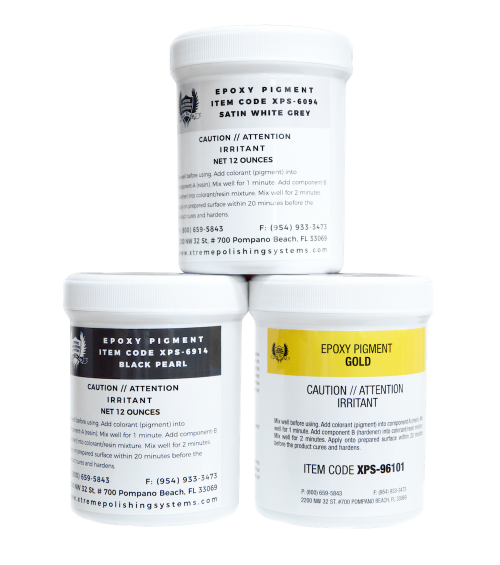
Step 2: Mix the Epoxy & Glow-in-the-Dark Solutions
Follow the manufacturer's guidelines for your standard epoxy resin mix - but add in your glow-in-the-dark solution! There are glow-in-the-dark pigments & powders made specifically for epoxy resin integration. So, the process shouldn't be any different than introducing other types of pigments into your resin mix.
Step 3: Install & Illuminate
Pour the glow epoxy mix onto your surface, and evenly spread it so that encapsulates the entire area. To charge up the glow mix, illuminate it with a UV light source or charge with sunlight for the best and long-lasting glow.
Step 4: Seal the Glow
Once cured, apply a clear epoxy resin protective coat. Just like the other projects, you'll need to be careful when applying your topcoat. Any imperfections will show! So be slow, but be efficient.
Light Up the World: LED-Embedded Epoxy Resin Floors
If you want a brighter solution than just glow-in-the-dark - look no further. With LED-embedded epoxy resin floors, you can turn any space into an extravagant light show. Elevate your home design and install a visually stunning flooring solution with the help of this guide!
Step 1: Prepare Your Surface
Clean and sand the surface - just as you would do for the other projects. It's essential to ensure the surface is completely dry before proceeding to the next steps, especially since you'll be working with a delicate mix of electronics and resin.
Step 2: Epoxy Application
Meticulously mix epoxy resin according to guidelines; pay attention to recommended mixing proportions. Pour a base layer onto your surface. You'll need an even spread to get the right look for your LED strips.
Step 3: LED Strips
Before the epoxy resin dries or cures, carefully insert LED strips into it. Plan ahead! Lay out the strips in any pattern or design you want, but make sure to get it perfect before the epoxy resin cures. Once the epoxy cures, you won't be able to easily move the strips.
Step 4: Encase with Epoxy
Now all you have to do is seal your work! Pour a strong epoxy layer of your choice to encase the LEDs. If you work carefully and efficiently, you'll have a beautiful smooth surface that'll emphasize your LEDs and protect them for years to come!
Conclusion
Epoxy resin is more than a material; it's a canvas for creativity. You don't have to settle for naked gray concrete, or simple solid color epoxy. Make a showpiece out of your flooring space! With just a little bit of work, even the most everyday floor can turn into a gallery piece.
At Xtreme Polishing Systems (XPS), our team combines hundreds of man hours of experience to bring you the best advice in the industry. And it's not just advice, either - check out our online store for the best resources in the industry, too! Reach out to our technicians for personalized assistance on any job, at any time.