Follow These Easy to Apply Epoxy Steps:
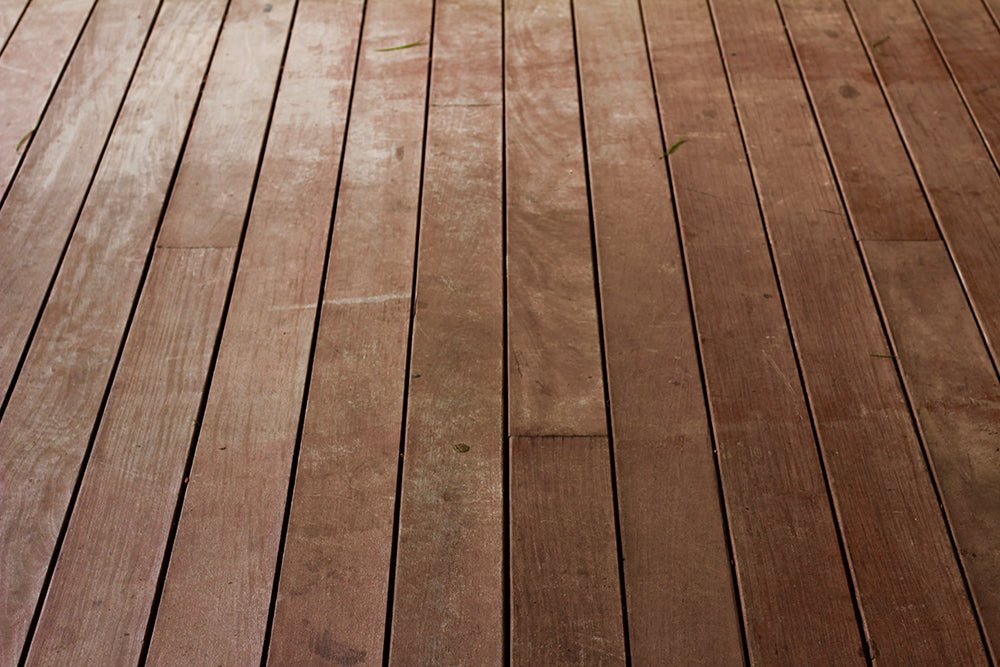
- Thoroughly Clean the Floor’s Surface: The first step to a beautiful and successful application is a clean surface. By thoroughly cleaning your wood floors you’re able to remove dirt and eliminate mold and mildew. Mop the floor with a solution of 10% bleach in warm water. Use old towels to dry the floor, and then wait for it to completely dry before moving to the next step.
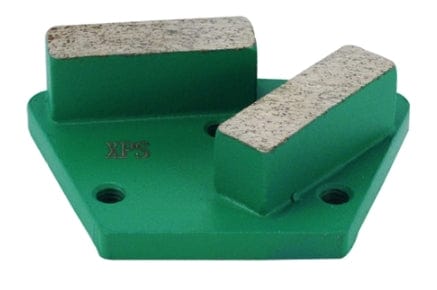
- Sand the Surface of the Floor: Next, you will need to sand the floor in order to level the surface and to remove any previous sealant using a power sander. If you see any large cracks or splits in the wood, use wood patching compound to fill it in. Give the compound time to dry, then make sure it is sanded down as well. Use a vacuum to vacuum up all the dirt and dust from sanding.
- Apply Wood Sealant and Wood Primer: Once the floor is clean again, apply a wood sealant. This will help with moisture issues, and help the epoxy set better once it is applied. Use a paintbrush to get the edges, and then roll out the rest of the floor using a roller. Allow 12 hours to dry, and then it is time for wood primer. Use a three-inch brush and spread the wood primer around the edges of the floor in strips around 4 feet long. Once you have gone around the edges, use a roller and roll out the rest of the floor. Remember to go with the grain of the wood. Wait eight hours for the primer to completely dry.
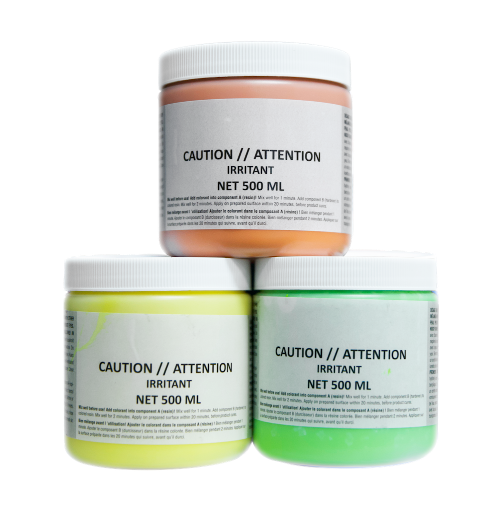
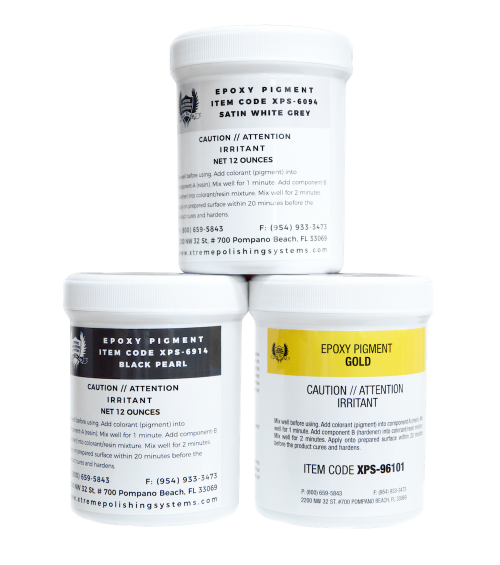
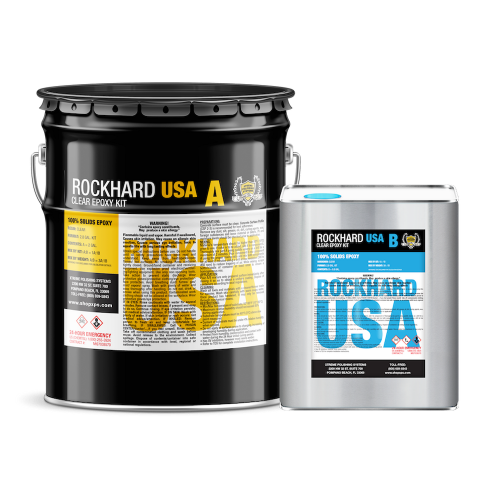
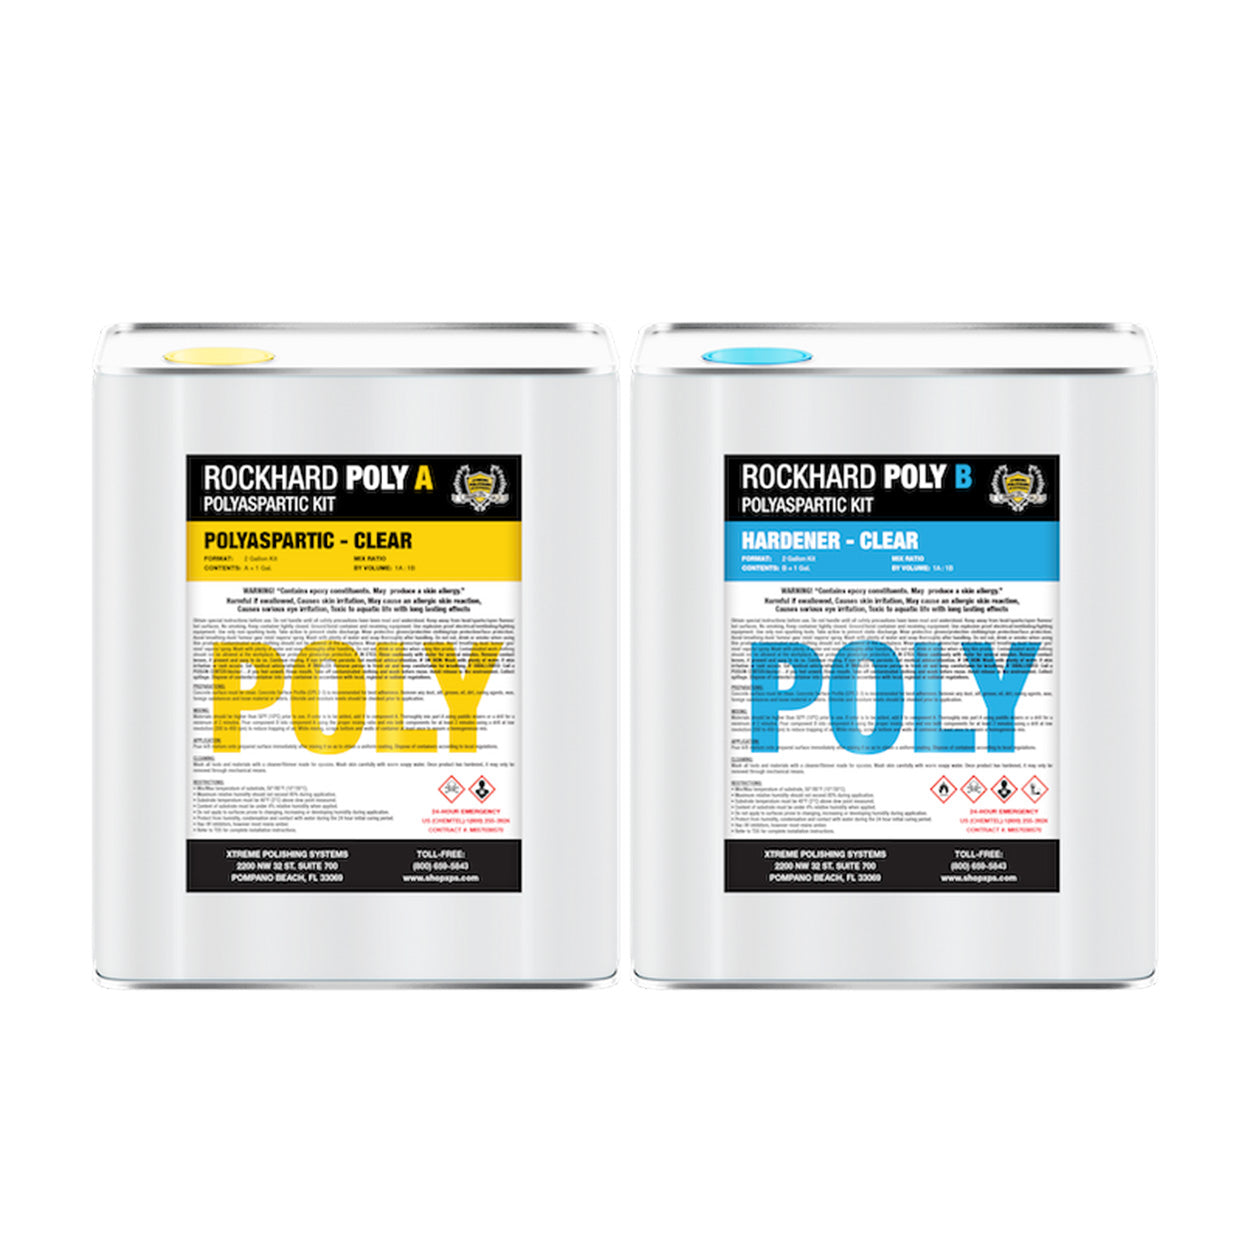
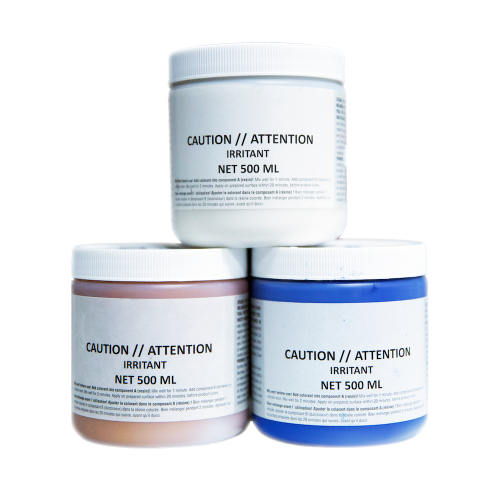
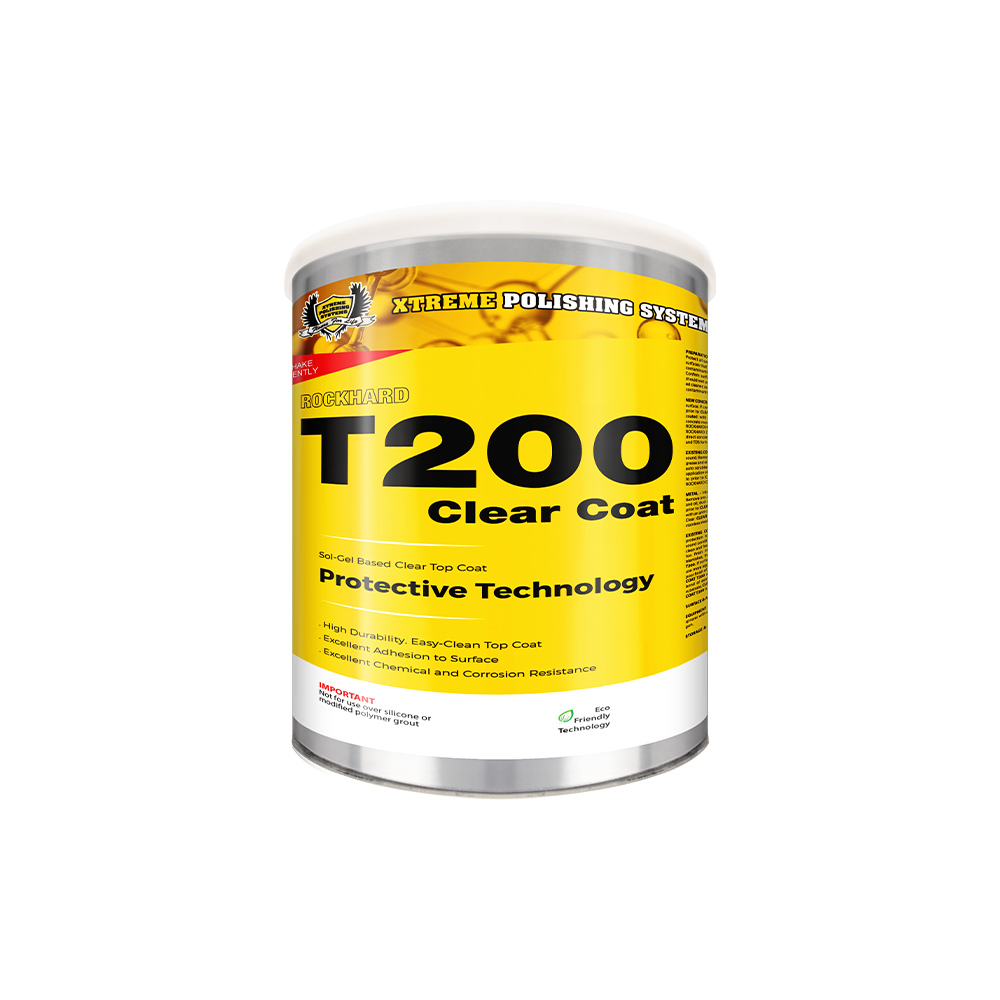
- Apply the Epoxy Application: Now that your wood floor is properly prepared, you can adequately apply your epoxy floor coating. Choose a clear top coat to revive your wood floors or if you prefer changing the floors complete surface look, than you can choose from a multitude of beautiful colors including metallic, glitter and solid color finishes. Be sure to follow the manufacturer’s instructions for mixing and applying epoxy.

