How to Incorporate Resins onto Different Surface Types
One of the greatest artistic uses of epoxy resin is being able to embed the material onto different objects. So many amazing pieces of art have been created on bar tops, countertops, and floors by simply embedding this unique material onto different types of objects and platforms. Depending on what type of surface you use will ultimately determine what steps to take to achieve proper embedding techniques.
Shallow embedding is used for paper-like items such as pictures, newspapers, or postcards. The following tools are necessary to embed these items:
Mod Podge
Mixing items (cups for small projects, buckets for larger projects)
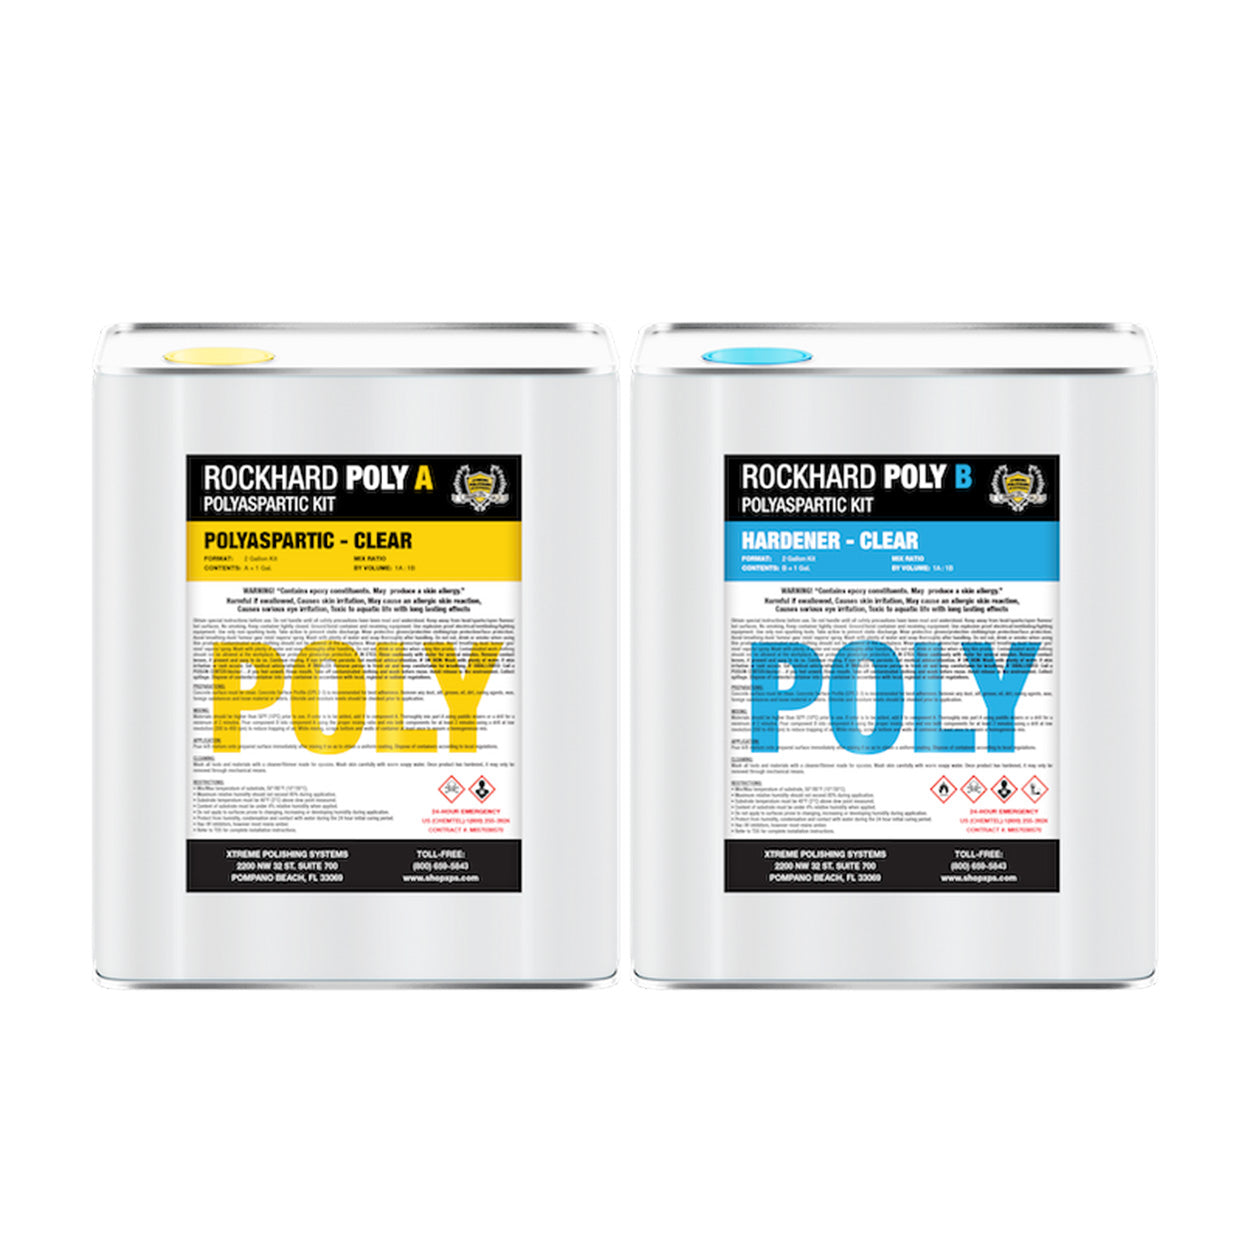
2-part clear epoxy
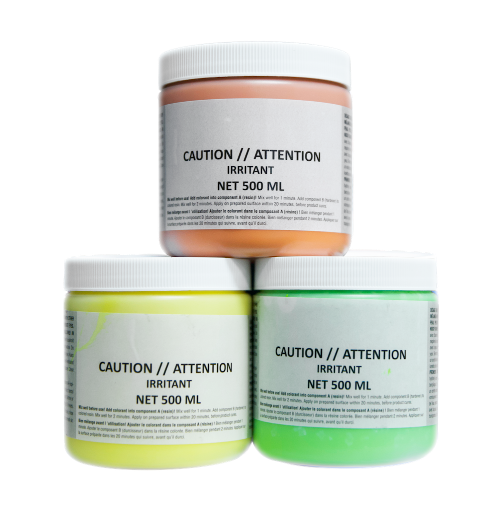
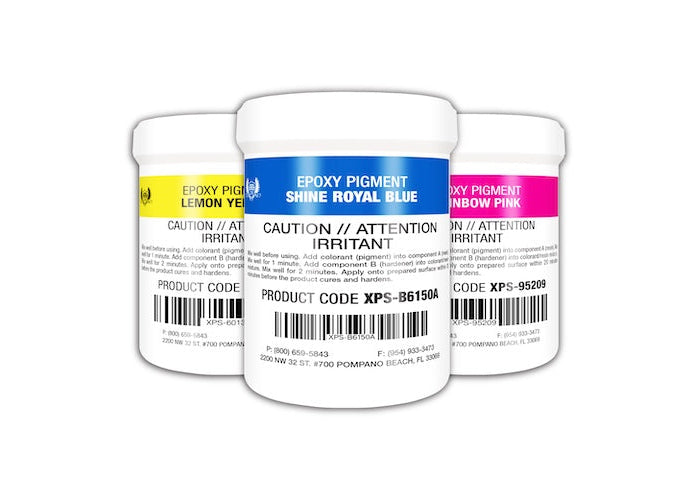
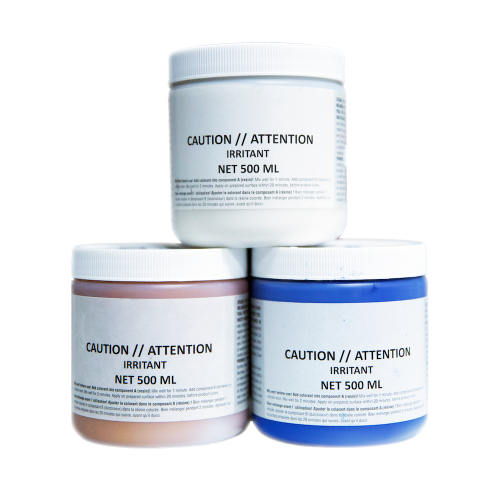
Colored powder and pigments if desired
Blow torch
Items to embed
To begin, sealing the shallow surface with Mod Podge, or white glue. Deciding not to seal can cause your image to have a translucent effect. Wait at least 30 minutes between coating the paper and embedding the paper. Once the objects have finished drying, mix your epoxy and pigments per the manufacturer's instructions and pour over the surface. Epoxy is self-leveling so you do not need to use a squeegee to move the product but if you see bubbles you can your blow torch to carefully work them out.
How To: Deep Embedding for Epoxy Resin
Deep embedding is used with thicker objects, such as pennies or wood pieces. This sometimes requires more than one layer of an epoxy coating to achieve desired results. The following tools are necessary to embed these items:
Mixing items (cups for small projects, buckets for large ones)
2-part clear epoxy
Colored powder and pigments if desired
Squeegee
Blow torch
Items to embed
Begin by properly mixing the epoxy resin according the the manufacturer's instructions. Once properly mixed, pour onto the desired surface (wood, concrete, etc.) and manipulate the material with a floor squeegee to accomplish any pattern or design. Wait 24 hours, and coat again as needed.