You’ve watched the videos, cleared out the garage, and lined up a weekend for the project. You can spend days planning, buying resources for a stunning transformation, picturing the professional, glossy floor that will complete your garage. You can be armed with the best materials, convinced that nothing could go wrong
But the single biggest mistake homeowners make when learning how to epoxy a garage floor happens before the kit is even opened: skipping or rushing the surface preparation. This expert guide from Xtreme Polishing Systems walks you through the critical steps and the most common epoxy resin fails, so you can avoid the heartbreak of peeling, bubbling, or sticky floors.
How to Apply a High-Performance Epoxy Garage Floor

1. The Prep Phase (The Foundation of Success)
The majority of epoxy resin failures happen as a result of poor preparation. This is the phase where you earn your success. Concrete needs to be porous for epoxy to bond mechanically. That means if the surface is overly smooth, greasy, or damp, the coating will delaminate, sometimes within months.
Step 1A: Check for Moisture
For a bird’s-eye view of any moisture issues, perform a plastic sheet test. Tape a 2x2-foot square of plastic sheeting to the floor with all edges sealed. Wait 24 hours. If moisture beads form beneath the slab, the slab is too damp for coating.
A plastic sheet test can indicate dangerous levels of moisture, but even hidden moisture can cause severe issues later. Xtreme Polishing Systems offers reliable moisture meters and concrete testing tools to get a definitive reading before you invest time and material.
Step 1B: Degrease and Mechanically Profile the Surface
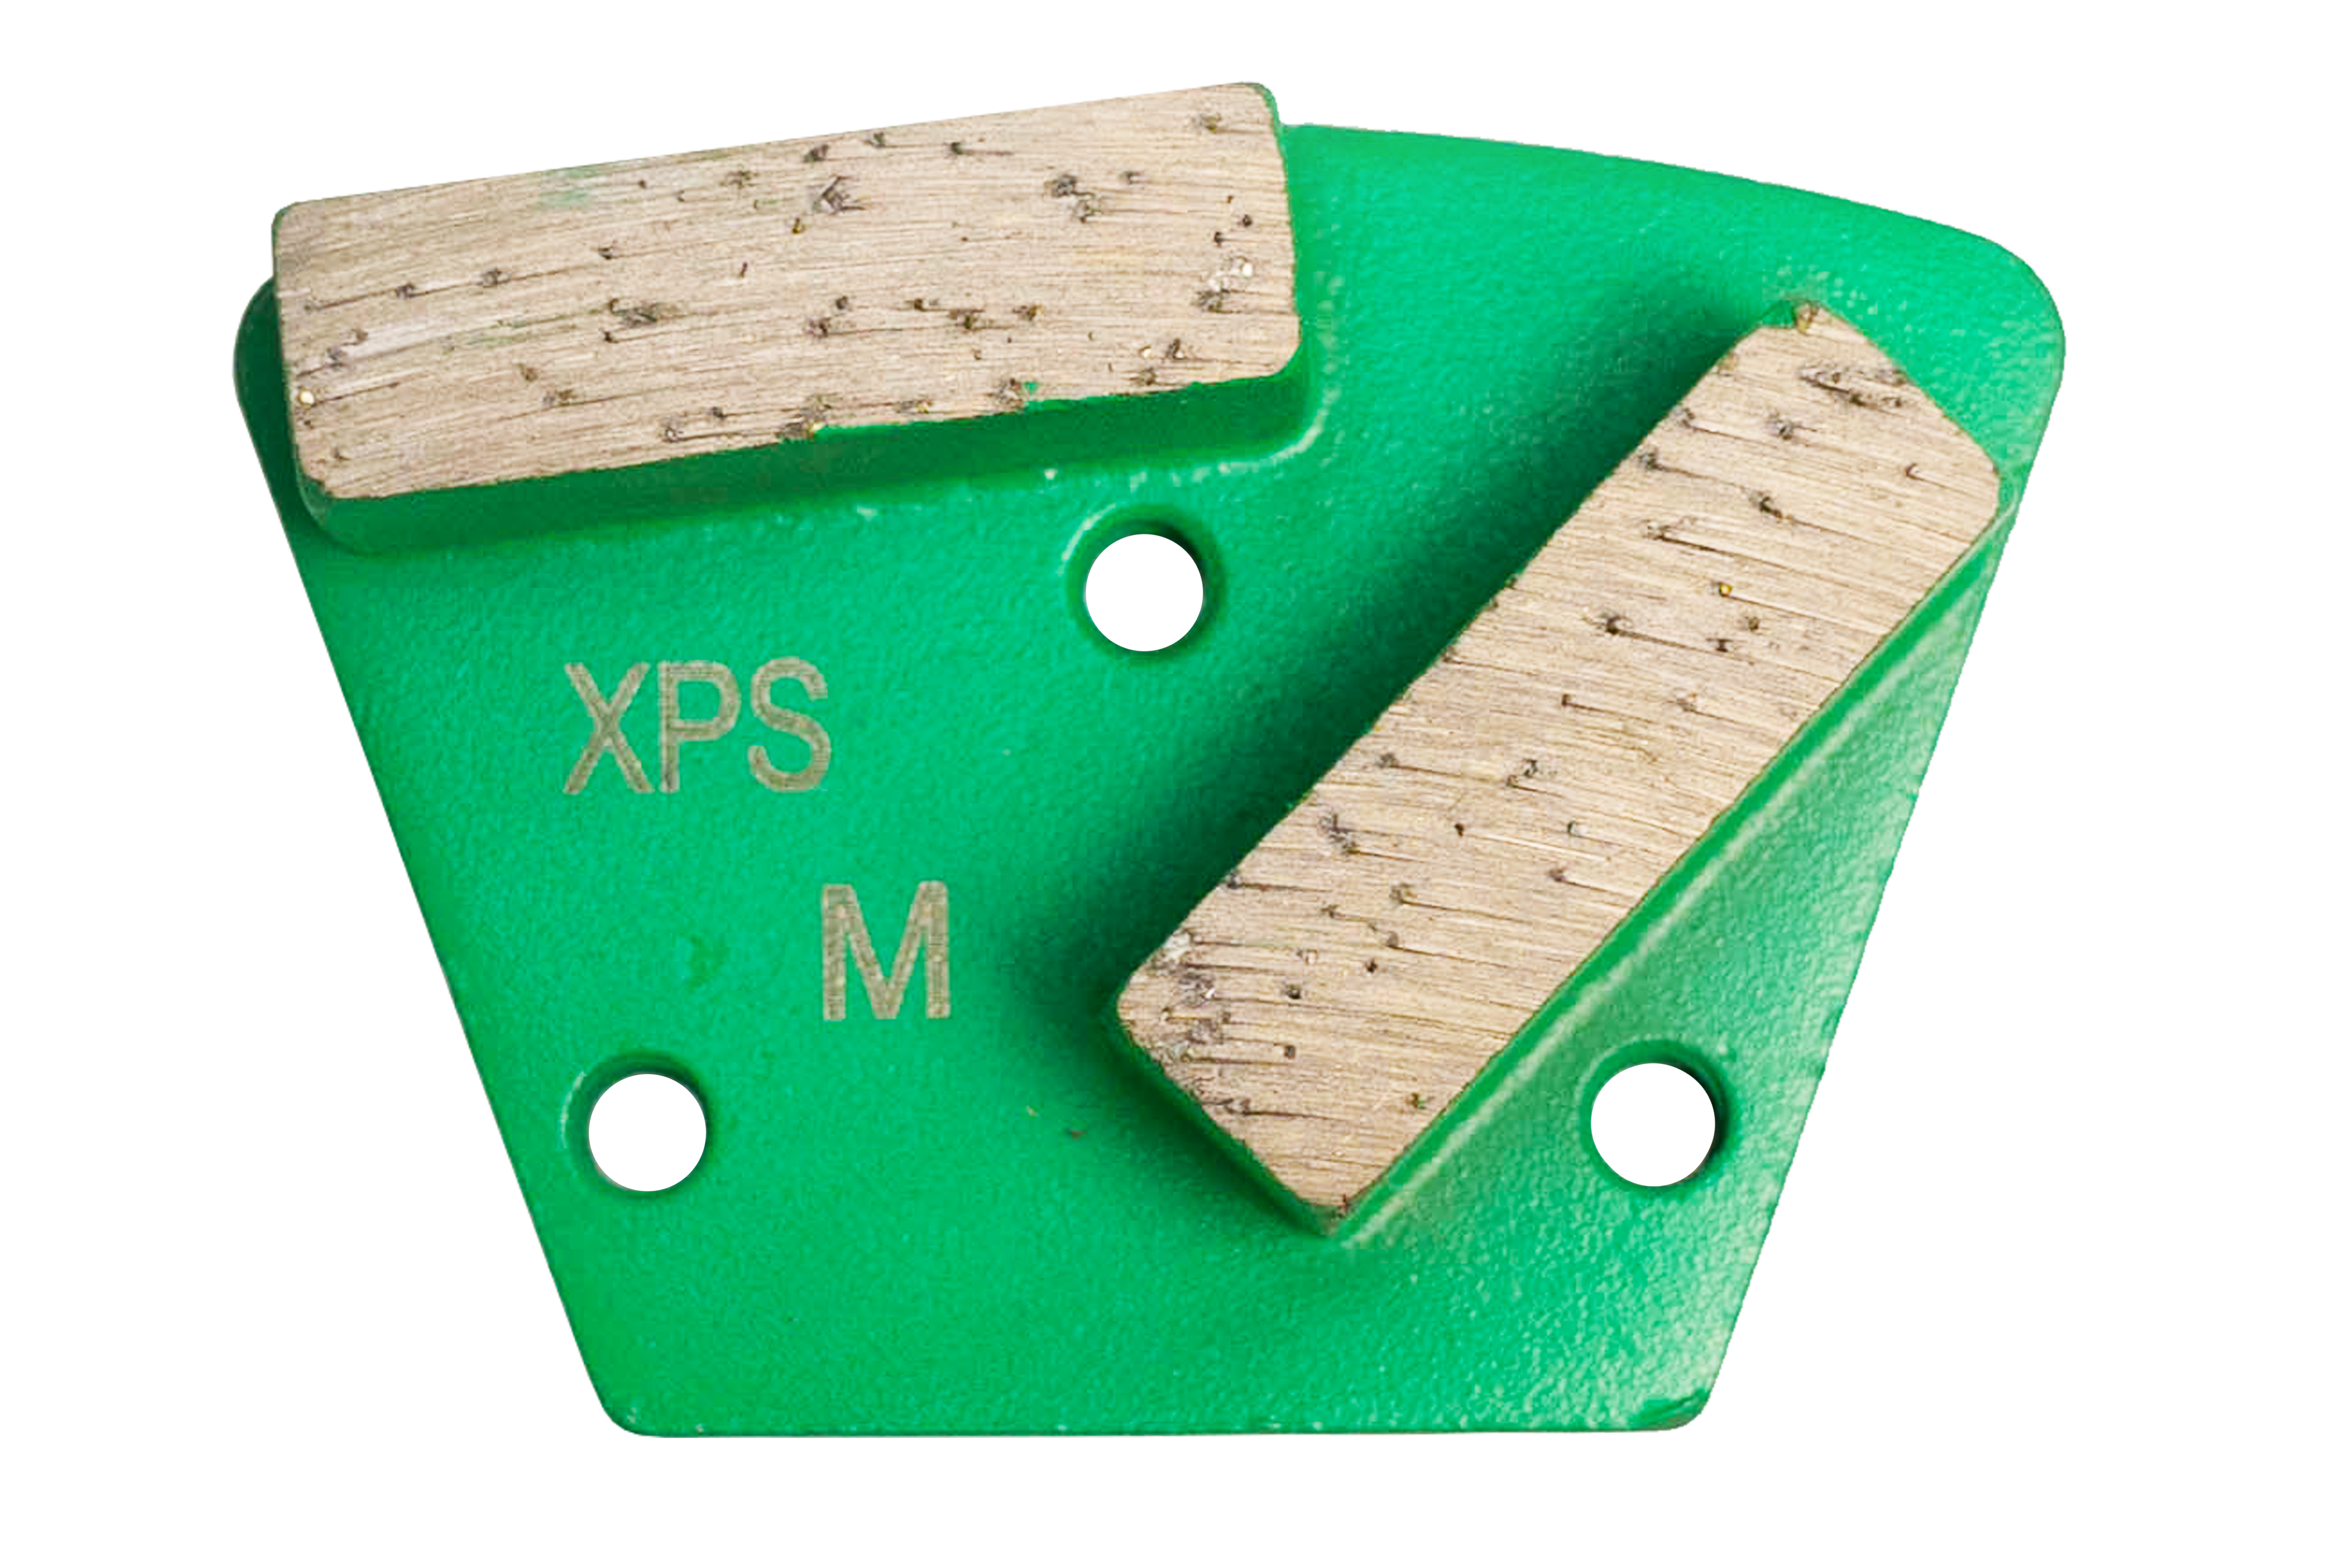
Scrub oil spots with a heavy-duty degreaser. While acid etching is common in DIY kits, industry experts have deemed it too inefficient and unsafe. Mechanical profiling with a floor grinder, like the Concrete Genie, creates a uniform Concrete Surface Profile (CSP) without the inconsistent results or safety risks of handling acid. The Starter Surface Preparation and Concrete Polishing Package includes everything you need to grind, vacuum, and prep up to 2,000 square feet correctly.
Step 1C: Dust Extraction
Always include dust removal with a dust collector after grinding as it is an essential step in the prep process. Excess dust in the installation process can severely impact your installation and curing. After dust collection, always use a pump sprayer to apply denatured alcohol, xylene, or acetone to the surface, then wipe it with a microfiber mop to remove any lingering dust particles.
2. Mixing the Epoxy
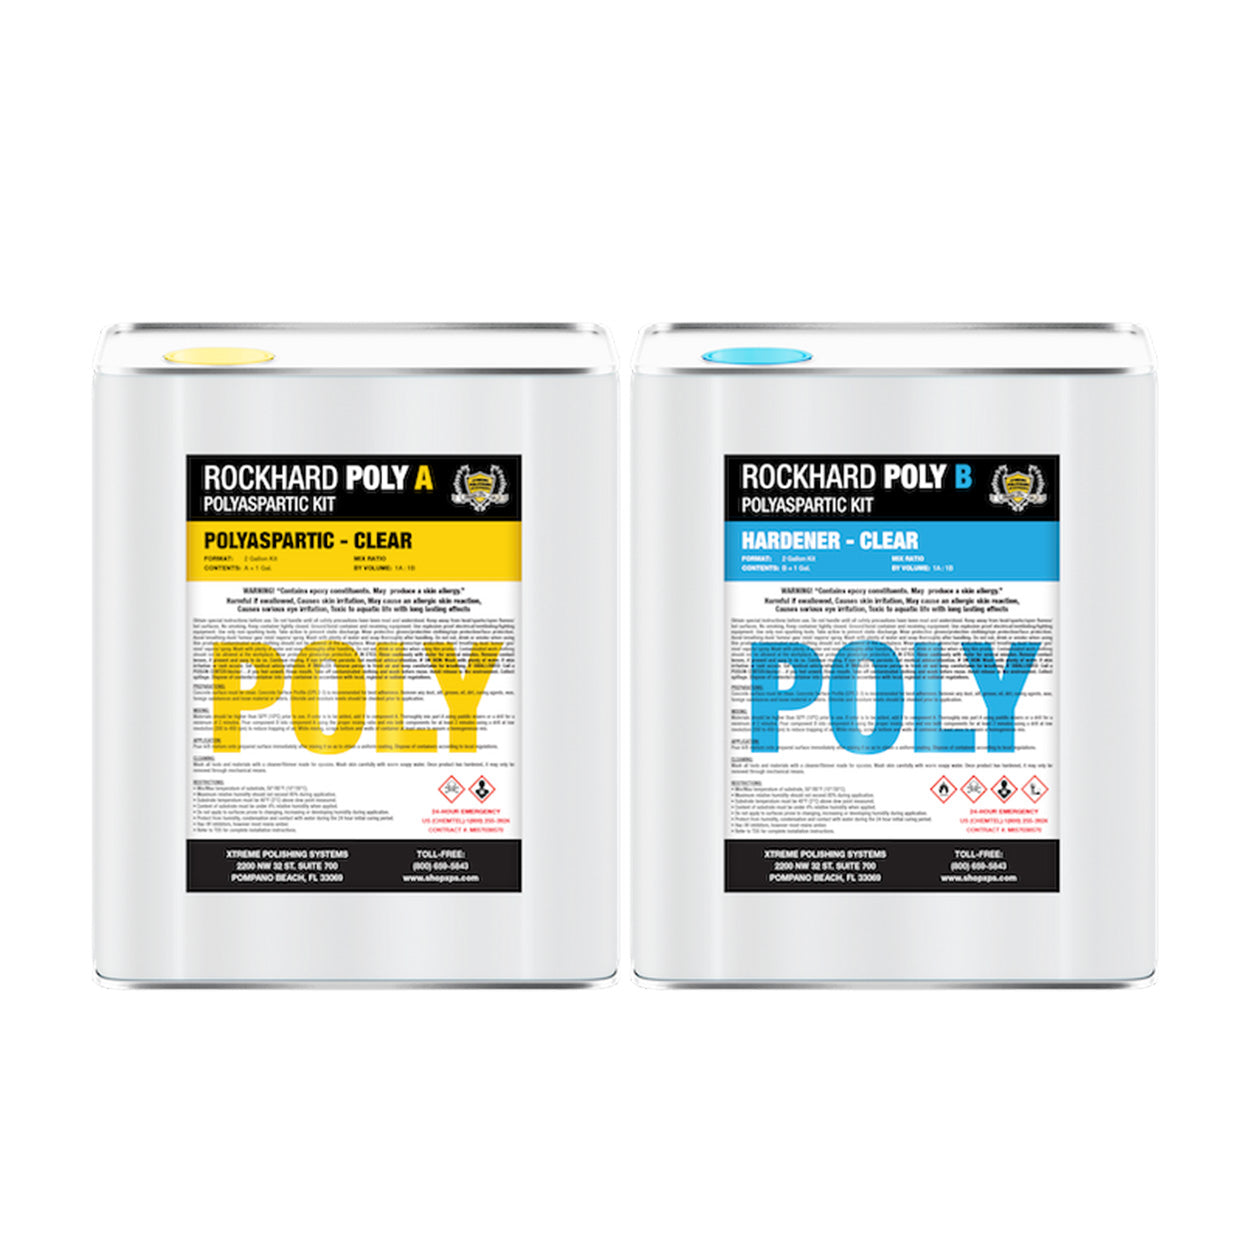
Once you mix the resin and hardener, you have a limited working time. That working time will depend on your preferred solution. For example, a polyaspartic resin kit like RockHard will have a significantly shorter working time than epoxy.
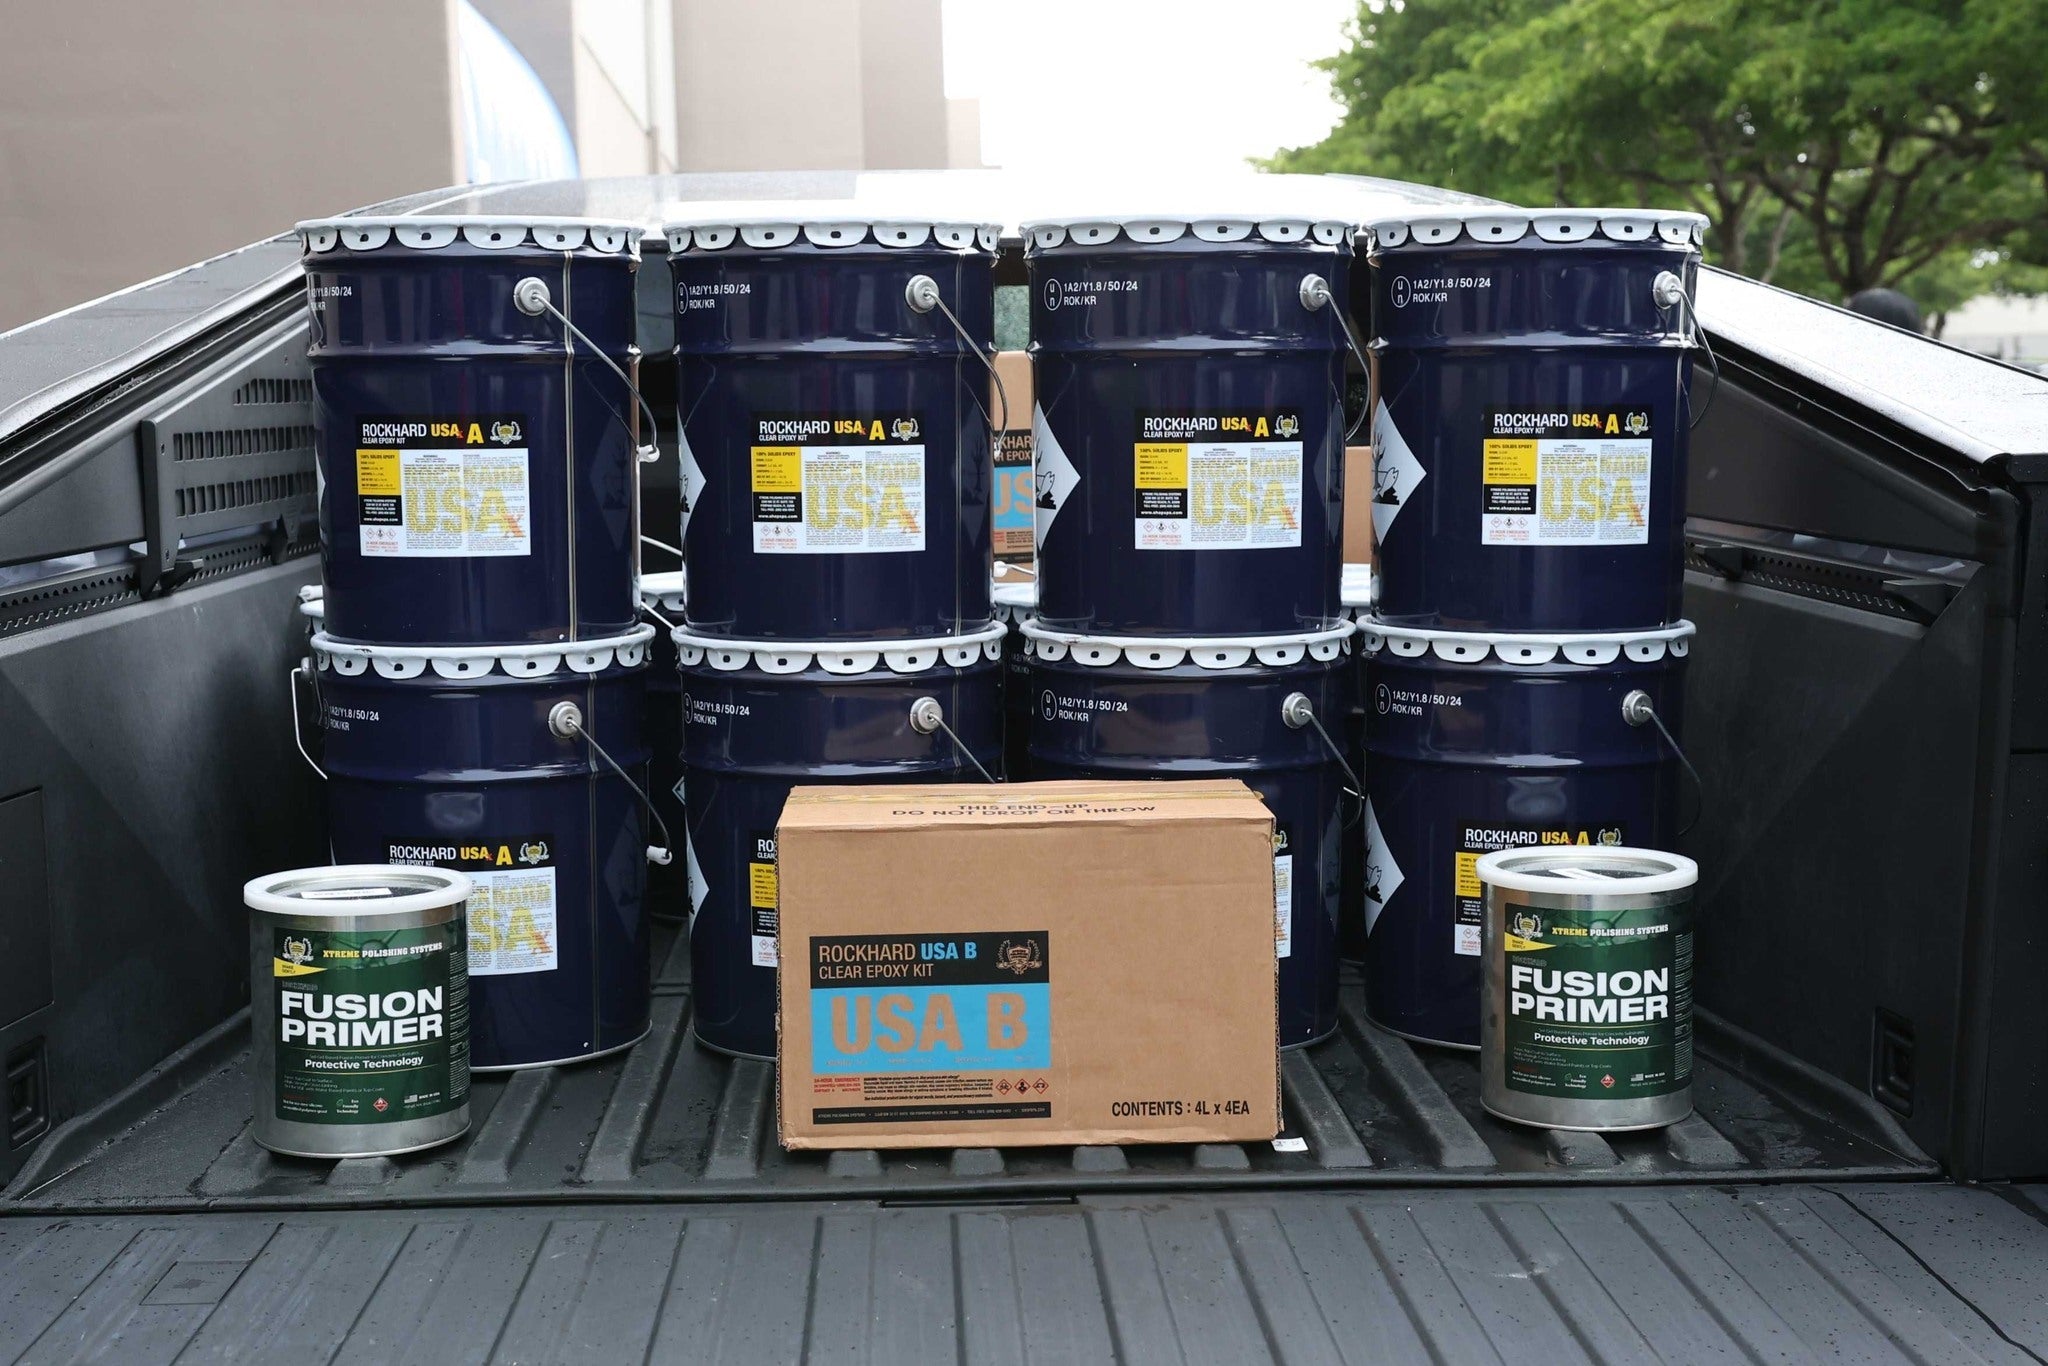
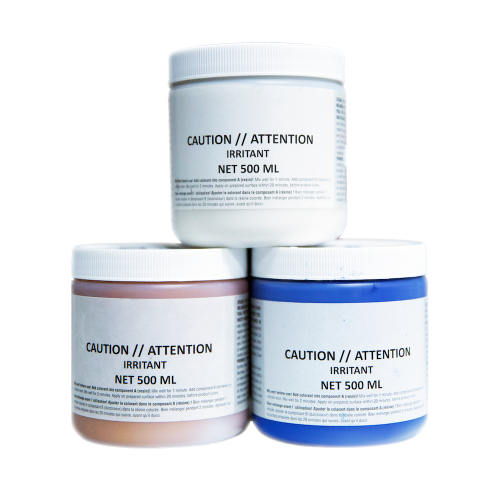
Use a 100% solids, high-performance epoxy like the Maple Syrup Epoxy Kit to ensure a thick, durable layer that resists chemicals and wear. Stir thoroughly for the full recommended time, scraping the sides and bottom of the bucket. The two‑cup method, or "cross-batching" (mixing in one container, then transferring to a clean second container and mixing again), eliminates unmixed material that can cause soft spots.
Incomplete mixing is another major hinge point for an epoxy resin system’s success or failure. It leaves tacky, uncured patches that never harden—forcing a complete strip and redo.
3. Application
Work in small sections (roughly 4x4 feet) to maintain a “wet edge”. Use a brush to cut in around edges and corners. For the main field, a 3/8‑inch nap roller on an extension pole is ideal. Xtreme Polishing Systems offers a full range of concrete and epoxy applicator tools, including rollers, squeegees, and resin brooms, to ensure even coverage.
Pro Tip: For resinous coating flooring projects, we recommend wearing spiked shoes. They will let you walk across the wet coating to reach the far side without leaving footprints.
4. (OPTIONAL) Vinyl Flake Broadcast
Vinyl flake broadcasting, an optional but highly recommended step for enhanced aesthetics and slip resistance, should be performed immediately after the epoxy coating is rolled out, while it is still fully wet.
The key is to apply the chips generously, broadcasting them by tossing them upward and allowing them to drift down onto the wet resin in an even, random pattern until the surface achieves the desired coverage.
5. Polyaspartic Topcoat
Once the epoxy has cured according to the manufacturer's instructions, any loose or vertical flakes must be scraped and vacuumed up before proceeding to the final polyaspartic or clear epoxy topcoat, which encapsulates the flakes and provides a smooth, durable finish.
A polyaspartic topcoat, like Polytop 100, will be installed much like your initial resinous layers, but be aware of the mixing, working and curing time differences between your solutions.
6. Curing Times
Resist the temptation to drive on the new floor early. Foot traffic is typically allowed after 24 hours, but vehicle parking requires a full chemical cure - usually over a weekend, depending on the product. Follow the your preferred kit's instructions for exact times.
Troubleshooting Common Garage Floor Coating Problems and Epoxy Fails
Focusing on patience and thorough work is paramount because almost every common epoxy resin fail is directly traceable to rushing one of the critical steps. Even with careful work, issues can arise. Here’s how to spot the five most common epoxy resin failures and what to do.
1. The "Peeling" (Hot Tire Pick-up)
-
Symptom: Epoxy lifts off with tire contact.
-
Culprit: Insufficient surface profile or contamination.
-
Fix: Grind down affected areas with the Concrete Genie, re‑profile, and recoat. Poor adhesion means starting over.
2. Bubbles and Pinholes
-
Symptom: Small craters in the cured surface.
-
Culprit: Outgassing; air escaping from the concrete as the epoxy cures.
-
Fix: Minor bubbles can be sanded and topcoated. To prevent, apply epoxy when temperatures are stable or slightly falling (e.g., late afternoon) so expanding air doesn’t push through.
3. The "Sticky" Nightmare
-
Symptom: Soft, tacky spots days after application.
-
Culprit: Improper mixing ratio or insufficient stirring.
-
Fix: This is the worst failure. Tacky epoxy will never harden and must be mechanically removed before reapplication.
4. Cloudy or Milky Finish
-
Symptom: Hazy appearance instead of clear gloss.
-
Culprit: High humidity or moisture reacting with the hardener (amine blush).
-
Fix: Light sanding and a fresh, clear topcoat usually restore clarity.
Frequently Asked Questions (FAQs)
How does professional epoxy pricing compare to industrial coatings?
Professional residential epoxy pricing is generally lower than true industrial-grade coatings, which are formulated for extreme chemical resistance, heavy traffic, and constant abuse (e.g., in manufacturing plants or aircraft hangars). However, a high-quality "professional" garage epoxy kit can sometimes match the durability of a lower-end industrial coating. DIY kits are the cheapest but offer the lowest quality and lifespan.
How do temperature extremes and chemical exposure impact coating lifespan?
Temperature extremes cause the concrete slab to expand and contract, which can stress a rigid coating, leading to cracking or delamination, especially with lower-quality epoxies. Chemical exposure, such as oil, brake fluid, or road salts, can cause discoloration, softening, or breakdown of the coating, significantly reducing its lifespan if a chemical-resistant topcoat (like a polyaspartic) is not used.
What are the newest solutions for high-moisture concrete?
The newest solutions for high-moisture concrete are specialized moisture-mitigation primers, often high-solids, penetrating epoxies or polyurethanes, that are formulated to handle high Moisture Vapor Transmission Rates (MVT) or even hydrostatic pressure. These primers chemically bond with the concrete, creating a vapor barrier that allows the topcoat to adhere securely without being pushed off by moisture.
What are the advantages of using epoxy over other types of garage floor coatings?
Advantages of epoxy include its high durability, excellent adhesion, seamless and attractive finish, good resistance to most chemicals and abrasions, and relatively low cost compared to other high-performance options like polyaspartic or polished concrete. It provides a thicker, more protective layer than typical concrete sealers or acrylic paints.
Conclusion
So now you know: the ultimate secret to a successful epoxy garage floor is not just the application, but also meticulous surface preparation. By prioritizing proper preparation, specifically the moisture check and mechanical profiling, you eliminate the risk of a disastrous epoxy failure and ensure a professional, durable finish. Correctly mixing and applying your high-performance epoxy, followed by observing the necessary curing times, is the key to a successful garage floor coating project.
Xtreme Polishing Systems (XPS) is the command center for flooring contractors working with resins or concrete! For on the job guidance, call our technicians at (877) 958-5264 for assistance.