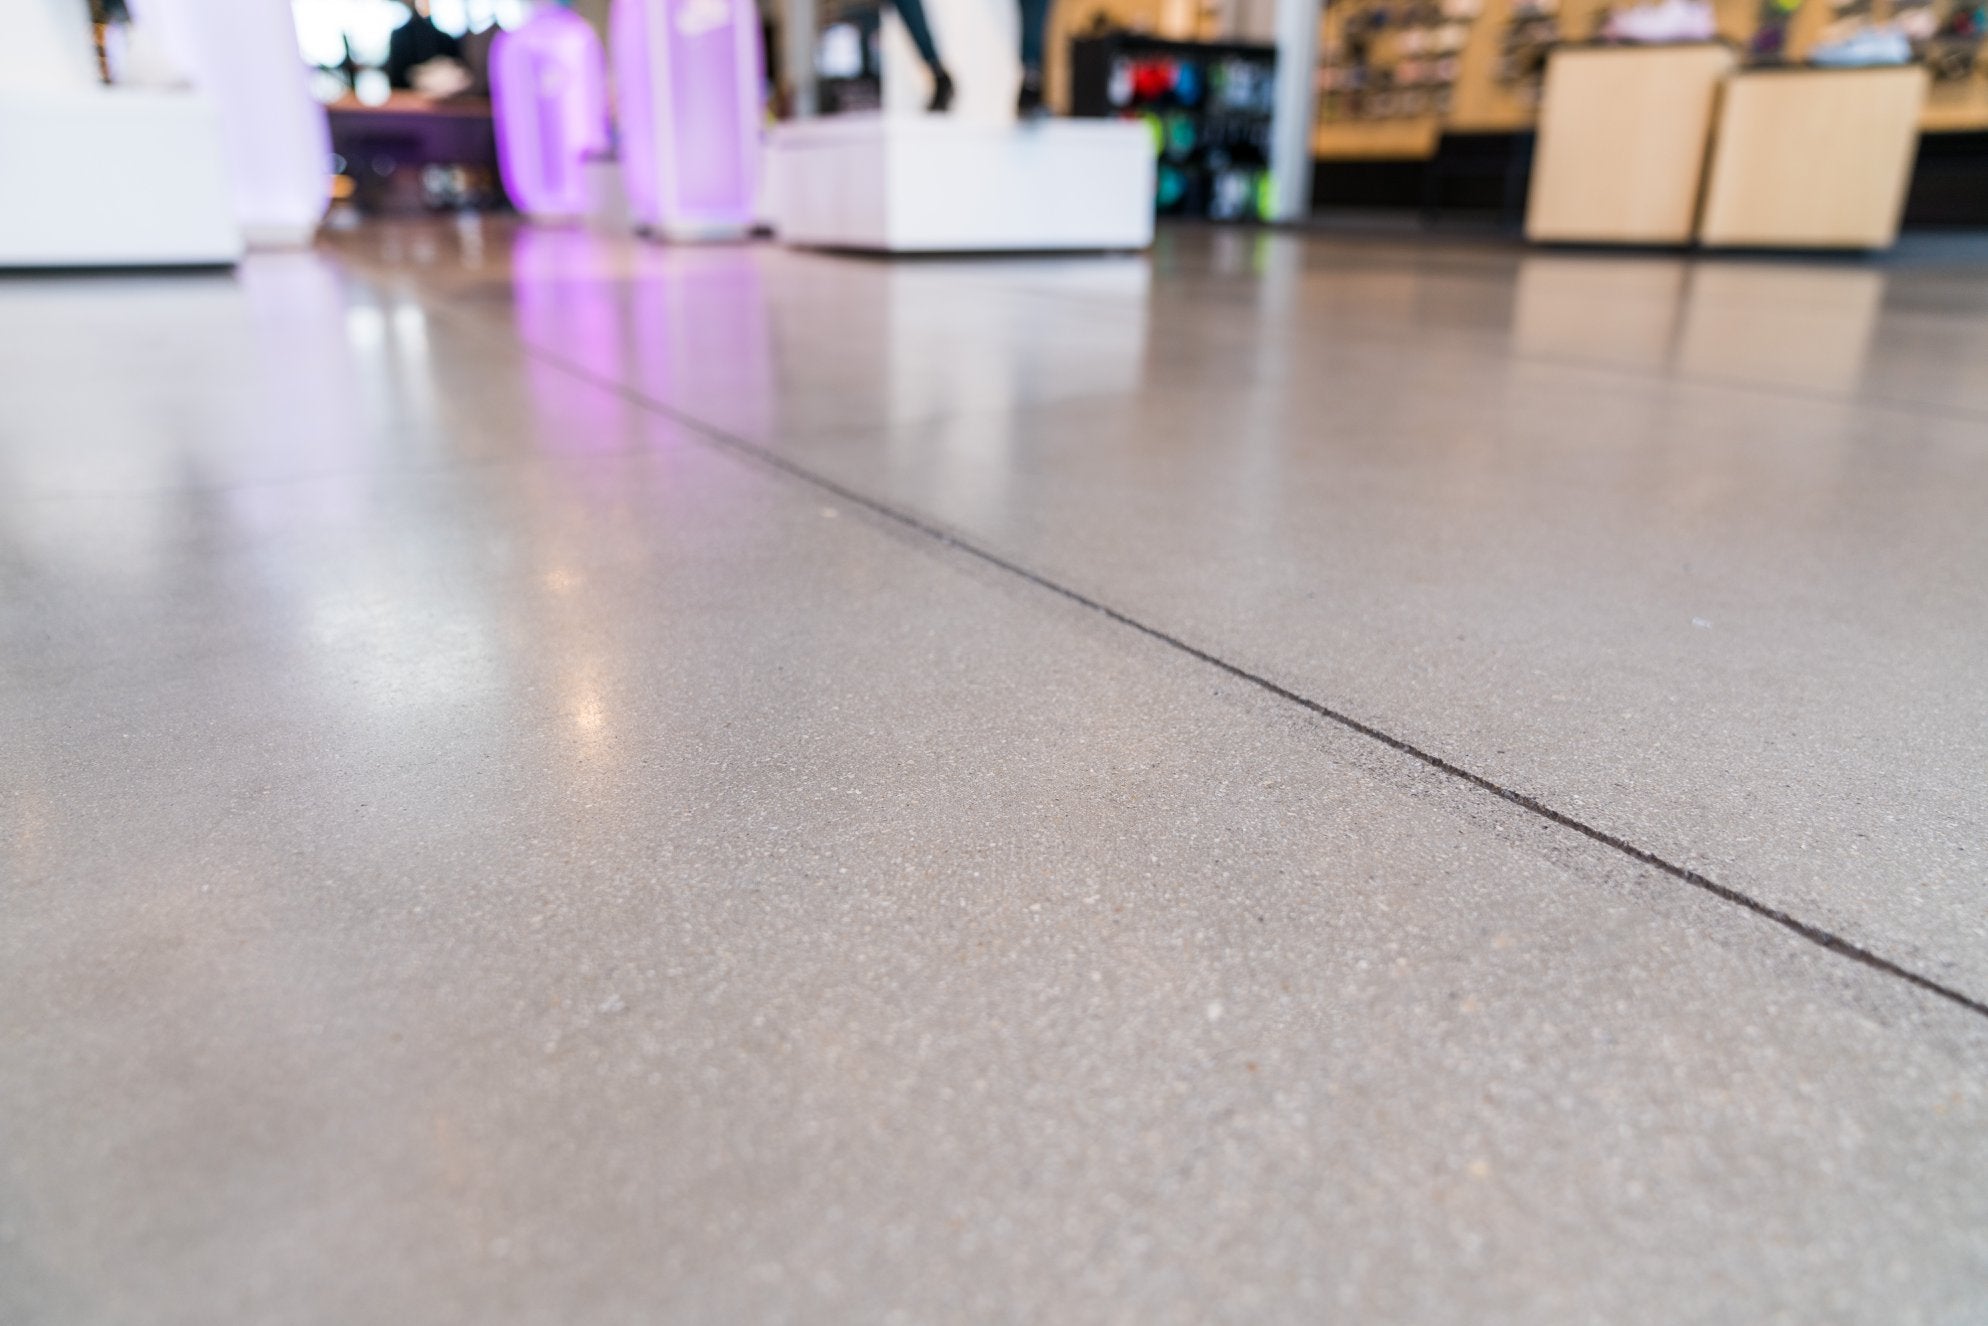
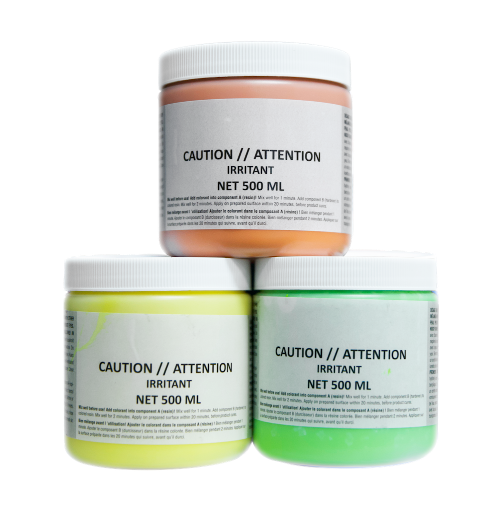
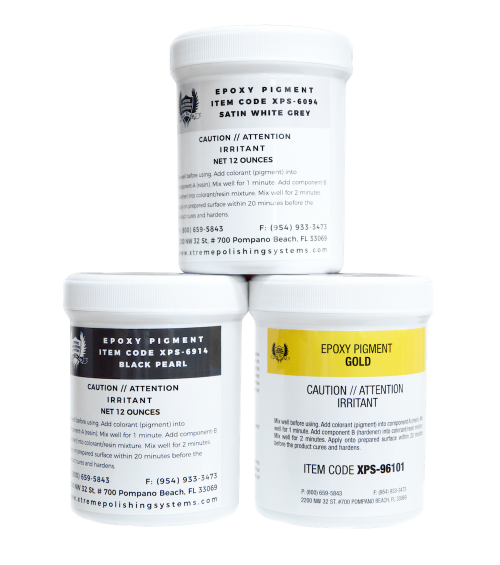
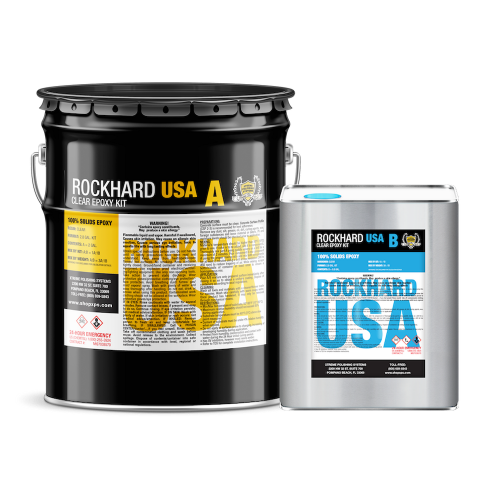
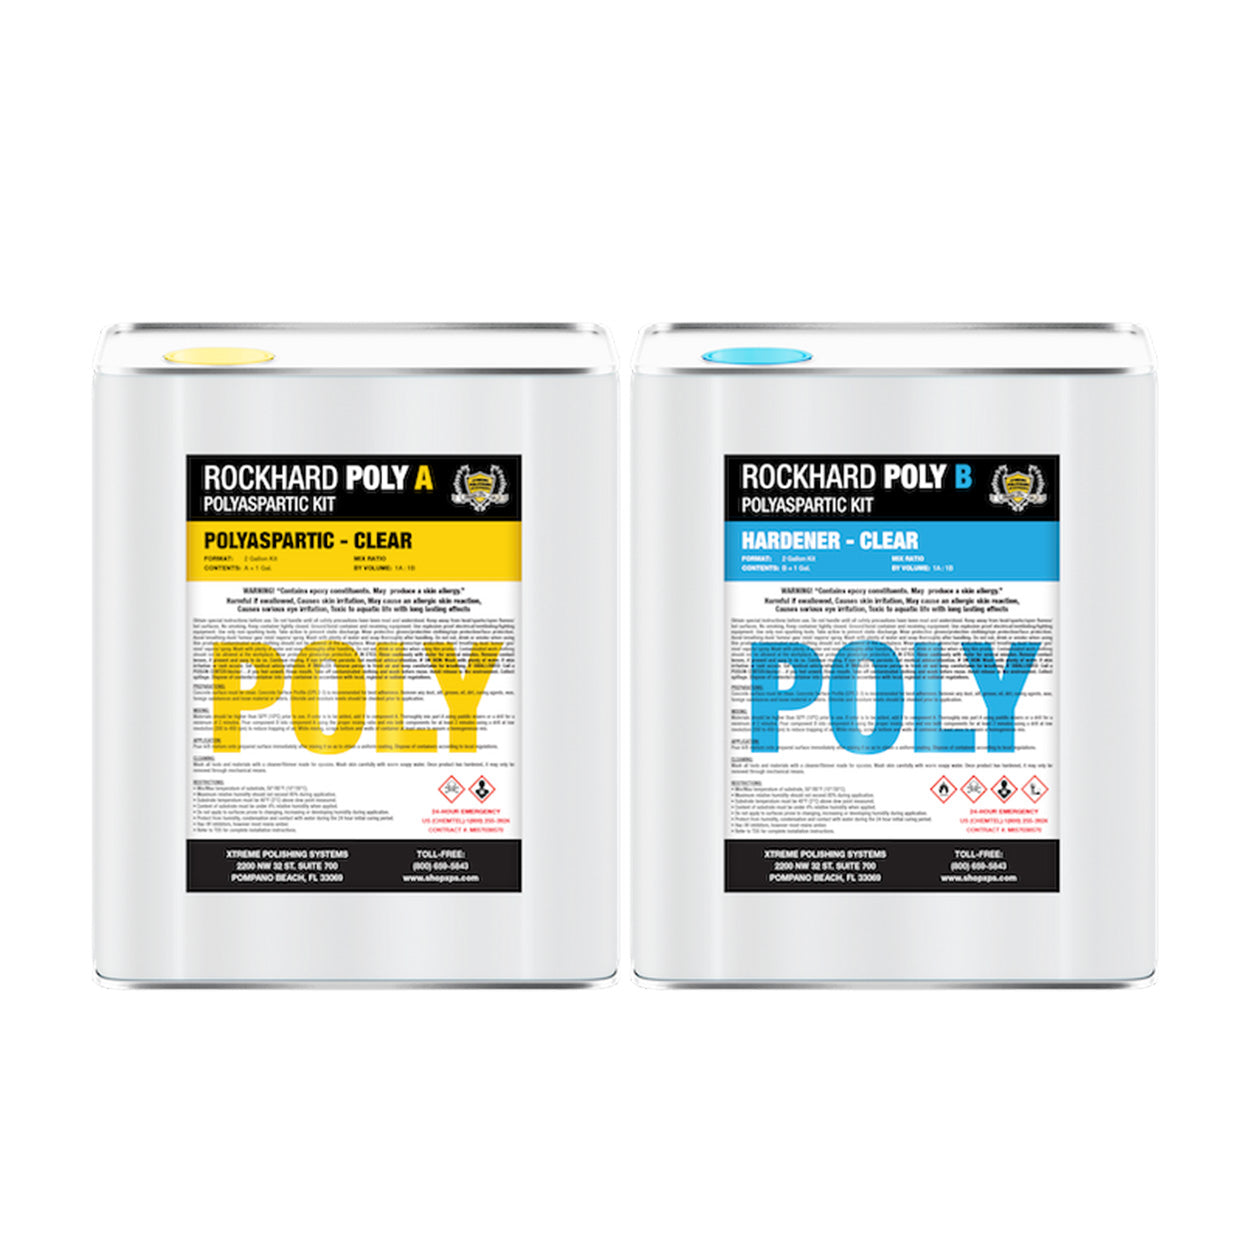
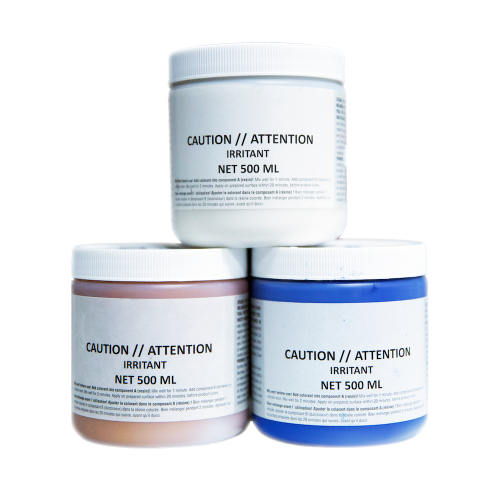
With more than 30 years of experience, on and off the field, and also supplying the industry with the most reliable and professional products, materials and equipment, you're truly guaranteed to produce a beautiful DIY masterpiece! We're here to ensure you receive the highest quality epoxy resin and polyaspartic/urethane materials while guiding you step by step along the way, making sure the material is properly applied to your garage floor, thus yielding a spectacular finish.
Floor Coatings:
- Delivers a strong, reliable and aesthetic coating
- No hot tire pickup w/ protective topcoat
- Dozens of color options are available
Application Process on a Garage Floor:
- First, you must examine your surface and recognize any blemishes, serious cracks or holes, moisture and debris or unwanted materials. Once the floor is thoroughly cleaned, using a broom or vacuum to extract the dust that is present and then washing with a mild detergent solution to further to remove any excess dirt and grime. For heavy stains of oil you may need to use petrol or chemical pressure wash the surface. Cracks and holes are also cleaned of any dirt and then dried completely before filling them up with a joint filling or concrete patch compound.
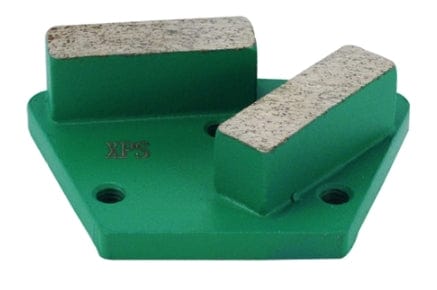
- Next, to ensure the epoxy coating adheres properly to the concrete you must profile the surface of your concrete garage floor. You can use a low grit sandpaper, or lightly grind the concrete surface with a floor grinder, concrete edger or hand-held grinder. When using a floor grinder to rough up the floor, diamond abrasives or masonry wheels are used.
- Awareness of moisture is a major factor when epoxy fails and must be treated. We suggest you wait until the concrete slab is 100% dry before applying the epoxy coating. We also suggest using a moisture meter to further check for any excess moisture in the slab.
- Painter's tape or seaming tape is applied across the skirting boards to avoid damage to the walls.
- Next the epoxy is prepared. our 2-part epoxy contains a resin hardener and a decorative topcoat that is mixed together in clean buckets just before applying it to your garage floor.
- Epoxy is then applied to the floor (must be applied within two hours since its constituents were mixed together). The epoxy is applied starting from the corner and spreading it with a notch squeegee across the rest of the area.
- If the client desires decorative chips, they're applied by hand across the applied epoxy coating AFTER you spread the materials completely across the whole surface.
- The second coat of epoxy is then applied once the first coat is completely dry. We recommend waiting for about half of a day to ensure the surface dried completely.
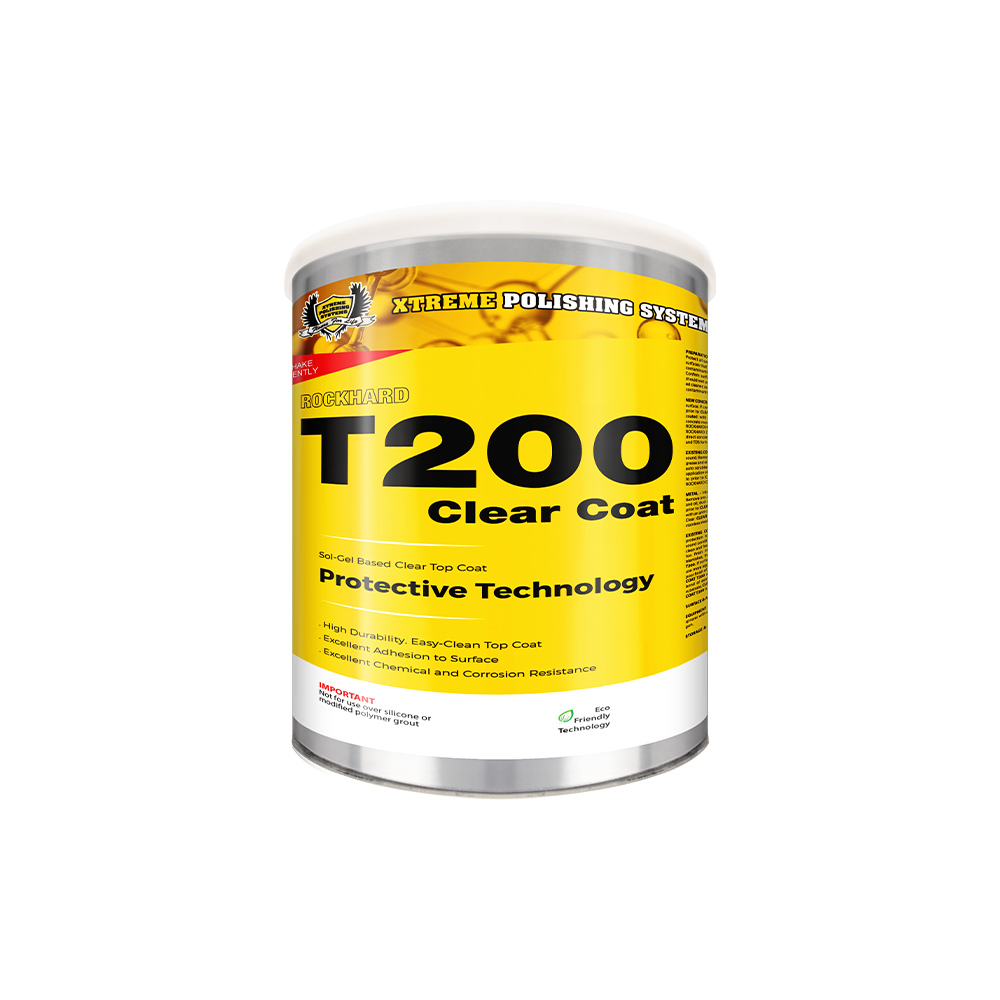
- Finally an additional protective topcoat can be applied to provide higher durability on your garage floors. Even though an additional protective topcoat is optional, it is utterly recommended to take the extra time and spend the little bit of extra money, because ultimately your floor's surface will last much longer and shine much brighter with a little bit of extra protection. Always remember, your floors absolutely deserve it!
- The floor is not to be walked on before 24 hours has past, cars cannot be driven over the floor before a week's time.
